My impromptu Arielle skirt a few weeks ago gave me an idea for the leftovers of my Italian wool. After my Jasika Blazer and my first Oia Dress, I only had a very small amount of the gorgeous grey wool twill that I brought back from Italy in 2019. Remember 2019? It feels like a lifetime ago! Anyway, it is a lovely fabric, very densely woven and sturdy but also light with a gentle drape and I’m glad I didn’t part with the last tiny remnant.

For this version of the Arielle skirt, I got it in my head that I wanted to do an exposed zip instead of buttons. It was challenging to conceptualize so I just went for it without any firm plans. Sewing the zip to the right front was easy, I just sandwiched it between the facing and main fabric when I sewed them together. Figuring out to the left front was more challenging as I wanted a placket under the zip to protect the tights I will invariably be wearing from the zip teeth.
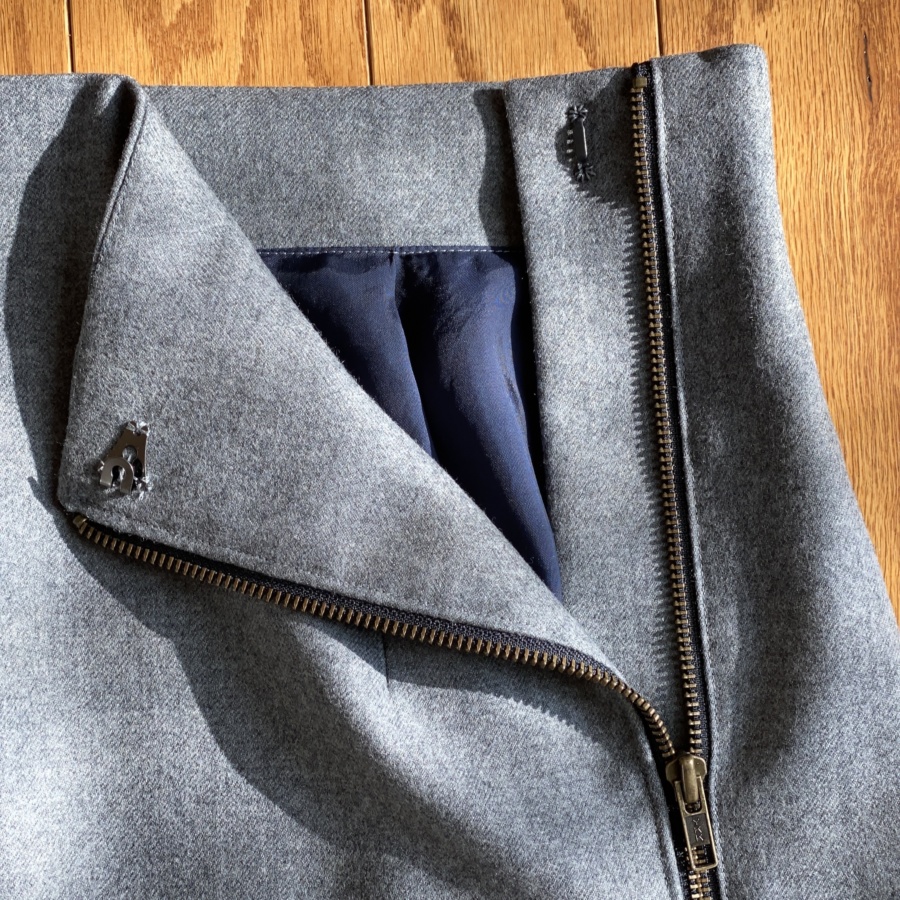
I was afraid to cut the left side to make a proper under placket, so I ended up with a sort of grown-on placket. I’ll explain it as best I can but I didn’t take pics of the process unfortunately so all I’ve got for you is written instructions:
- Sew the facing to the main fabric with zip sandwiched on the right side
- Stop sewing about an inch past the left side seam and leave the entire left side unsewn
- Press so that the facing lays flat on the inside – I didn’t understitch at this step, just pressed everything so I could try on the skirt to fit the left side zip
- Top stitch to finish the zip on the right front
- Put on the skirt and try to figure out where the zip should be sewn on the left front
- Baste the zip, right sides facing, on the left front only (leave the facing free)
- Fold the zip open (the rest of the left front piece will fold back toward the side seam)
- Try it on and check the fit
- Repeat those last four steps until you get the position of the left zip as you’d like it and then sew down the zip with a regular stitch length
Ok, now to make the grown on zip placket. Thankfully, the Arielle pattern has a large under button placket on the left. You’ll need all of this excess so I recommend you make a regular version first to test the fit and make sure you have at least three inches of overlap at the opening. I was fine with the original size I had cut.
- Press the remainder of the left side excess back over the zip tape so that it lies under the zipper teeth (back toward the centre front)
- Note that you’ll be pressing the fabric below the bottom of the zip around as well but it won’t have the zip tape under it. Try to keep it aligned.
- Top stitch along the zip the same distance away as you did on the right front and through all layers (you should have two layers of fabric on top of the zip, the zip tape and another layer of fabric below the zip – the facing is still not involved at this stage)
- Now you’ve got the zip tape concealed in the under placket, the placket is narrower than it was because the fabric has been folded back and around the zip tape.
- Cut the left side of the facing down to match
- Flip the skirt inside out again and continue where you left of sewing the facing to the main fabric
- Sew the remainder of the left waist and down the left side to the hem
- Turn everything right side out and continue construction as the pattern indicates
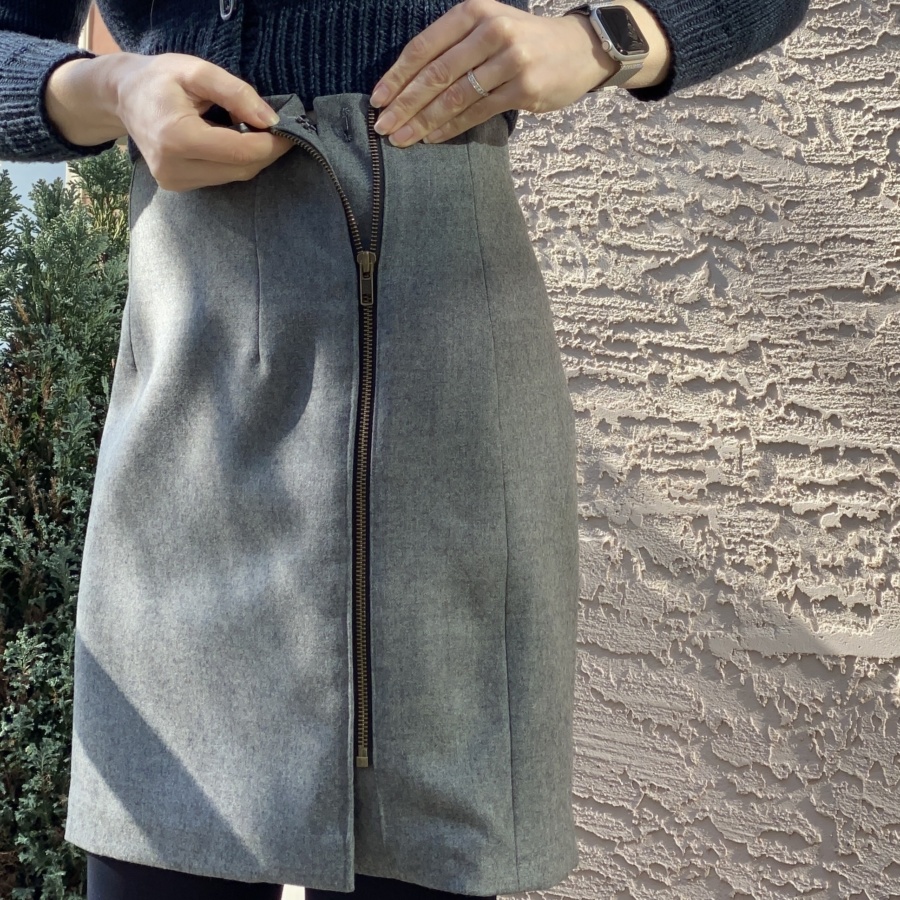
I used a self-locking zip but also decided to add a bar and hook closure for extra security. Now for some things I’d do differently if I did it again:
- A slightly shorter zip – my zip was 16″ and my skirt is one inch longer than the mini version. I think a 15 or even 14″ zip would have worked fine. Another alternative would be to install the zip upside down so you could adjust the size of the opening on the go.
- Interface the left front where the zip will be attached. I did not do this and you can see there are some waves in the fabric around the zip.
- A slightly tighter fit – I found fitting this to be really challenging. I should have gone back and forth with my basting a bit more because it ended up a little looser than my last version. It stays in place and is comfy though, so maybe it’s fine like this
- Follow my own instructions – I actually did the zip insertion in the reverse oder than what I explained above. I estimated the placement of the zip and sewed it to the left side before sandwiching it to the right. I realized part way through that it would have been much easier to do the fitting in the reverse order and will definitely follow my own instructions if I make this again.
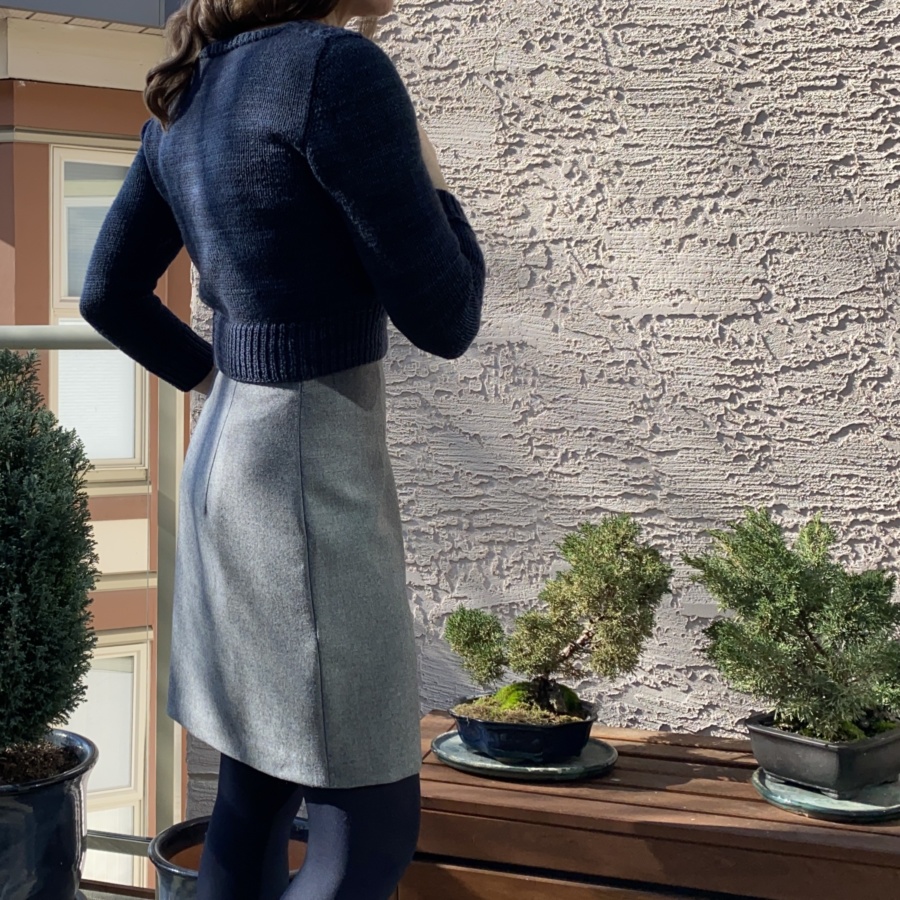

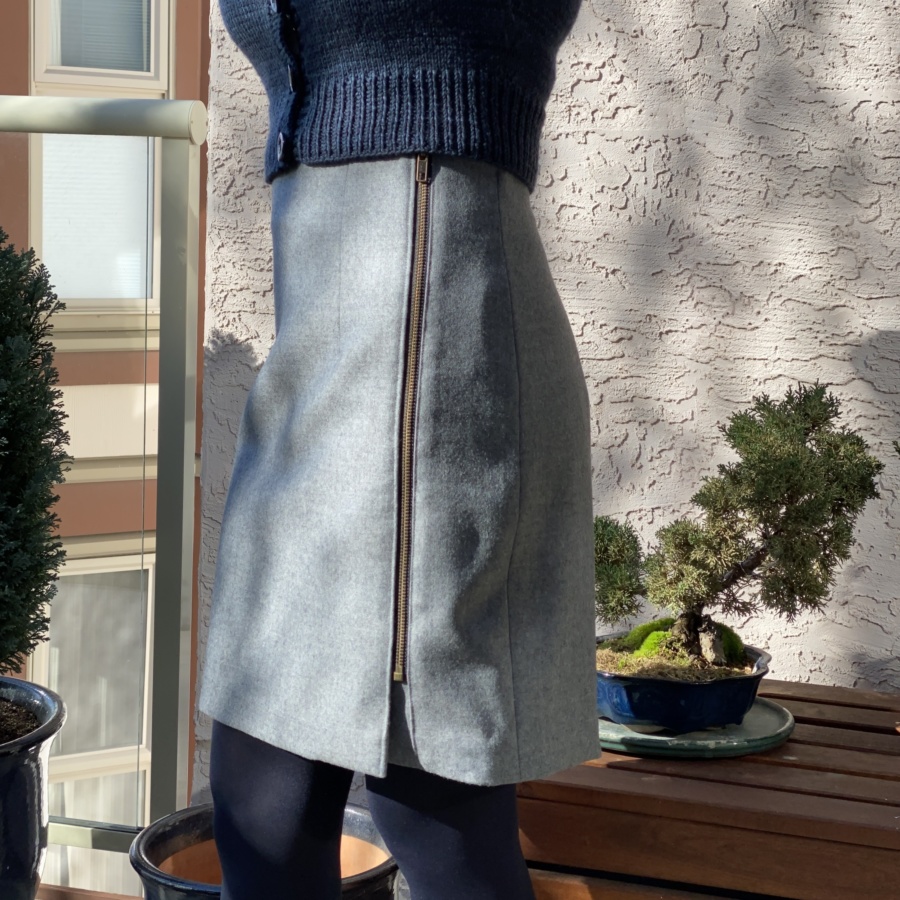
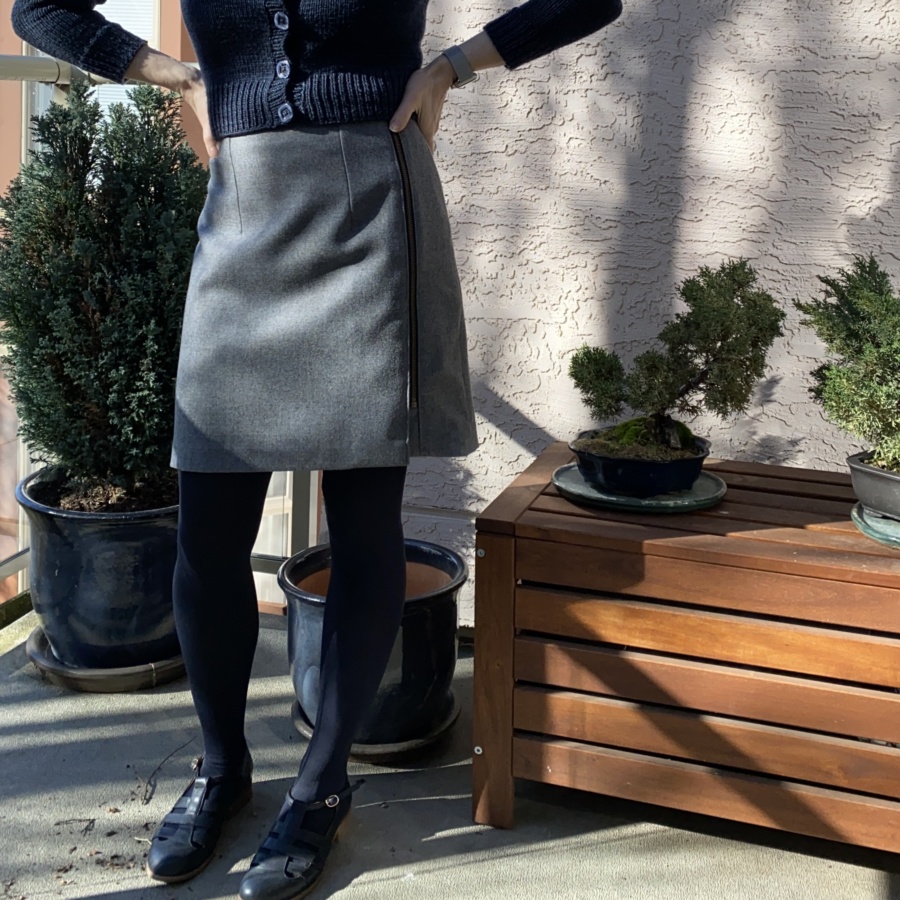
This was a fun experiment. I love the different look of this skirt compared to my previous version. I don’t yet know how well this will wear but it’s comfortable and super high-waisted without feeling too tight so I hope it lasts me a good long time.
Now I’ve got an Oia dresses and a matching skirt, make that two Oia dresses with matching skirts. Probably not necessary but I love that I used both dress scraps and made lovely, wearable garments – and hey, if I ever want to try a capsule wardrobe, I’ll have an easy time starting with these already matching pieces.
Thanks for stopping by!
~ Lindsay