I grabbed the Helen’s Closet Brooks Jeans on a whim in a sale in late 2022. I was curious, because they looked well drafted for my shape, but I was also on my bikeable work pants kick and didn’t have any urgency to make some. Then somehow I volunteered to teach two friends to make their own jeans…. more on that in another blog post soon.
I decided to use the Brooks Jeans to teach my friends. Well, sort of. I also decided to try Top Down Centre Out (TDCO) for the first time. They wanted to use stretch denim (Brooks is not a stretch pattern), and I modified the pattern to include the Closet Core Ginger Jeans fly (my favourite and by far the best zip fly I’ve found). It was a lot to take on with two jeans newbies but, in the process, I found a pattern I now love.
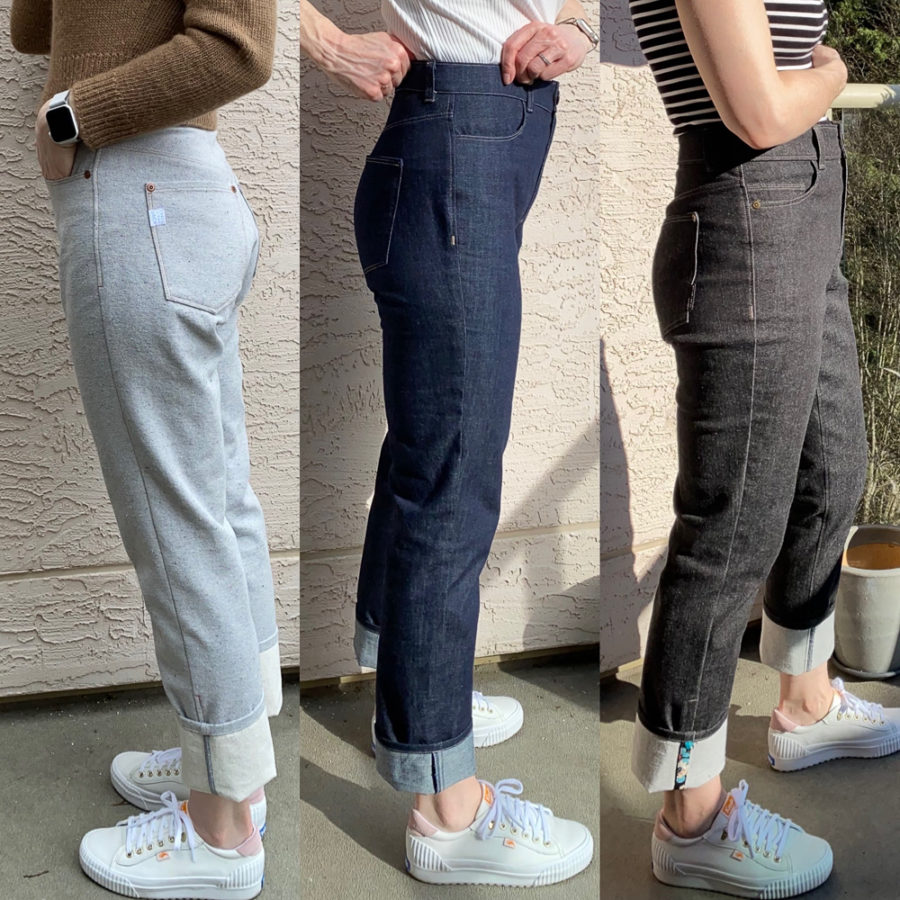
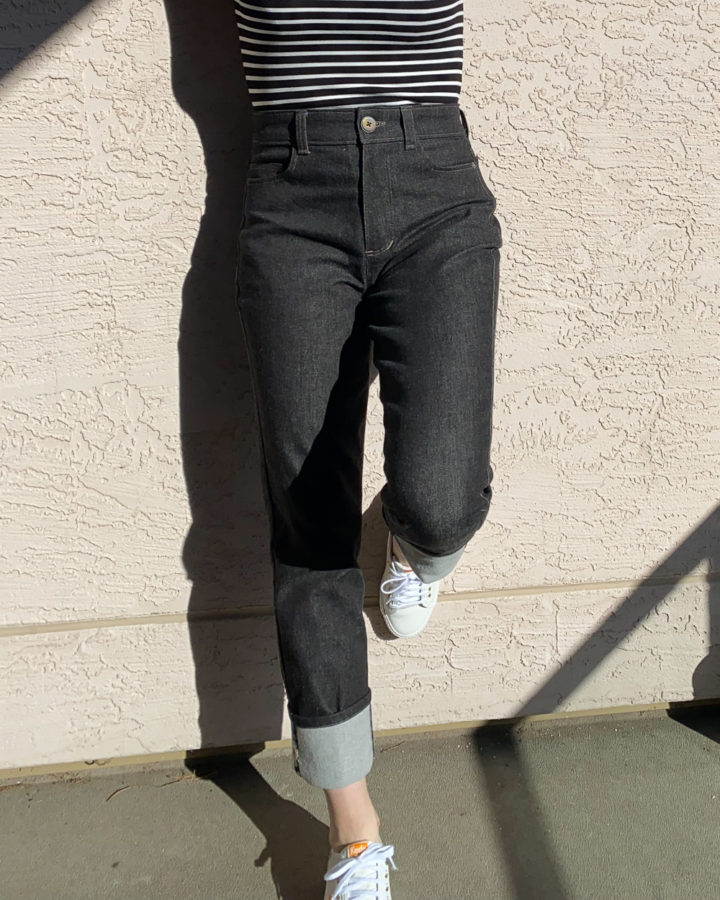
I’ll dig more into the one-legged toile process later. For now let’s talk about the mods I made to the original pattern to end up with my first pair, the black ones.
Stretch Denim Brook Jeans
Fabric: 11oz. Deadstock Cone Mills S-Gene in black sulphur from Blackbird Fabrics (90% cotton, 8% polyester, 2% spandex)
Right off the bat, I cut a straight waistband, rather than curved. I knew I wanted these to sit on my natural waist and I’m not curved at that point on my body. I’ve learned a straight waistband fits me best (read more about this discovery in my Three pairs of Landers post).
I toiled the waistband and yoke in scrap fabric, as part of the TDCO process. I ended up slashing and spreading the yoke to give it more curve (slashed in three places and spread by about a half-centimetre at each). I cut the size 0 yoke and legs, based on the finished garment measurements and knowing I’d be using a stretch fabric. My waist measurement put me at size 10 and my hip measurement put me at size 6 in the pattern instructions.
Following TDCO, I cut the legs with an extra 2″ on the outseam and upper edge. I ended up reducing most of this back to near the original cut lines in the toiling process. I also cut a wedge out of the crotch extensions on both the front and back legs during toiling. It was about 1/2″ at the crotch and extended about 3″ in length down the inseam.
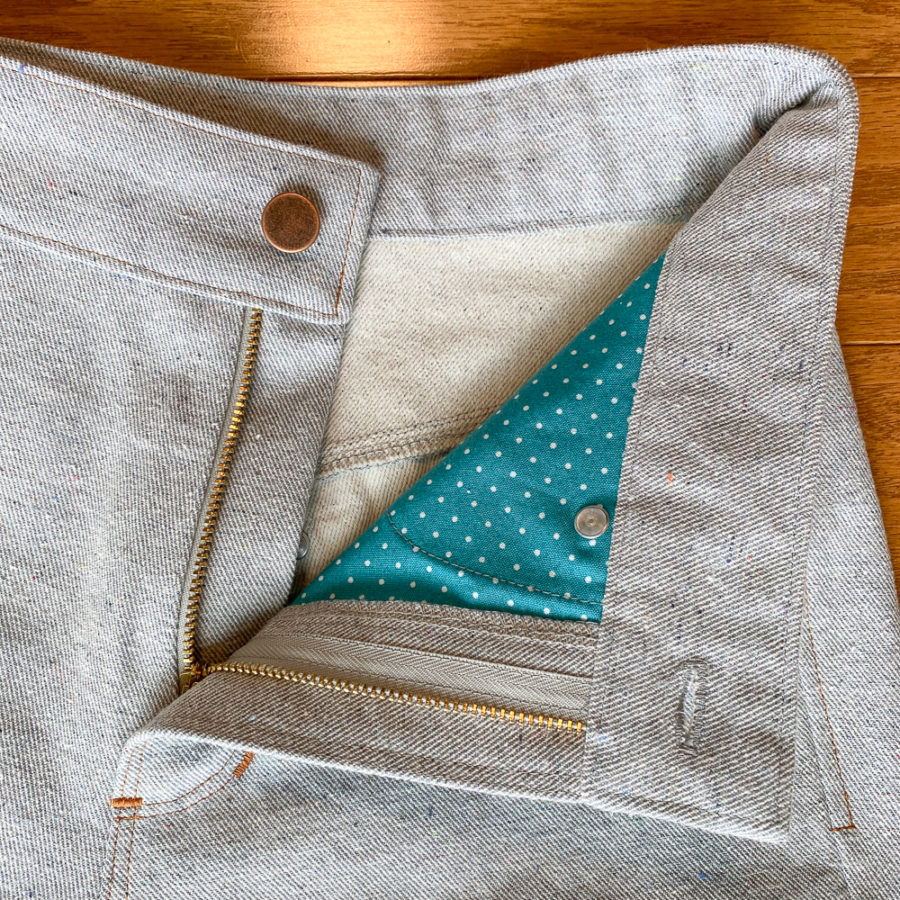
Before cutting the front leg pieces, I added a grown-on fly facing based on the Ginger Jeans. For more Ginger Jean-related mods, I also sewed the waistband in my favourite way (the Closer Core alternative waistband method) and the fly my favourite way (the Closet Core Ginger Jeans zip fly method).
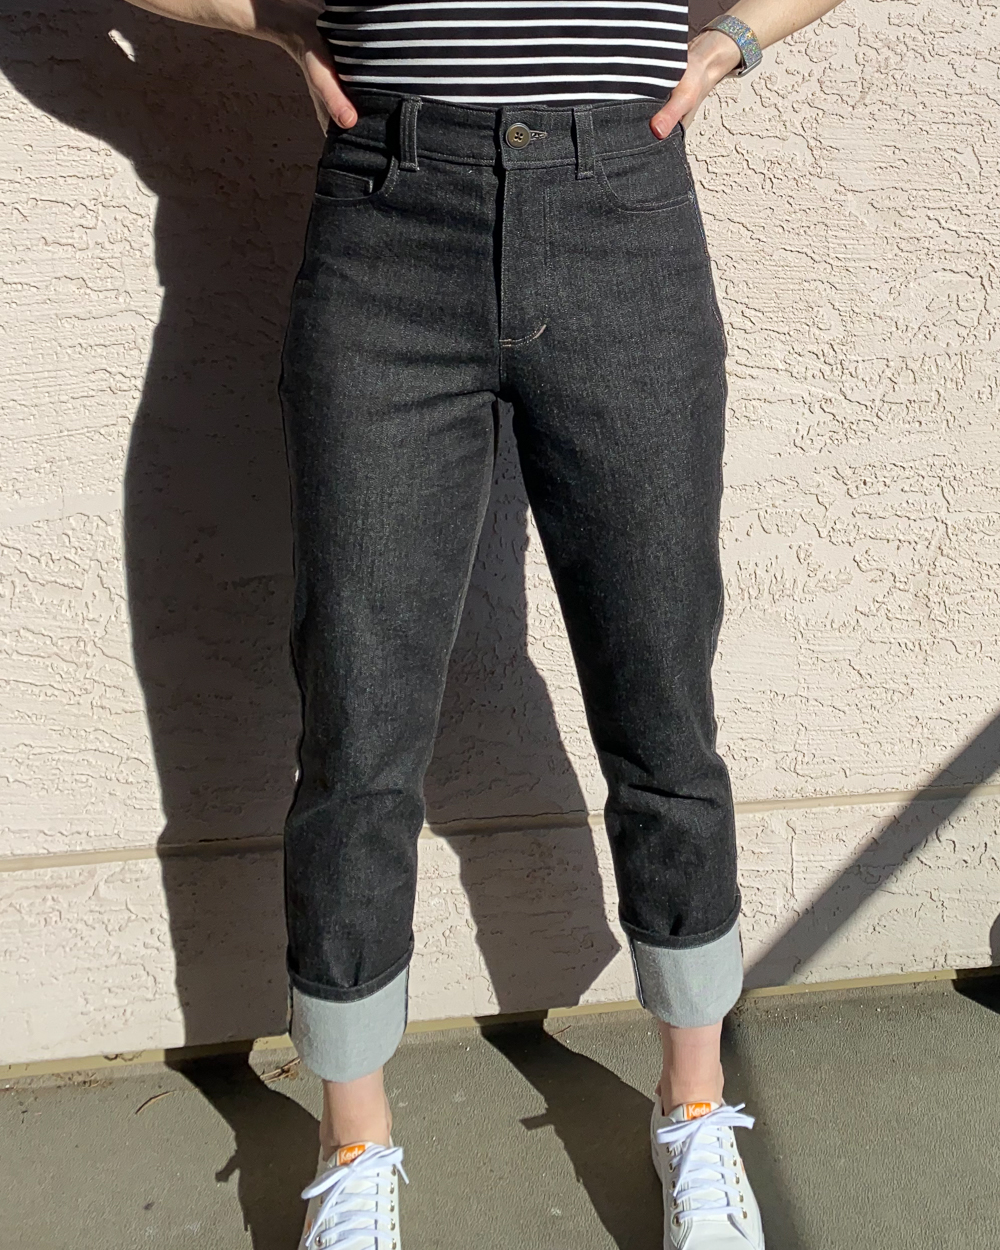
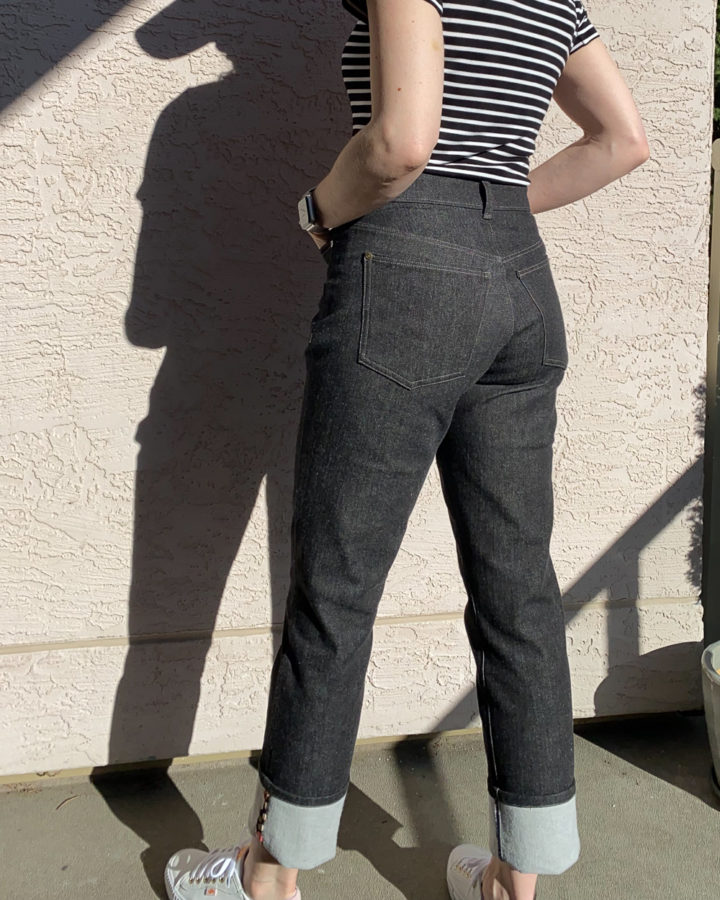
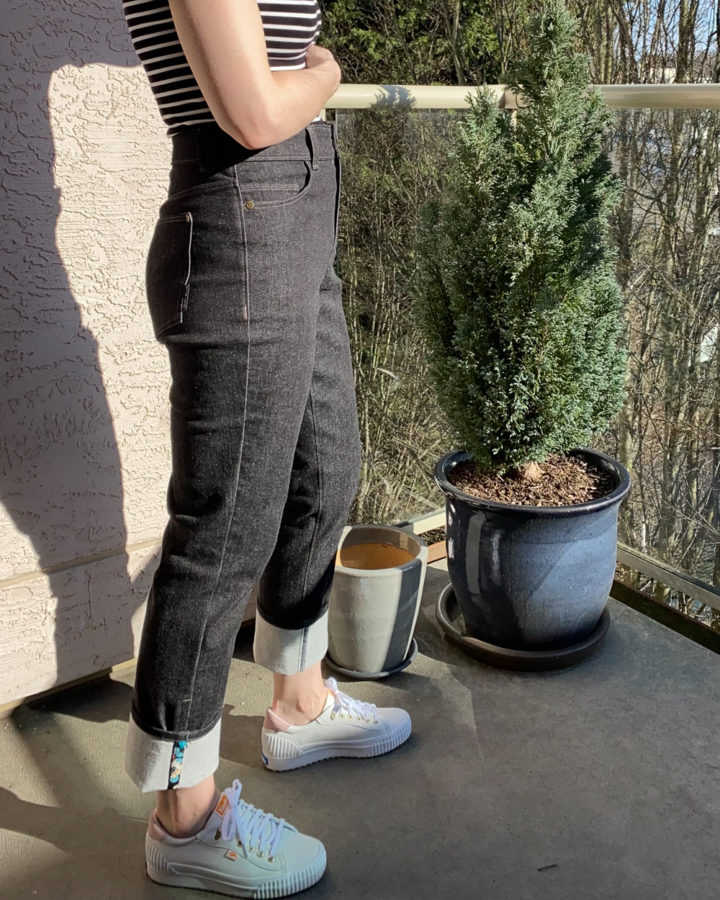
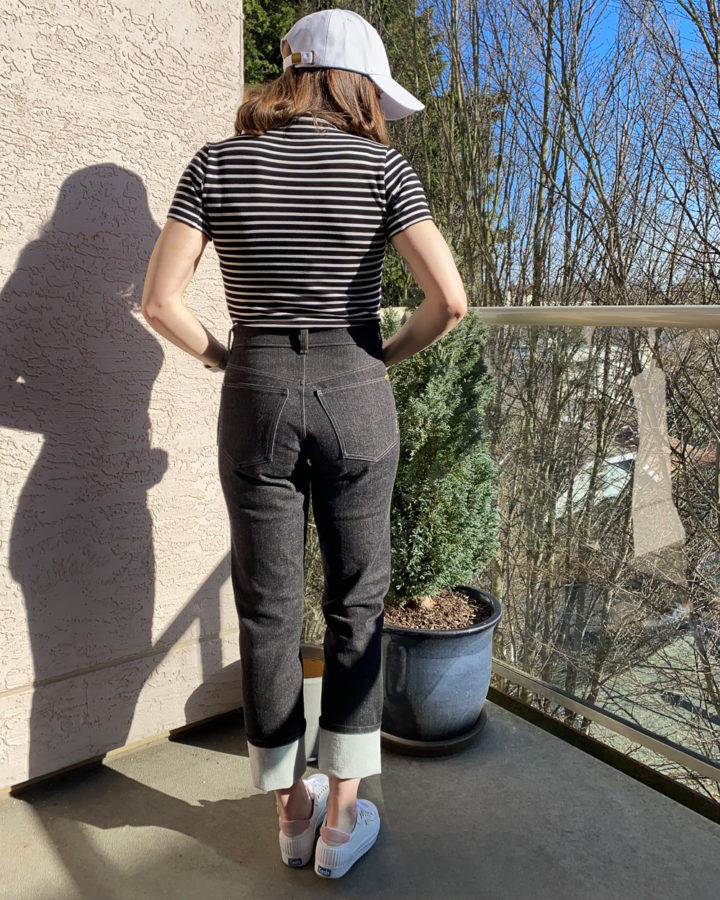
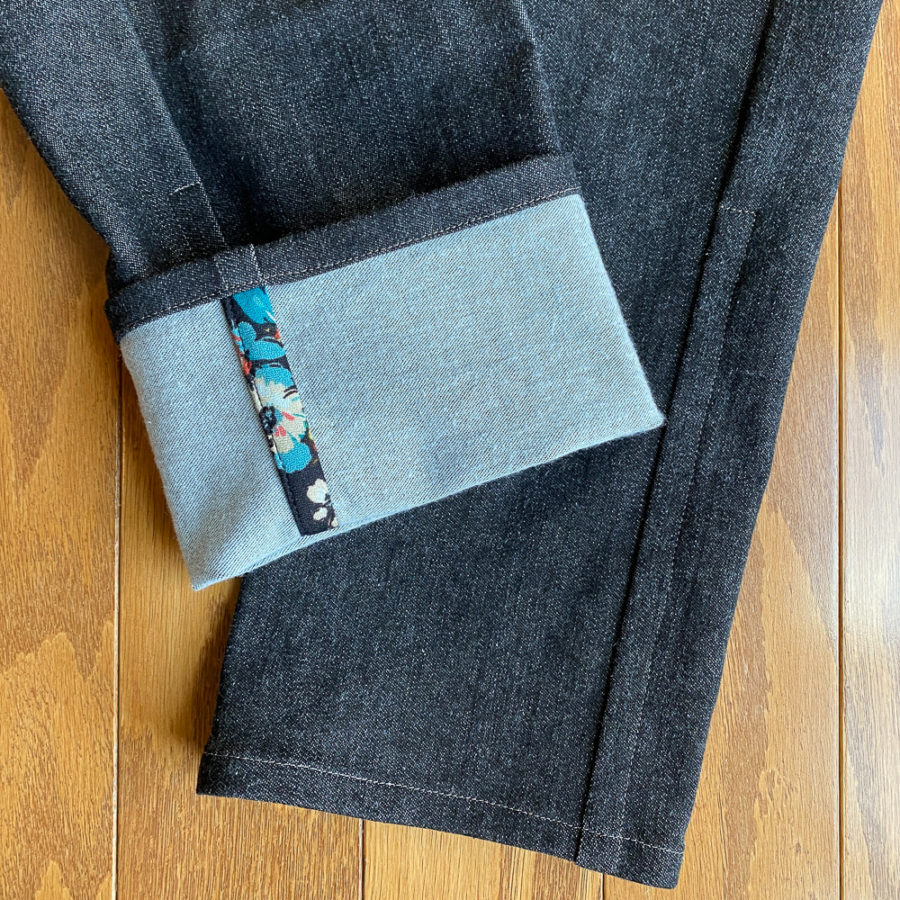
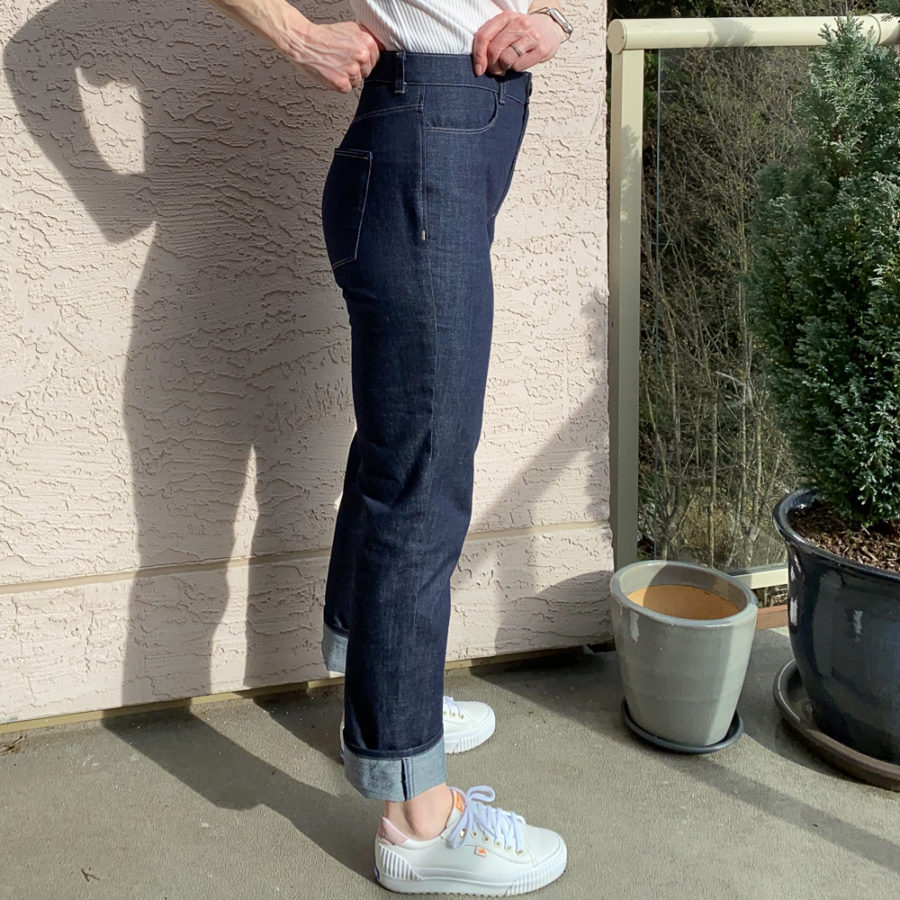
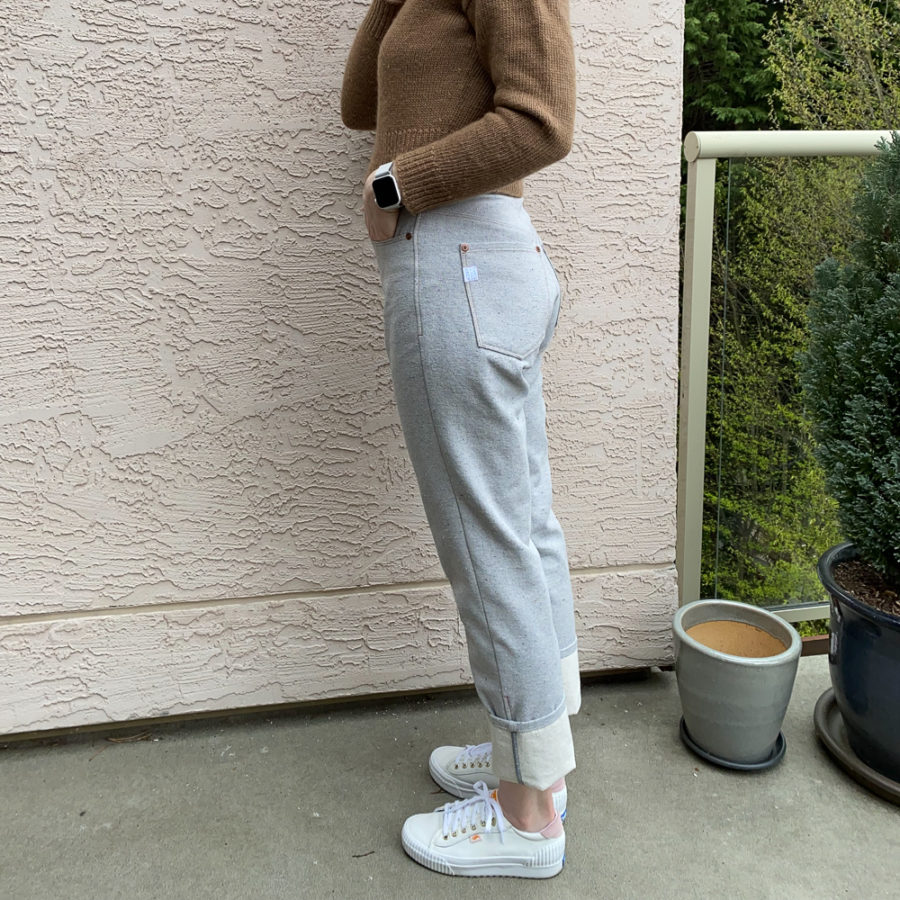
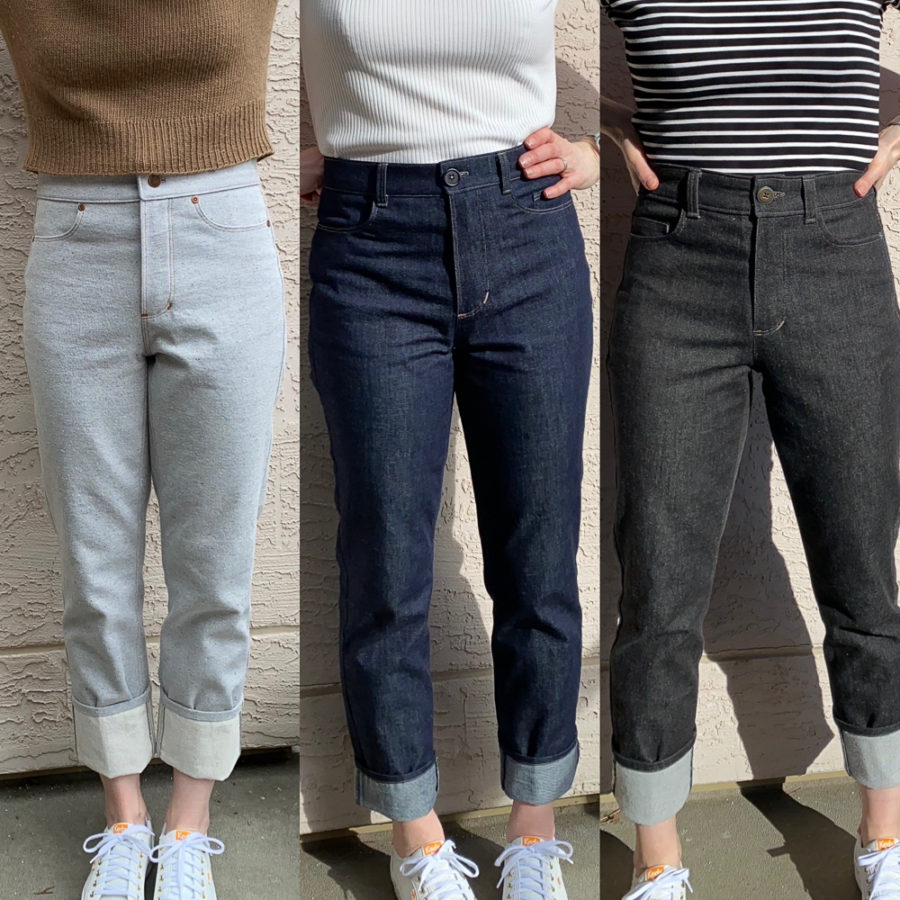
For one last fun detail, I added a bias bound outseam that shows on the turn up (which is how I wear them). I added this right before hemming the pants and top stitched it down. Mine is about 18″ in length but it doesn’t need to be. I like the idea of being able to see the top stitching when the cuff was rolled. I should also note that I left the length of these as drafted, knowing that I wanted to turn up a large hem and wear them cropped.
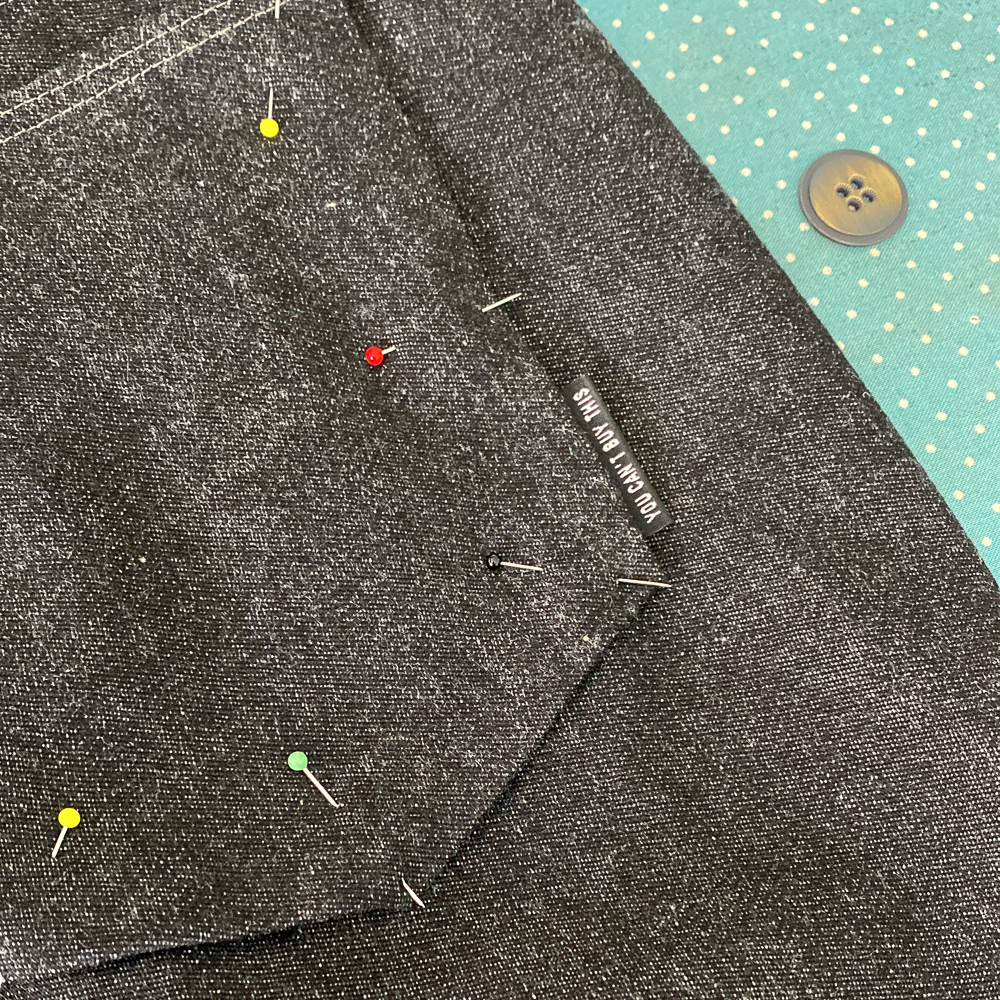
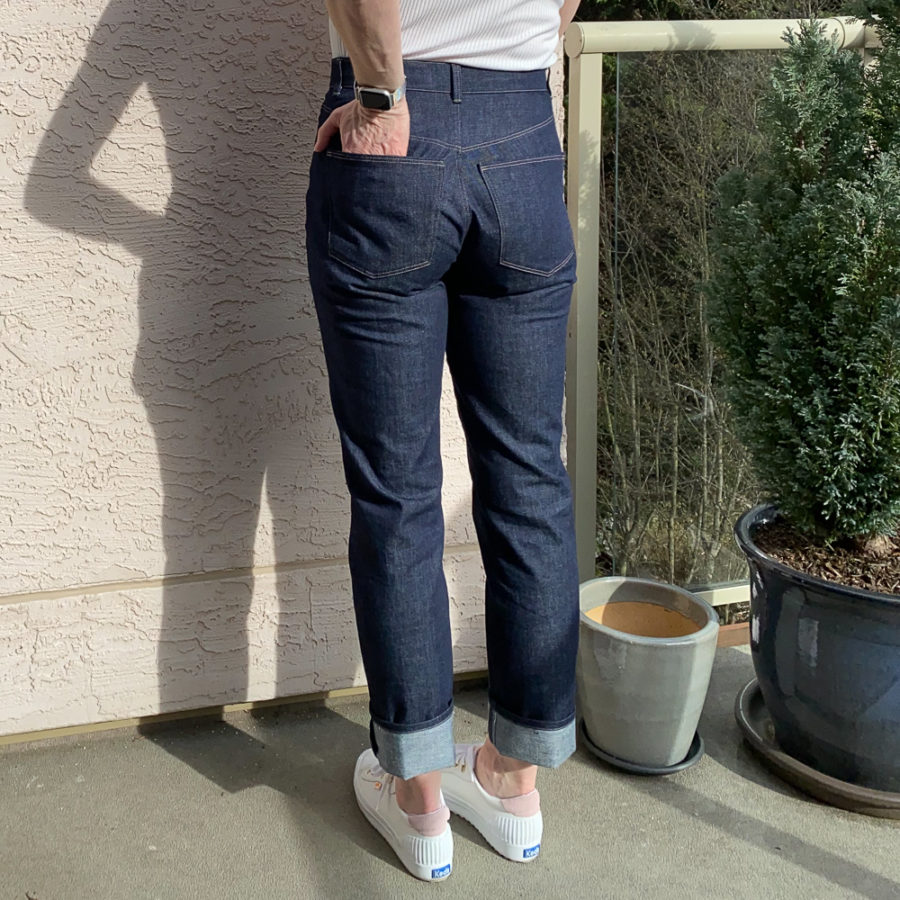
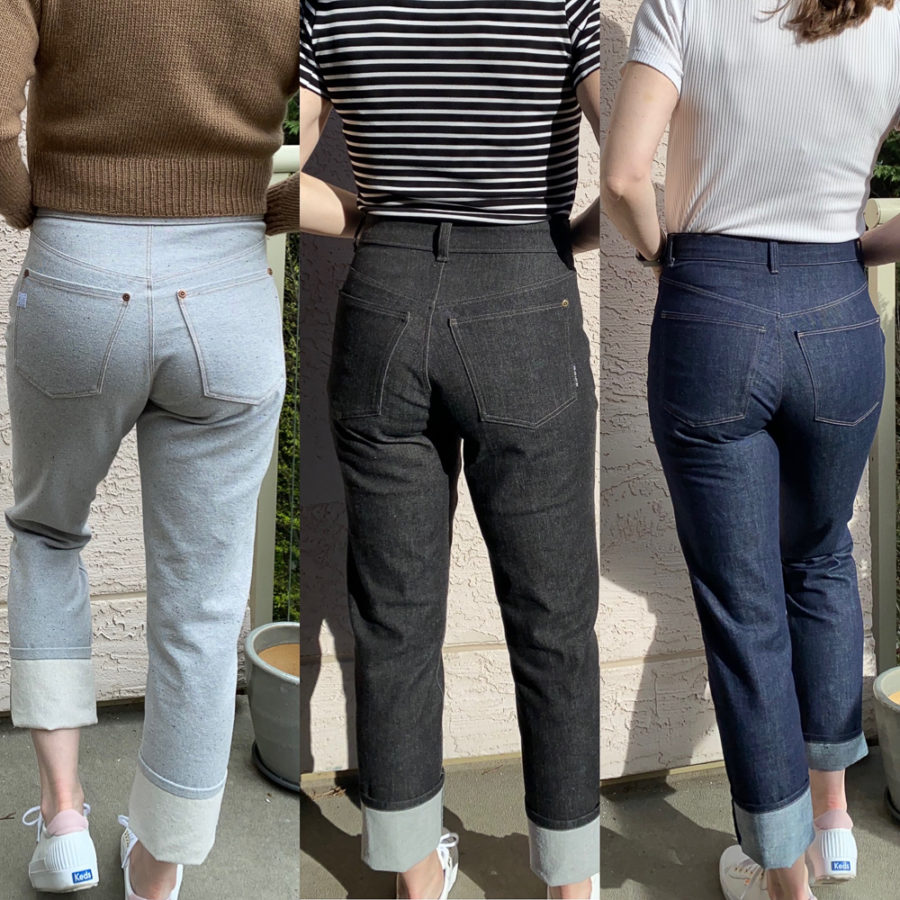
This first pair turned out so well, I was shocked. Having my friends help me with the one legged toiling made a big difference and I could not be more pleased with how the fit ended up. The fabric is delightfully firm while still being stretchy and makes these incredibly comfortable to wear. I love them more than it maybe is ok to love a pair of jeans. I’m glad I put a You Can’t Buy This label on the back pocket.
I delayed wearing them until I’d coached my friends through theirs. It took us three months and, in the meantime, I got so eager to have new jeans that I decided to jump ahead and make another pair.
Light-weight rigid denim Brooks Jeans
Fabric: 7.5oz non-stretch raw cotton denim from Sitka Fabrics
For these ones, I used the pattern I’d developed for my first version but cut it out with an additional inch on outside of the the front and back legs and yoke.

I baste fitted the side seams about 1/4″ outside the stitching line of my first version (making each leg 1/2″ larger. This seemed good and I attached the waistband and finished the jeans, only to decide after the first wear that they were too tight. So I took off the waistband, let out the side seams by another 1/4″, and put back on a new waistband, which I narrowed by about 1/2″ to lower the rise.
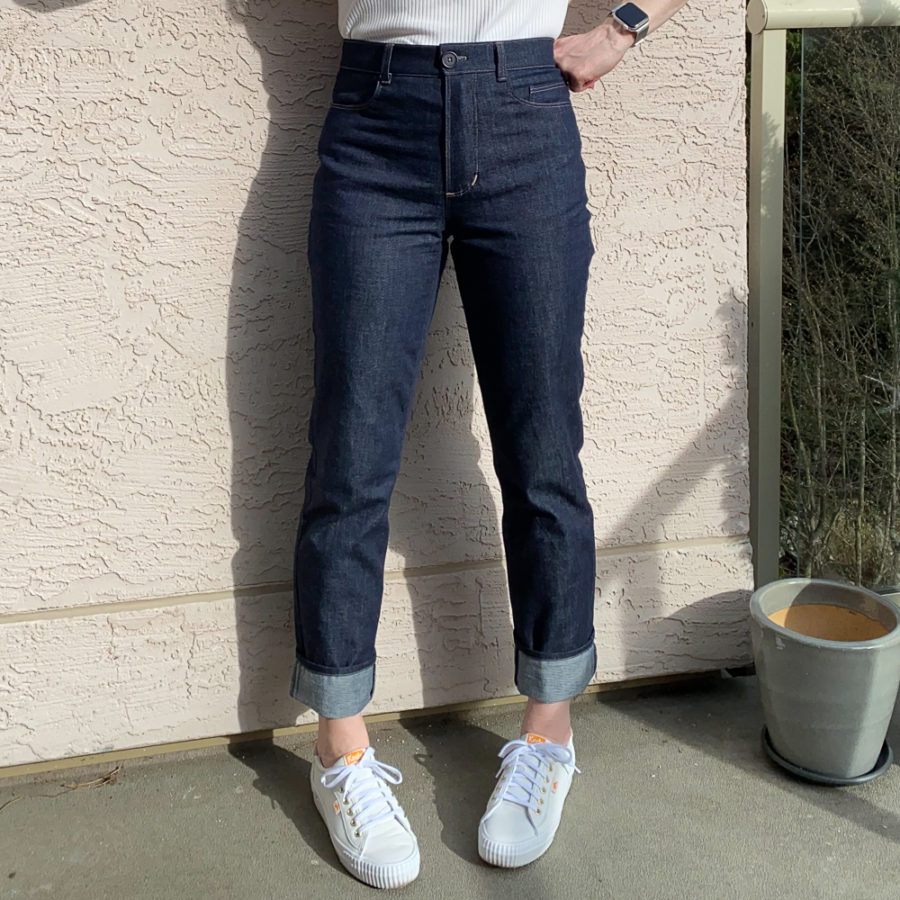
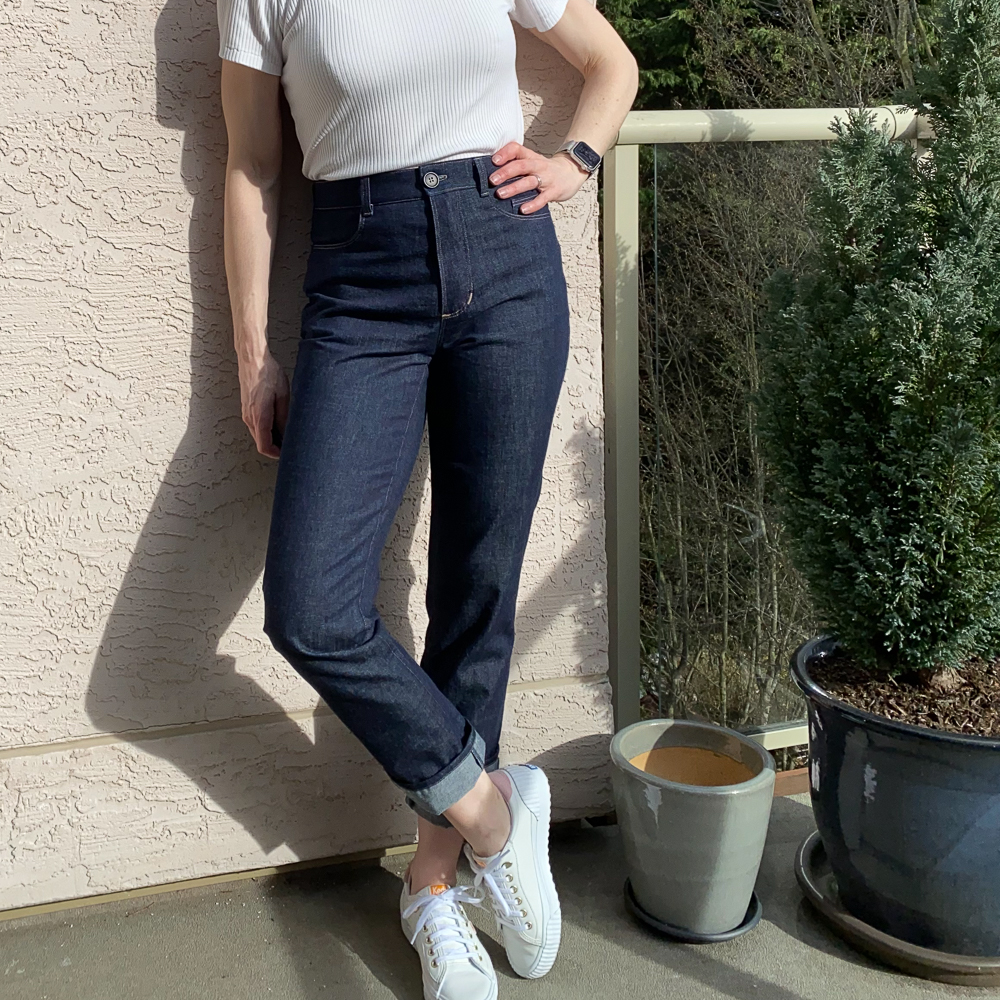
I took these photos between waistbands one and two and haven’t taken new photos. You’ll have to imagine them 1/2″ looser in each length and an inch bigger in the waist. They’re a bit slouchy now and I love them. I was wearing them as they ended up, post-waistband surgery, in my recent Ashland sweater post.
I love these ones too. The fabric is too light for them so they show some weird pull lines and wrinkles and I don’t know how they’ll hold up over time, but they’re a perfect weekend jeans – relaxed and a bit oversized.
But we still weren’t finished our group jeans and I really wanted to try a heavier weight non-stretch version, so I decided I needed to have another go. My two friends were shaking their heads at me, but after the number of pairs of jeans I’ve made, sewing a pair in an evening isn’t all that difficult, once the pattern has been figured out.
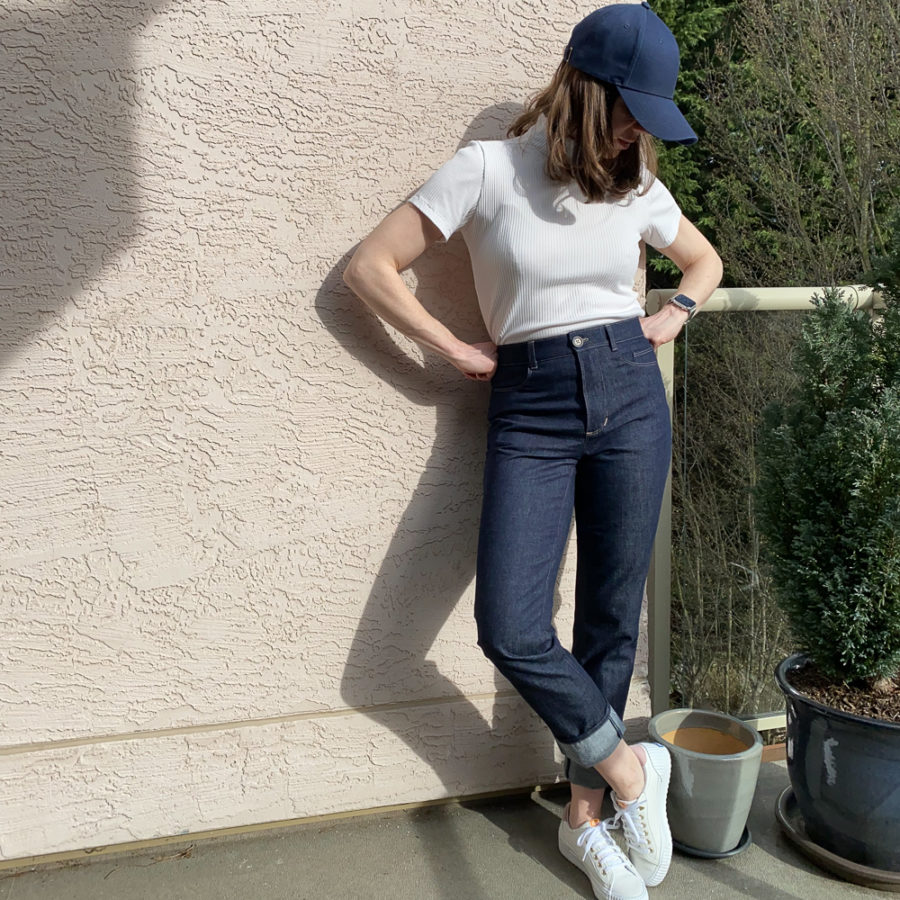
Medium-weight rigid denim Brook Jeans
Fabric: 10.5oz upcycled denim in the colour confetti fleck (100% upcycled cotton) from Blackbird Fabrics
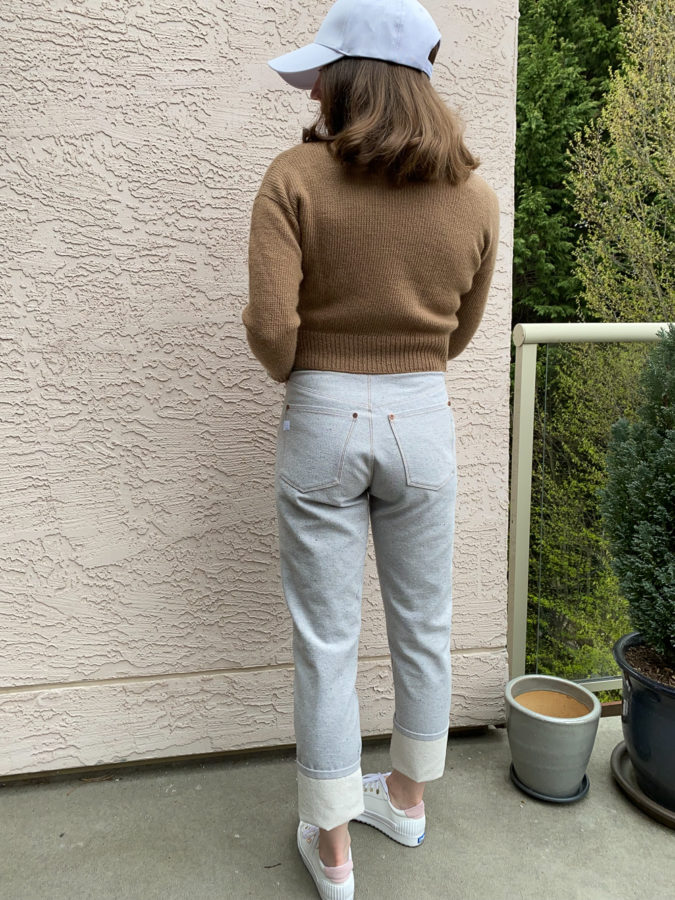
For this version, I was feeling confident. I only cut them out an extra 1/4″ bigger than my stretch version at each outer leg seam. I’m not sure what I was thinking. I could barely get the baste fit over my hips. I reduced the seam allowance at the side seams as much as I could and they ended up darn perfect. Note to self: add a full 1/2″ to the side seams for future non-stretch versions!
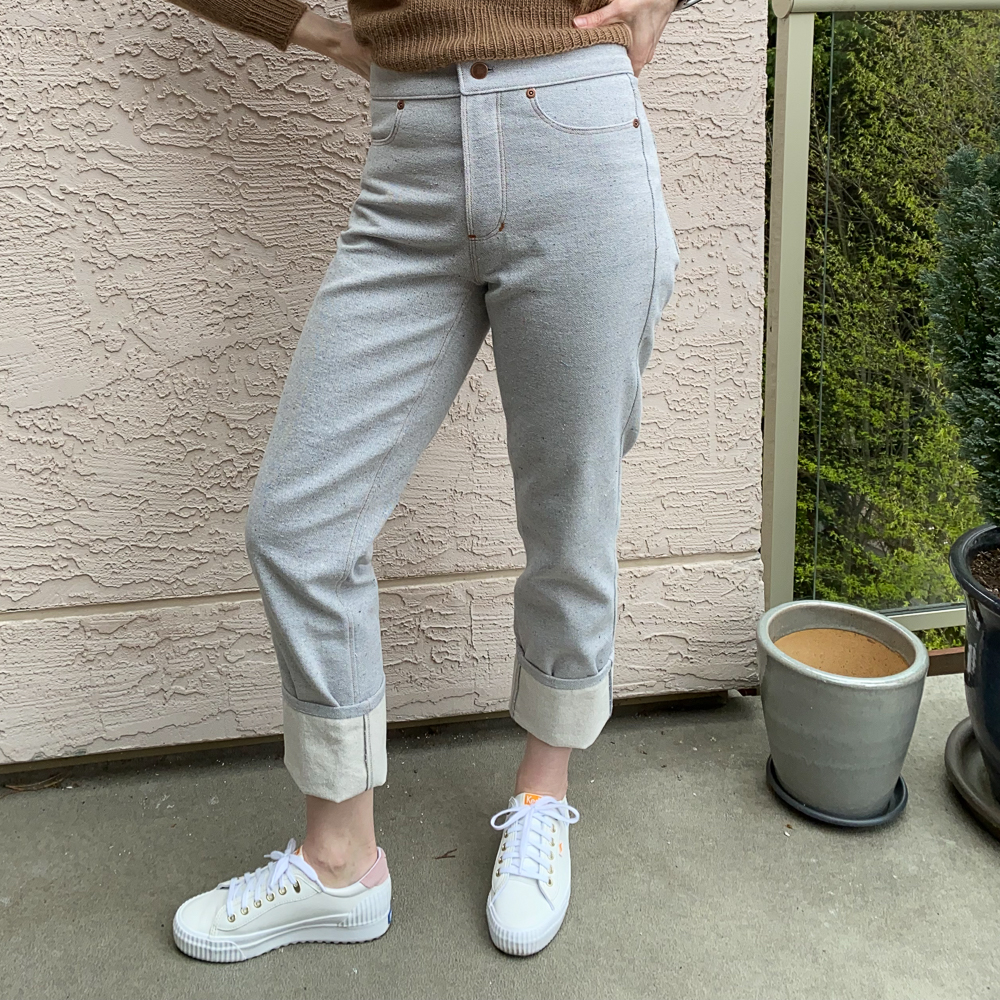
It all worked out in the end though. These ones are great. The colour is a bit lighter than I thought it would be when I purchased the fabric, so I feel a bit precious about them, but they’re also so cool and I’ve had a ton of compliments on them, and the fabric, since I made them.
The cheeky back pocket label and the copper topstitching, rivets and buttons are my favourite.
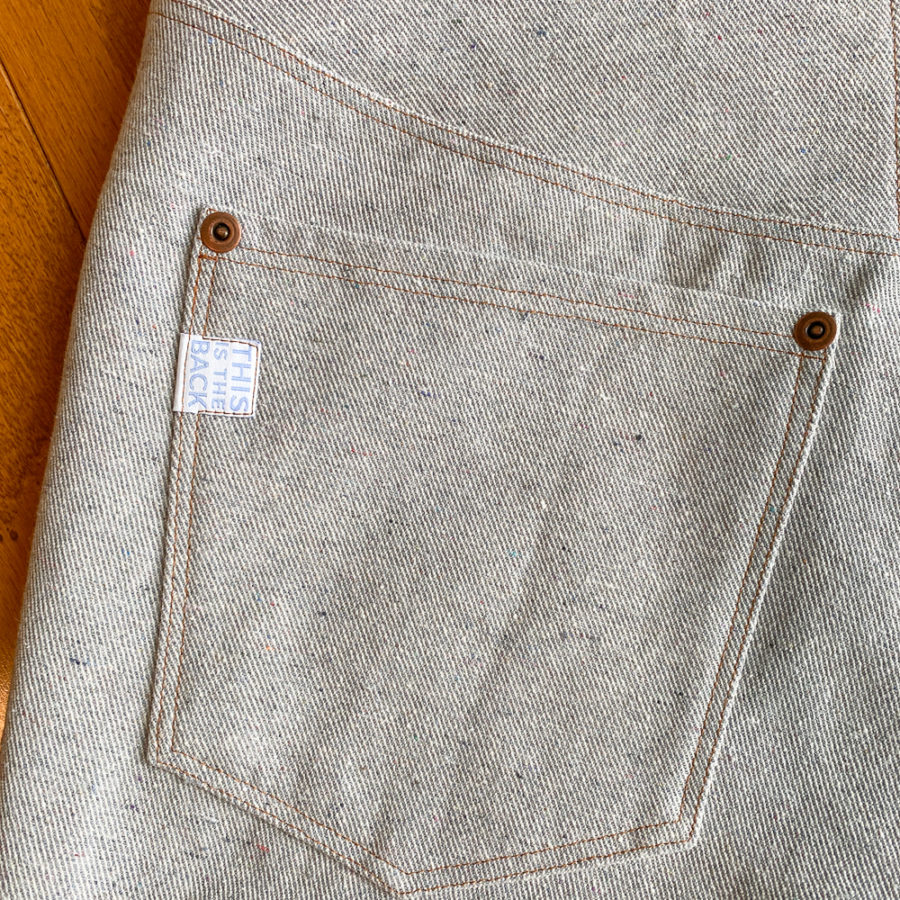
These ones also have a bias bound outseam. I love the little topstitching detail on the right side and I decided to do the same thing with the outseam pocket topstitching, forgoing the traditional bar tack. I really like how clean it looks.
So which pair is best?
- Comfort – the black pair
- Style – the confetti fleck pair
- Yard work and washing the car – the indigo pair
I’ve made so many pairs of Ginger Jeans, I didn’t think I’d ever find a better jeans pattern. And this one isn’t better. I used a lot of the Ginger Jean parts to make them. But I think the Brooks are on par. It’s a different jean. The Brooks Jeans are more relaxed, particularly through the leg but also across the hips and thigh. I’m enormously into the chunky single rolled hem right now. I like that they work best with heavier denim and that they are higher waisted than the Ginger Jeans without being too high waisted. They’re perfectly high-rise for my short waisted self.
Judging by my toiling experience and the subsequent rigid denim adjustments I made, I am sure that you should choose your size for this pattern based on the finished garment measurements, not the recommended size. I’m probably making around a size 2 or 4 for my rigid versions, with a larger waist, not the size 6, 8 or 10 that is recommended for me.
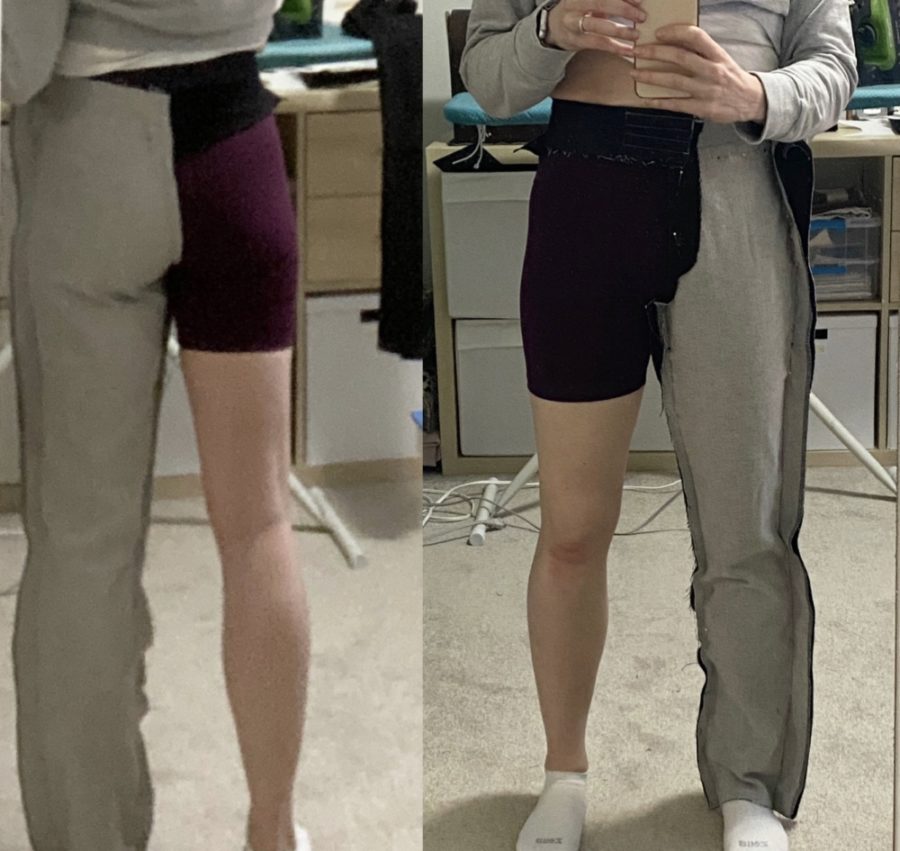
The Top Down Centre Out method was challenging, mostly because we went off script and used a stretch fabric. I also tried it for the first time while teaching my very inexperienced friends, and used a pattern with a yoke,. This had its own unique set of challenges that I’ll get into in my next post. But I’m so happy I tried it and am thrilled with the result it gave me.
I took so many pictures of these jeans. See my Instragram for more. Stay tuned for the next post all about teaching two friends (one of whom had never sewn much more than a tote bag over a decade ago) how to make jeans. It was a journey.
Thanks for stopping by!
~ Lindsay
P.S. I’ve turned off comments on my blog so the best way to connect with me is instagram or email. I have been inundated with spam for years and I finally got tired of moderating it and trying to sift through it for real people’s comments. It’s always lovely to hear from you though so please feel free to reach out.