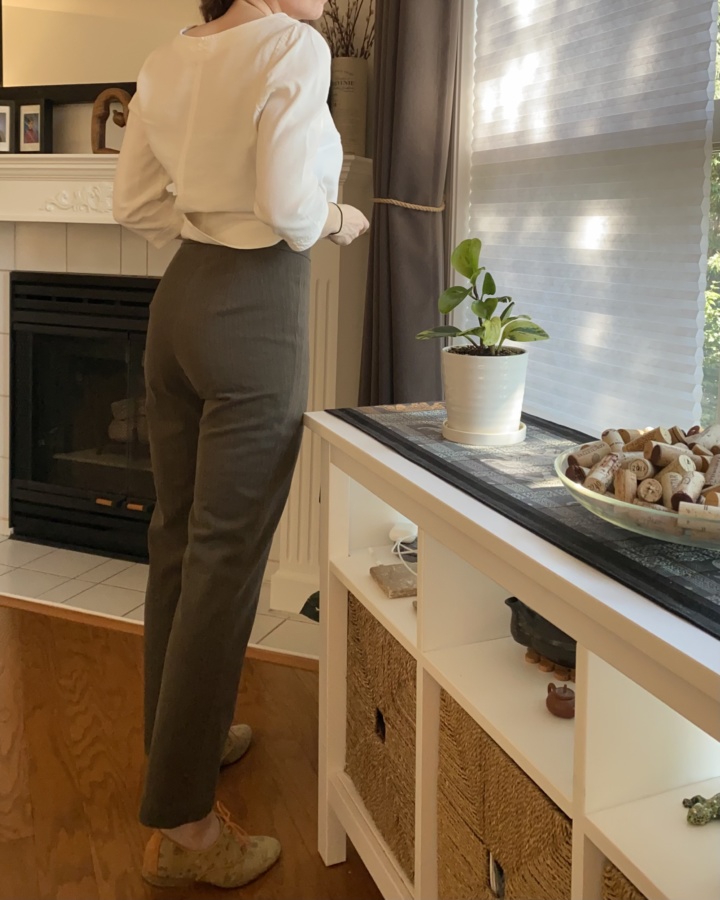
Today, in the category of pants I’ve planned to make for literal years and finally got around to, only to find out that they’re pretty much perfect for me and I should have made them years ago: Closet Core Sasha Trousers.
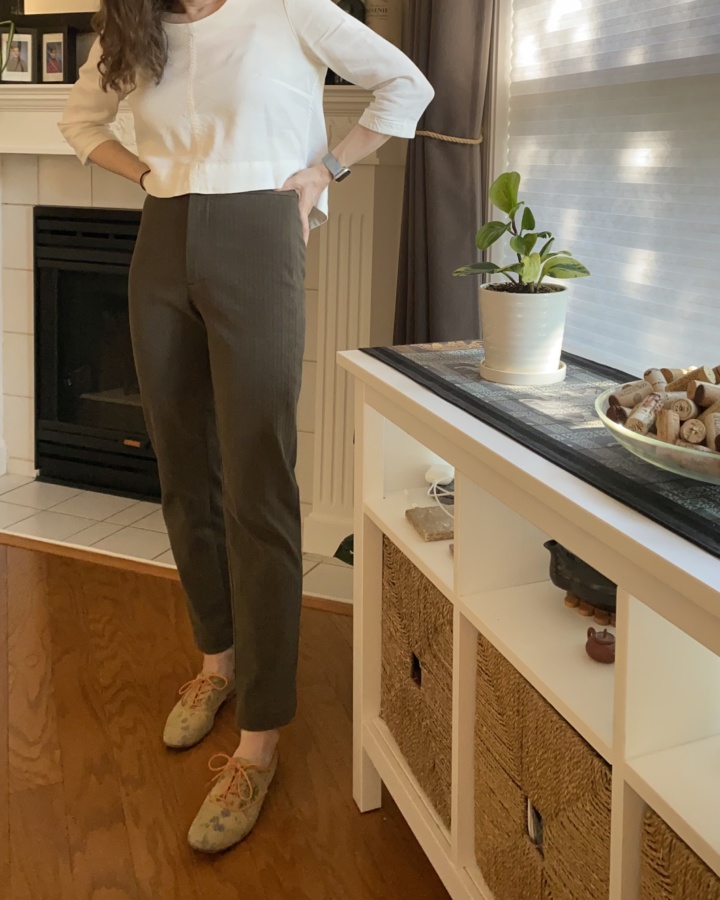
The simple thing that kept me from making these trousers for so long was their rise. I like high rise pants. This is a medium rise pattern and I let that stop me. Making them high rise was simple, once I finally decided to just do it (step by step details below). I wanted to continue narrowing the waist as I increased the rise so I ignored the lengthen/shorten line and just extended the top of the front and back leg pattern pieces and extended the dart legs at the same angle they already had.
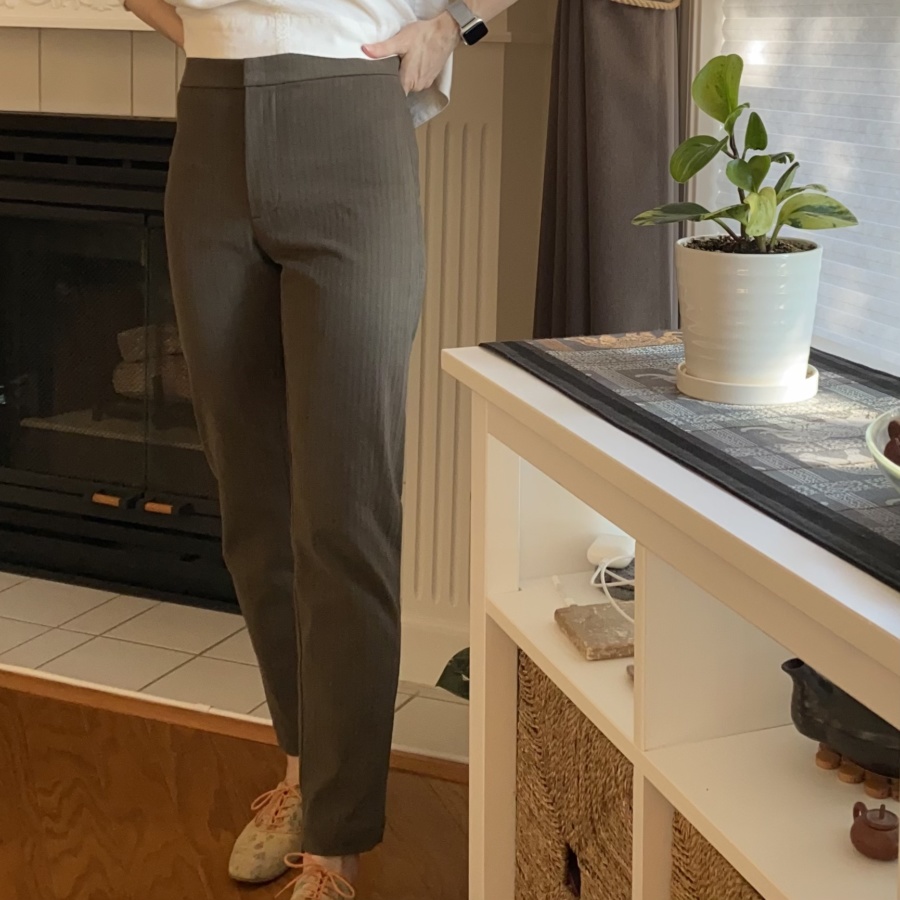
Because I hadn’t made these before and was changing the rise considerably, I decided to start with a wearable toile. I used 1.5 metres of some $6/metre cotton/poly blend stretch suiting from the special area at the back of Gala Fabrics (where I also found the stretch suiting I used for my Pietra Pants). I decided not to put any pockets in. I knew I’d want to change the angle of the front pocket openings and that the back pockets would be too low with the additional rise. I decided to just focus on getting the fit right for this first pair.
Here’s how I made high-rise Sasha Trousers:
- Started with the size 8, cropped length (as recommended for my measurements)
- Added 5cm (2 inches) to the upper edge of the front leg, back leg and fly facing pieces
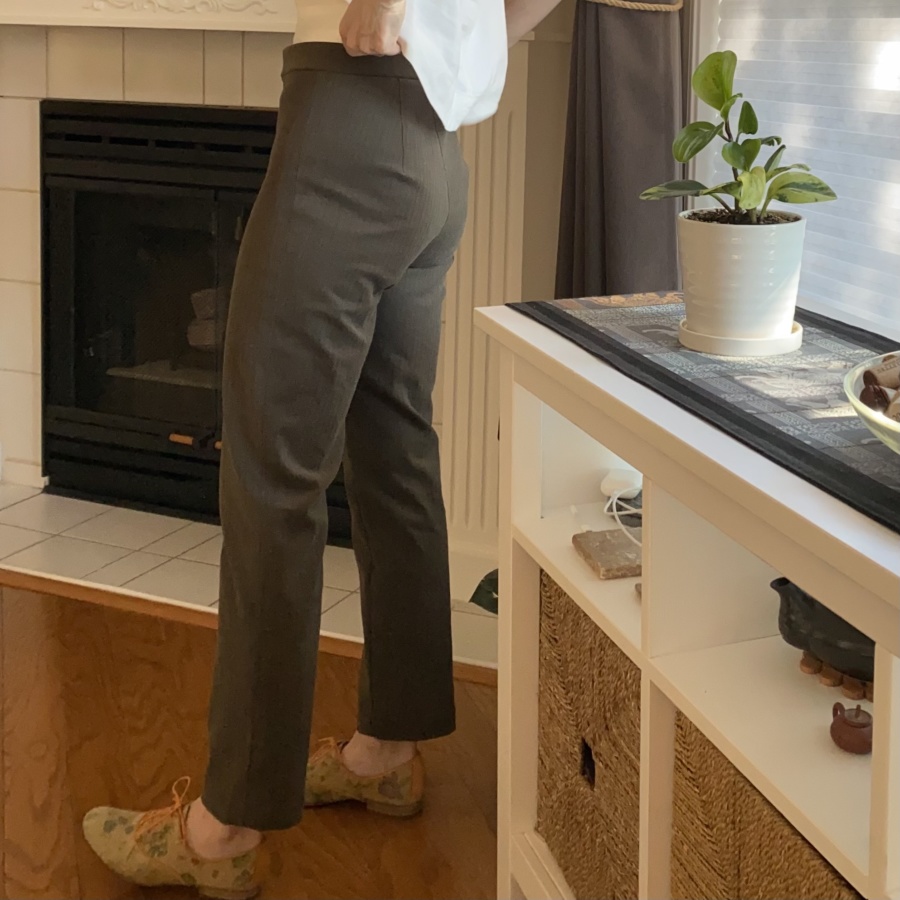
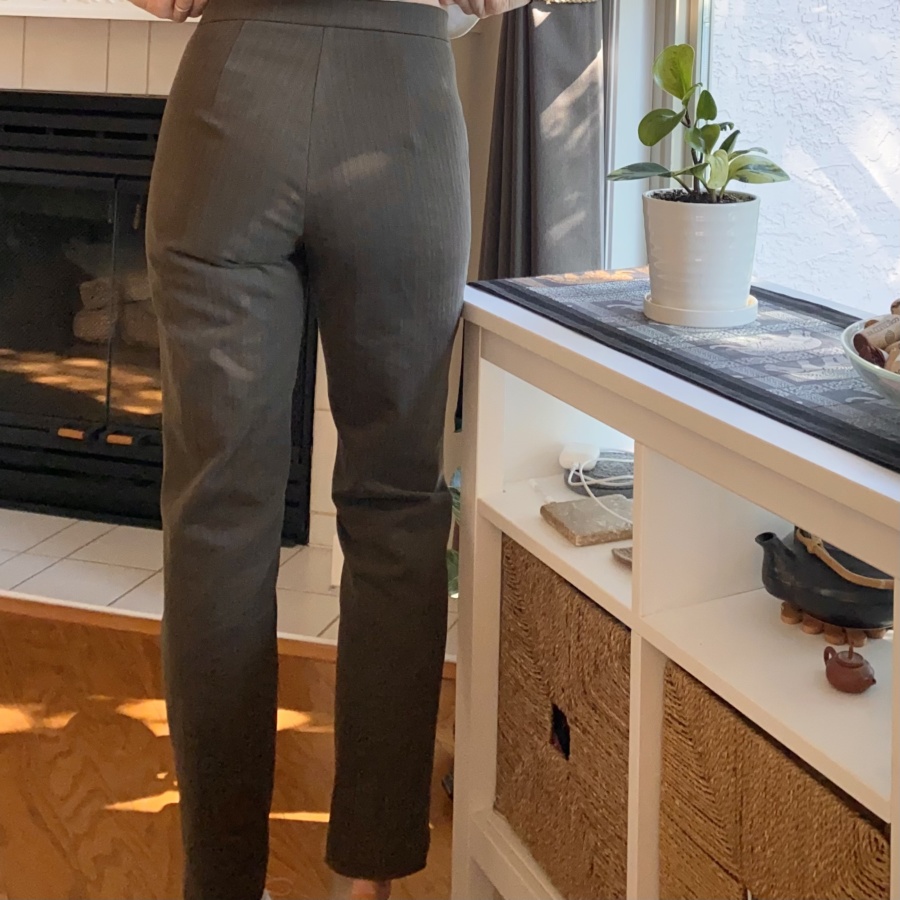
- Drafted a straight waistband (rather than the curved one that came with the pattern)
- Thread marked the original rise on the front and back leg pieces so I could go back to it if I needed
- Cut everything out
- Installed the zip fly (opposite of the pattern because I’m used to a right opening zip front)
- Finished the front and back crotch seams
- Sewed the back darts as drafted
- Basted together the side seams for a test fit
- Took in the side seams by 2cm at the waist on each side (4cm total waist reduction), tapering to nothing just below the hip notch
- Marked the rise I wanted, taking into account the width of the waistband, and cut off the excess
- Sewed them up
The total amount I ended up adding to the rise in the end was 3cm, both front and back. My method of adding more rise than I needed at the beginning and fitting at the side seams worked well. Now that I’ve got the fit figured out, I can add the front pockets back next time.
I’ve already worn these to work on my bike and they were great. Their ease is perfect with the slight stretch of the fabric. Comfort-wise, they’re pretty good. Not as comfortable as the half stretchy waistband of the Pietra pants, but far more comfortable than my Lander pants. They’re maybe a little bit high in the rise, but I want to be able to wear cropped tops with them so I think I’ll leave them.

I’m pleased I did so well on my first try with this pattern. It’s sure to become a TNT for me. I’ve already got a second pair cut out and fabric for a third pair waiting. I’m adding the front pockets in for version two. I’ve changed up the angle of the opening and I want to test that out, as well as how having pocket stays feels, before making pair three.
Why all these work pants? I’m starting a new job after Thanksgiving that will require I spend more time in an office. As much as I prefer to work from home, it’s a great opportunity and I’m looking forward to something new after 14 months spent trying to like my current workplace (and not succeeding). It’s a good change and I’m rewarding myself with some new work clothes. Stay tuned for more to come.
Thanks for stopping by!
~ Lindsay
P.S. I’ve turned off comments on my blog so the best way to connect with me is instagram. I have been inundated with spam for years and I finally got tired of moderating it and trying to sift through it for real people’s comments. It’s always lovely to hear from you though so please feel free to reach out.