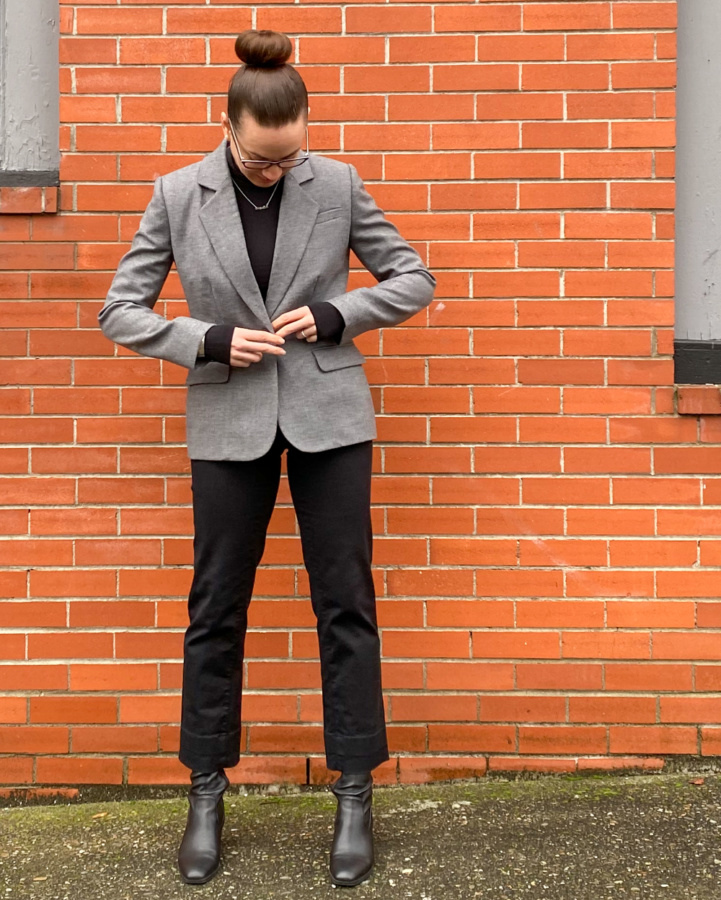
I decided to make the Jasika Blazer in the late summer of 2019. I picked up the wool in Florence, Italy from Bacci Tessuti in October 2019, grabbed the Learn to Sew a Classic Blazer Closet Core course on sale in November 2019, put it on my 2020 Make Nine… and then a pandemic hit and I started working from home and lost all motivation, because when was I ever going to need to wear a blazer again?
But one of the main reasons I wanted to make it in the first place was to learn and be able to apply what I learned to future makes. So I decided to quit procrastinating and just do it already. I made and altered my muslin and pattern, and cut out my fabric in October… and then I sat on it AGAIN for two more months. Why? Because I was daunted. I knew it would be work and I needed turtlenecks and leggings (if you follow me on Instagram, you know – you’ve seen the ninja suits) and I wanted to knit and… and… Enough already! Make the freaking blazer, Lindsay!
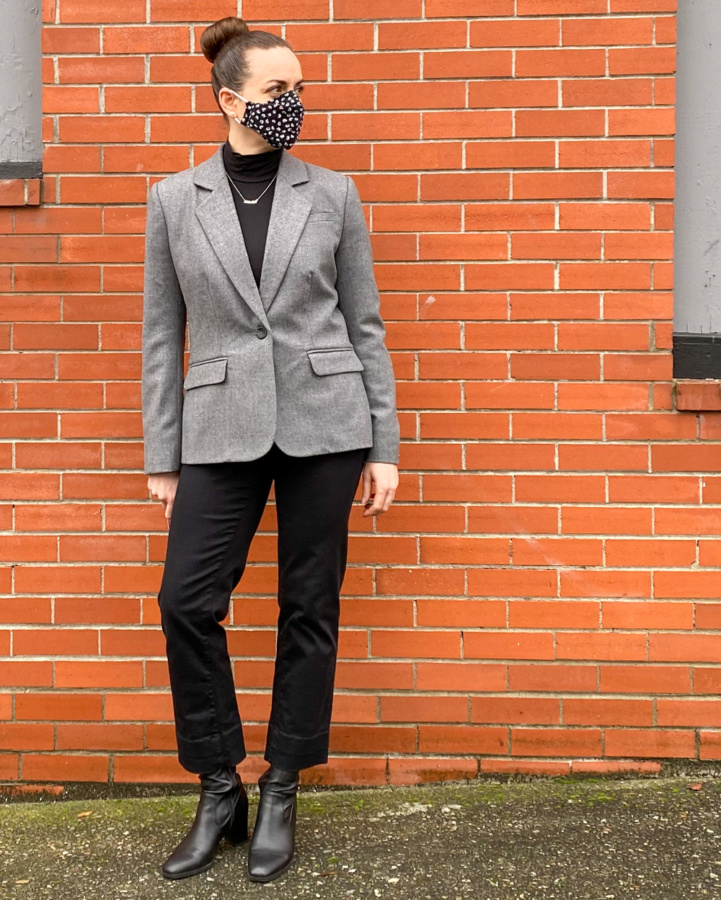
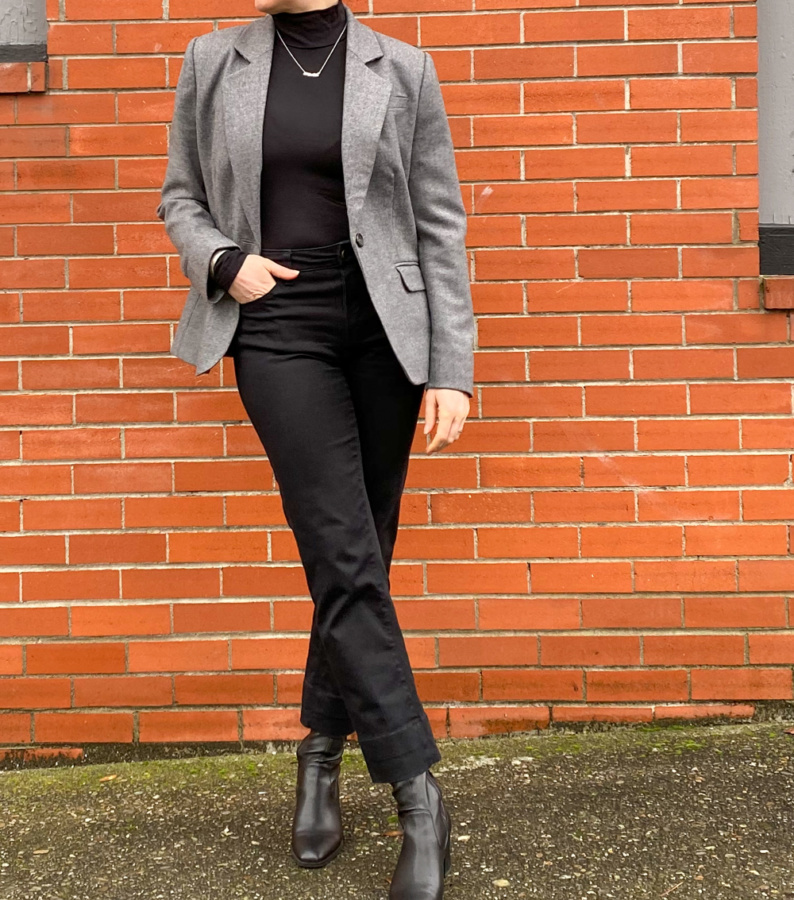
So I made the freaking blazer and it wasn’t that hard – it was actually really neat and interesting and totally worth the effort, if not the year-long procrastination.
Here are the sizing details and the mods I made:
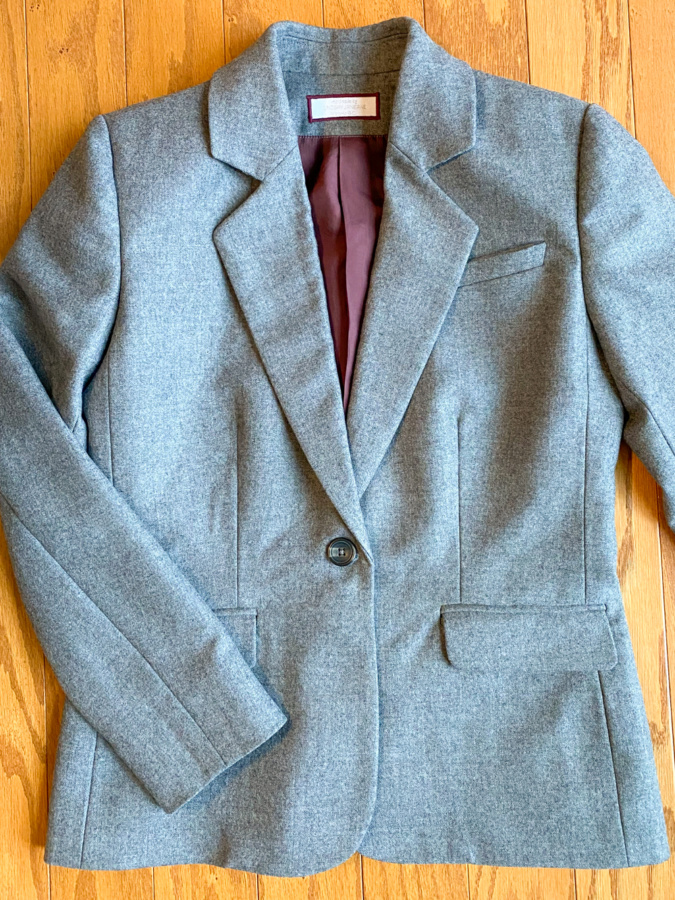
- Cut size 6 based on finished measurements (my body measurements put me at a size 8)
- Made a real muslin out of cotton muslin
- Shortened sleeves 1/2″ at the lengthen/shorten line and then another 1/2″ at the hemming stage
- Shortened body pieces 3/4″ at the lengthen/shorten line
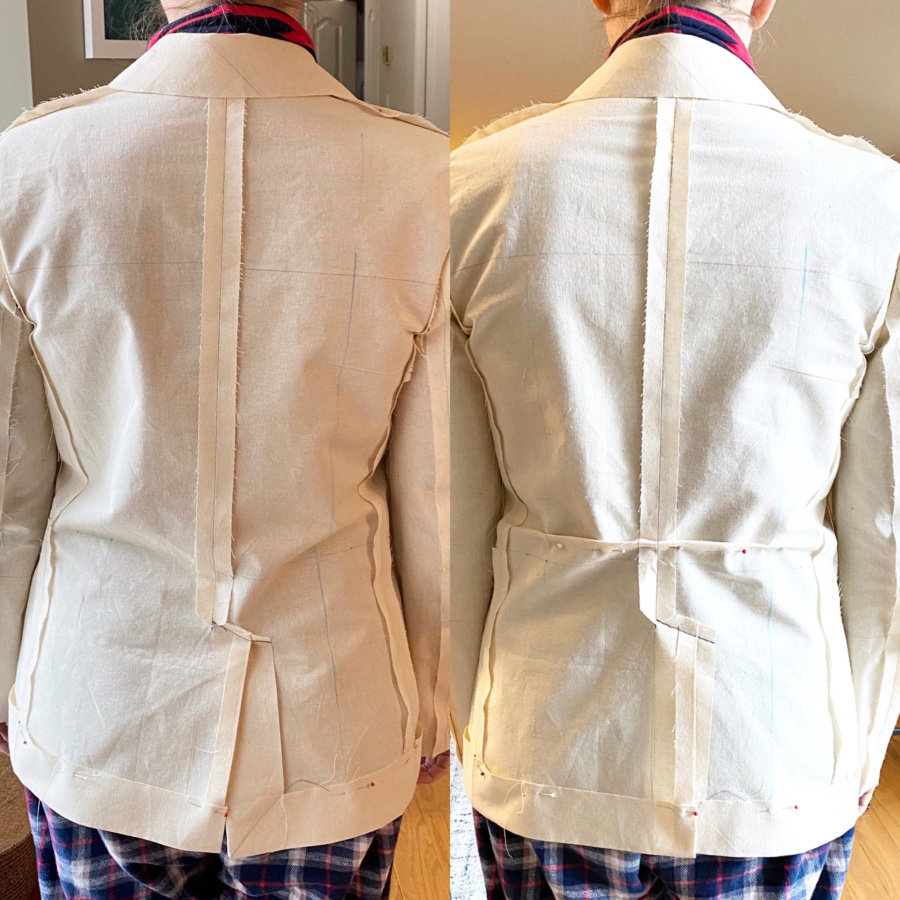
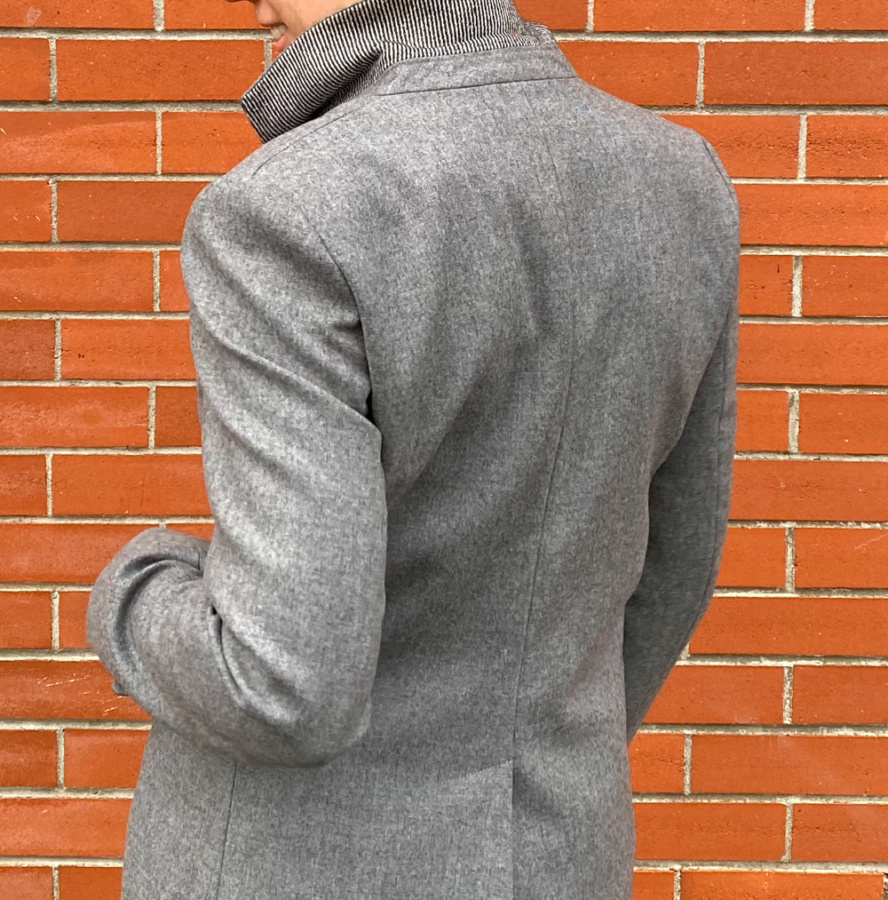
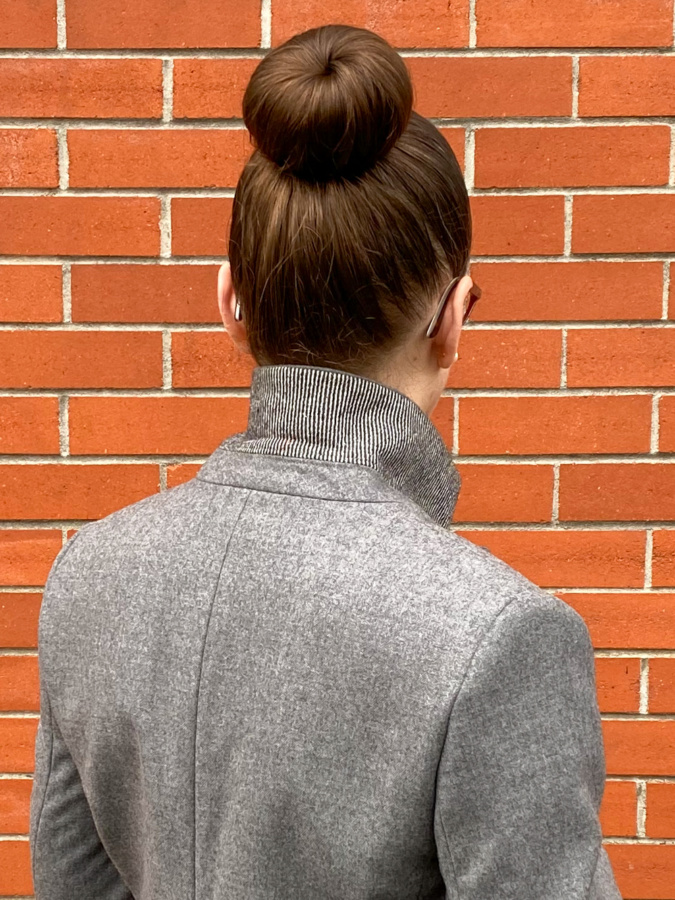
- 1.5 cm high round back adjustment, tapering to nothing at the armscye
- Forward shoulder adjustment 1 cm at the armscye, tapering to nothing at the shoulder
- Added 1/4″ width at the lower back armscye and the upper edge of the side back seam, tapering to nothing at the first double notches
- Re-drew a new back fusing piece
- 1″ sway back adjustment continued across the side pieces, tapering to nothing at the side front seam
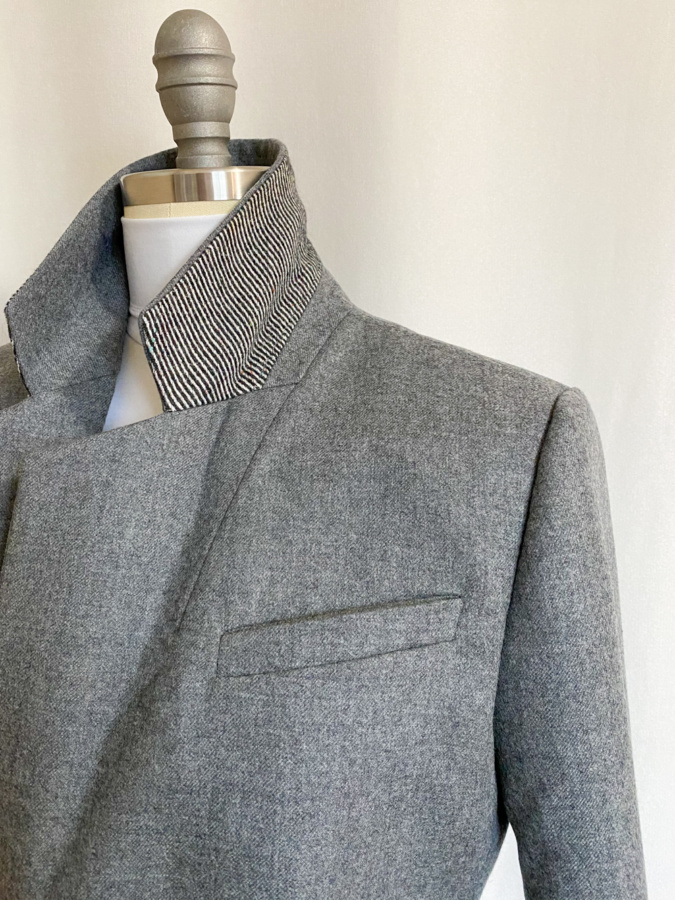
- Shortened the lapel by 2 cm at the neck edge to reduce gaping, tapering to nothing at the bottom of the armscye
- Scooped out the armscye on the side piece by 1/4″ at the bottom and front
- Added 1/4″ to the outside edge of the front side seam on the side piece, tapering to nothing just below the first notch (so the upper edge of the pattern piece retained the same shape as the original)
- Added extra fullness to the front sleeve head to accommodate my forward shoulders
- Shortened the lower pockets because they interfered with my shortened hem
- Remembered to transfer all these edits to the facing, fusing and lining pieces!
I learned a lot on this project. I highly recommend taking the course, just for all the tidbits on pressing that Heather provides. Now that I’ve been through the course, I may never sew in a sleeve without first hand basting again. I also plan to adopt horse hair canvas, twill tape, catch stitching, and properly shaped sleeve heads (there’s a free pattern download for them included in the course) into all my future jacket and coat makes.

Now for the things I’ll do differently next time – not to tell you everything that’s wrong with it but to help you avoid the same mistakes I made.
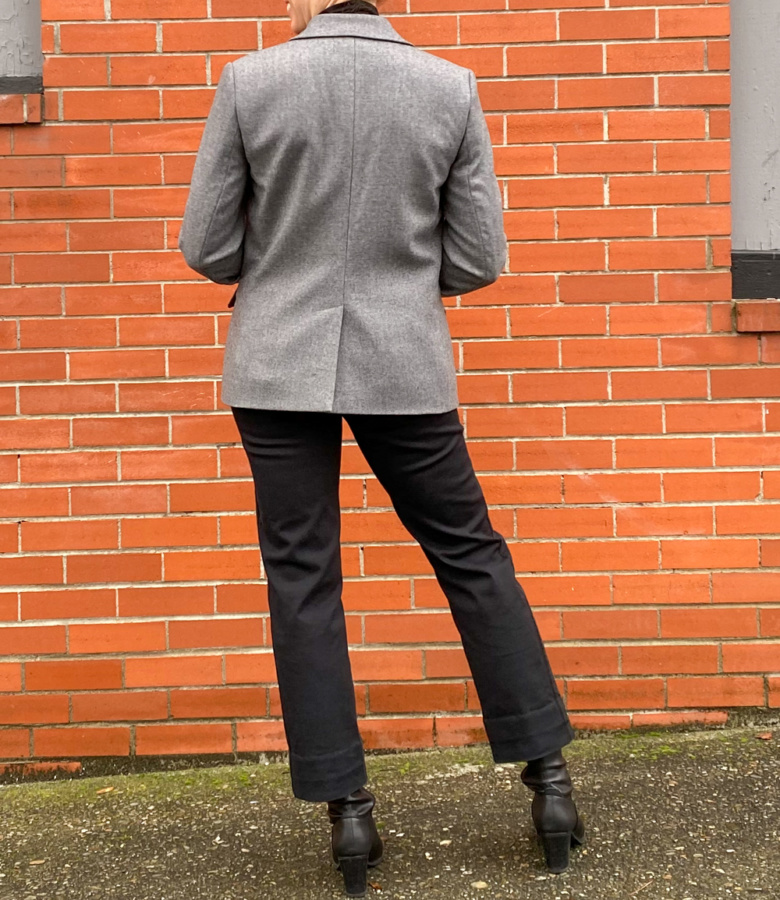
- I need to re-muslin to improve the fit in the waist and hips. I’m happy with the shoulders but I want to get a closer fit in the back waist in particular.
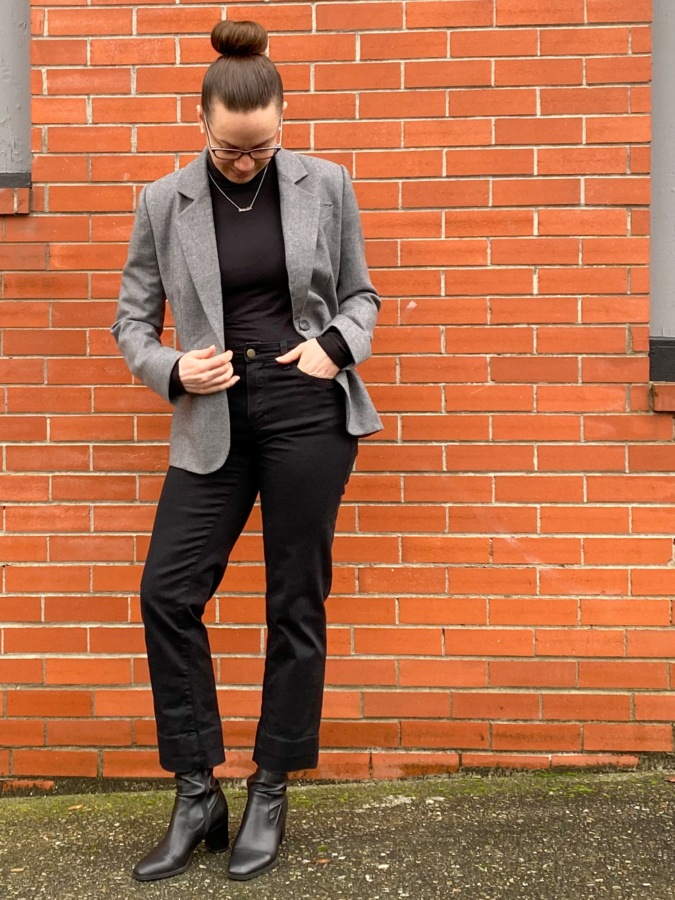
- I’d also like to balance some of the length reduction between the top and bottom. The button placement and the roll line on the pattern are too long for me. My button is about a half inch higher than on the pattern. This means that the fold at the bottom of the lapel isn’t as neat as I’d like because the twill tape extends past that point.
- Next time, I may not have a vent. I can’t decide if I like it or not.
- My lower welts could be much better. Next time, I’ll take more care to make sure that the width of the welt pieces after stitching exactly matches the space between the two lines of stitching. I’ll also stabilize the bottom of the lower welts more next time to ensure that they don’t stretch.
- I’ll take more care with my lower pocket flaps as well. I wasn’t thinking and sewed them with the wrong seam allowance at first, then had to recut them, and sewed with the wrong seam allowance again. So by the time I was on my third version, I wasn’t taking enough care and they’re a little wonky.
- Next time, I’ll narrow the sleeves in the lower arm – these feel wider than I’d like, though the width does make rolling them easy.
- Most importantly, I’ll stress about it less if I make it again. It’s not difficult and it’s definitely not worth the year of procrastination and feeling daunted.
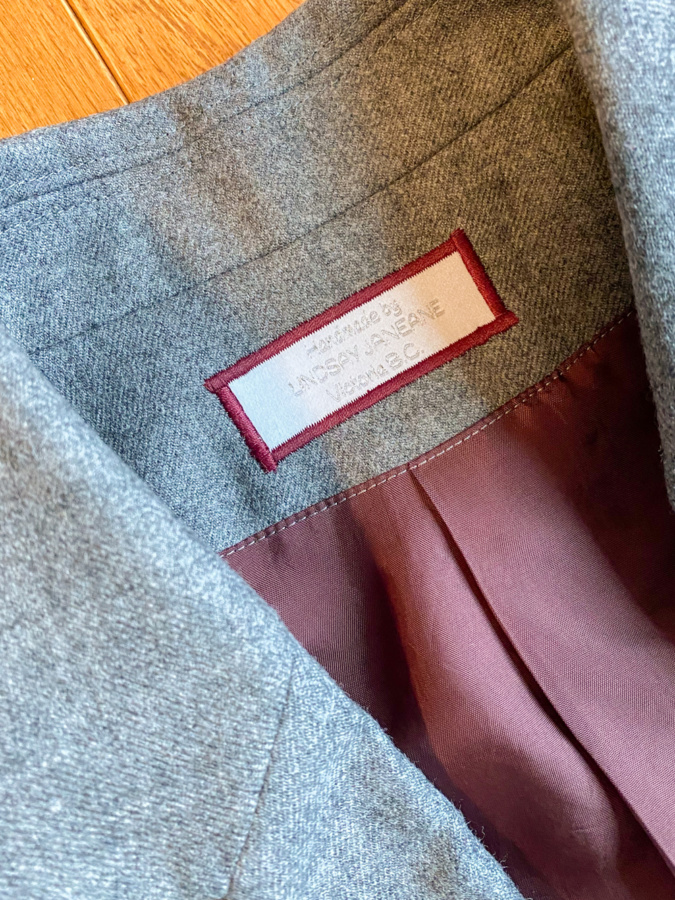
I also can’t end this post without a mention of the wool. It is beautiful. It’s relatively light weight but densely woven with a lovely soft hand feel and was magical to work with, even when I had to pick out my first failed buttonhole. I have another almost two metres remaining that I plan to make a fitted dress out of and I couldn’t be more pleased with how my fabric purchase from our honeymoon turned out.
Now, to take what I’ve learned and apply it to the coat for my husband that I’ve been similarly procrastinating on since I made him buy wool for it in Italy. At least I’ve already made him a toile!
Thanks for stopping by :)
~ Lindsay