I was cutting out a wool dress that I’d been planning for a while when I noticed I had more leftover fabric than anticipated. I’m not sure why but I immediately became obsessed with making the leftovers into something wearable, but before I’d even finished cutting out the dress, I went looking in my pattern library for a low-yardage option. My search came up with the Arielle skirt from Tilly and the Buttons.
I should note before I get into it, this isn’t a size inclusive pattern. It only goes up to a 47 inch hip. This pattern company has started introducing more size-inclusive patterns but none of their more fitted ones so far so it isn’t a company I purchase from anymore.
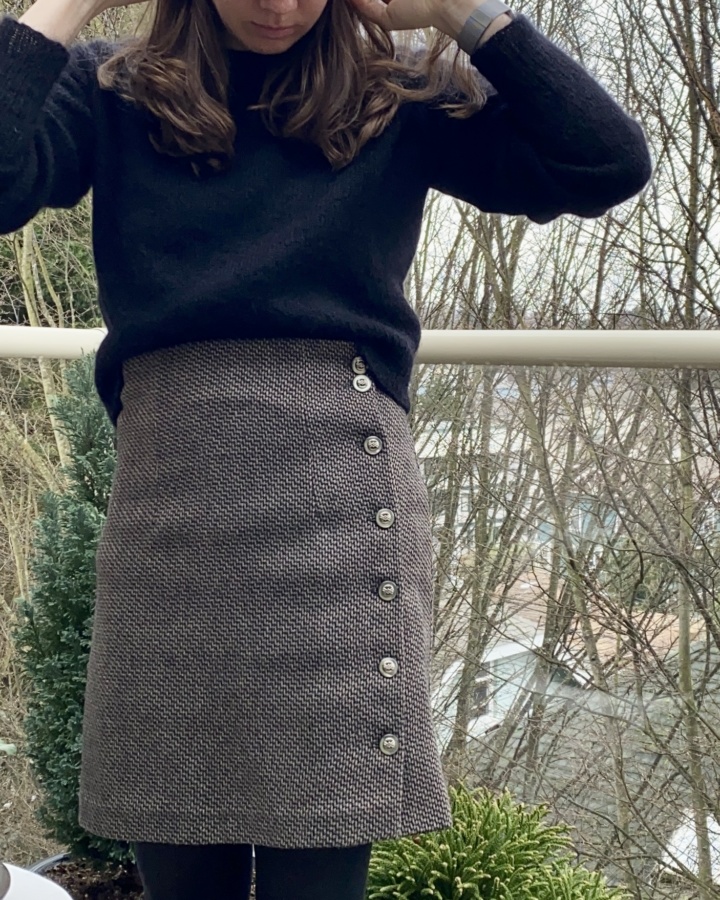
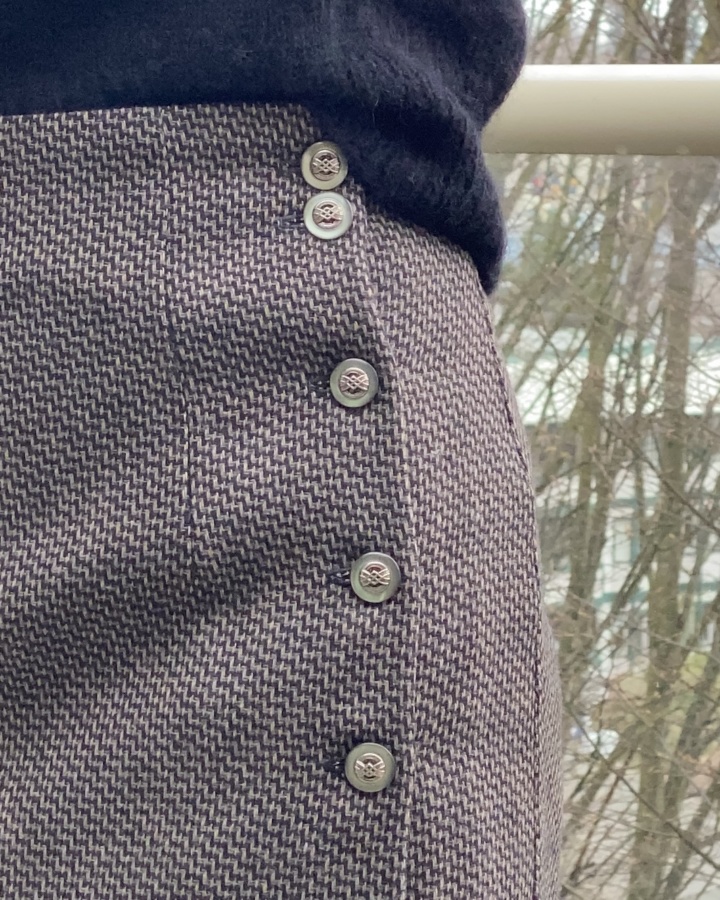
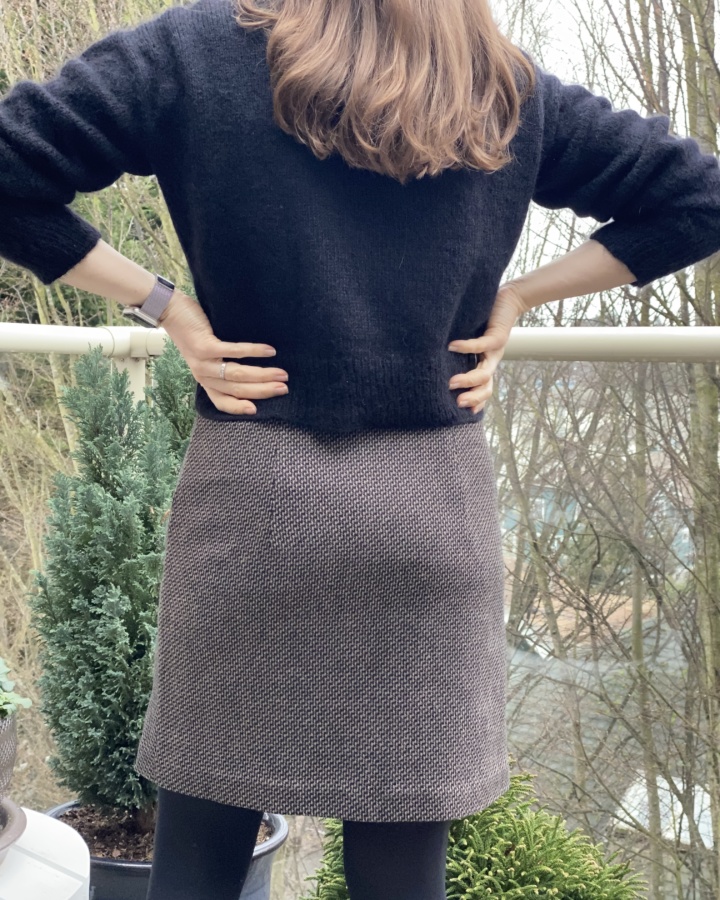
I’ve had this pattern for years but I’ve only made it once, back in 2018. I made that version from a stretchy faux leather and it ended up fitting poorly so I gave it away. It was the only pattern in my library that worked with the remaining fabric so I decided to give it another try. In my size, it requires less than a meter of fabric and it could be faced with a different fabric making it an even better scrap or stash buster. The asymmetric button closure gives the simple high-waisted straight design some interest and more options for customization. I had these buttons in a stash given to me by a previous coworker a few years ago so this was truly a stash-busting project for me.
Now for the notes (my current measurements are 29 waist and 35 hip):
- Cut size three in the waist, tapering to between size two and three at the hip
- Chose the sizing based on the finished garment measurements and it turned out well. It helps that this patten is a wrap closure with a generous overlap so it is quite adjustable.
- Added one inch to the length of the short version – if you do this, remember to alter the facings and lining as well and move the bottom notch on the facing down by the same amount because it shows where the lining should match up
- Got scared it would be too small and only took a half inch seam allowance at the open edges (which ended up being an unnecessary modification)
- Added double buttons at the top edge and a hook and bar on the inside for extra strength
This is a pretty quick and easy pattern overall but there is one bit of the construction that I found poorly designed. When making the lined version, there is a curve in the right front facing that you have to sew the lining to. The pattern instructions have you cut the notches on either side of this curve to the full 5/8 inches of the seam allowance and trim the seam allowance on both the facing and the lining down between the notches to 1/4 inch. I was using rayon Bemberg witch is notoriously shifty so I found it far easier to just stay stitch the lining along the 5/8 inch stitching line and cut a few notches in the facing. I sewed the curve with the lining facing up so I could see the stay stitching line and make sure I wasn’t catching any pleats. The two came together easily and I didn’t have to worry about any holes caused by cutting large notches up to the stitching line. Stay stitching is also a much easier way to keep the seam allowances consistent, particularly with shifty lining fabric.

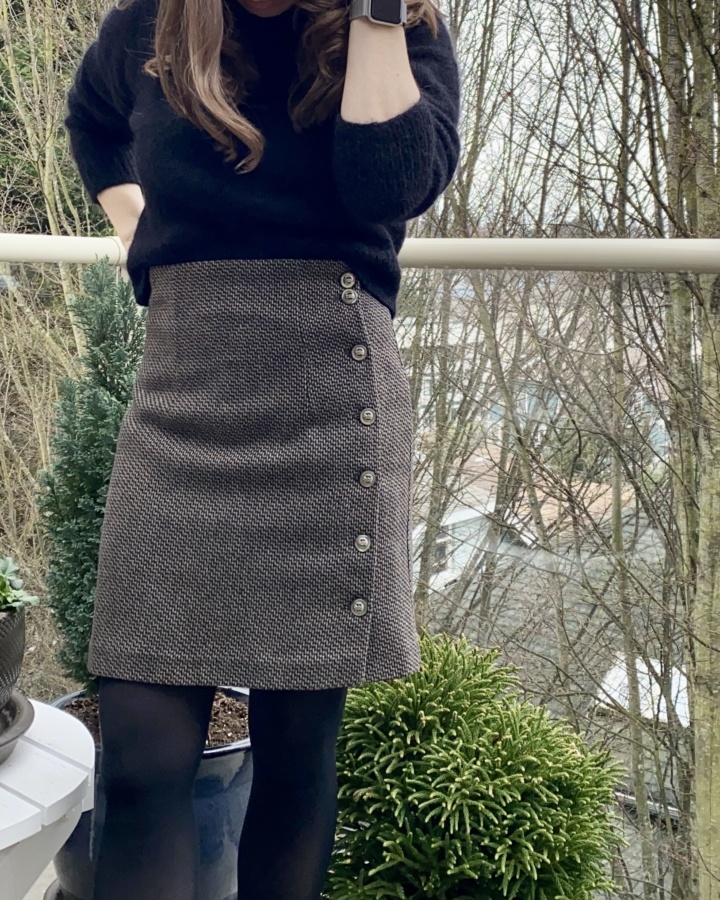
I’d like to wear more skirts. I have a few lovely ones that I’ve made but haven’t worn them at all this fall and winter season. Probably because I’ve continued working from home and have been living in leggings and pulling on jeans when I go out. It feels good to dress up though so I think I’m going to try wearing a skirt in place of jeans for weekend errands for the remainder of the month. Why not?
Before you worry, I did finish cutting out the dress including the lining and interfacing and I interfaced the pieces when I was constructing the skirt. So the dress is ready to go. I haven’t abandoned it completely, just momentarily because motivation struck out of the blue, I went with it and I’ve got no regrets.
Thanks for stopping by!
~ Lindsay