I’ve been bitten by the shoe making bug this year and have spent the first part of the year accruing supplies and watching SO many videos of shoe repair on YouTube. It’s become a true obsession. Before I get started on real shoes though, I thought I’d brush up my skills with a few more pairs of sandals – starting with a second pair of Shoe Camaraderie Astrid Sandals.
I first made these sandals last spring and was pretty thrilled with how they turned out. That being said, they were y first pair and there were some things I’d change, which I outlined in my Astrid Sandals blog post. Mostly, I was looking for a tighter fit and slightly smaller foot bed, but I also wanted to try doing everything myself this time, including the final sanding.
Before I get into my notes, if you don’t already know, Lisa has now added mini video courses on each Shoe Camaraderie sandal style. These courses didn’t exist when I purchased my pattern but I’ve seen that some of the videos for this style and they are much better and more descriptive than the ones I had access to when I made my first pair. I highly recommend the course if you’re nervous about making your own pair. Or you can just purchase the pattern and give it a go on your own. The link to the Astrid course is in the opening paragraph of this post.
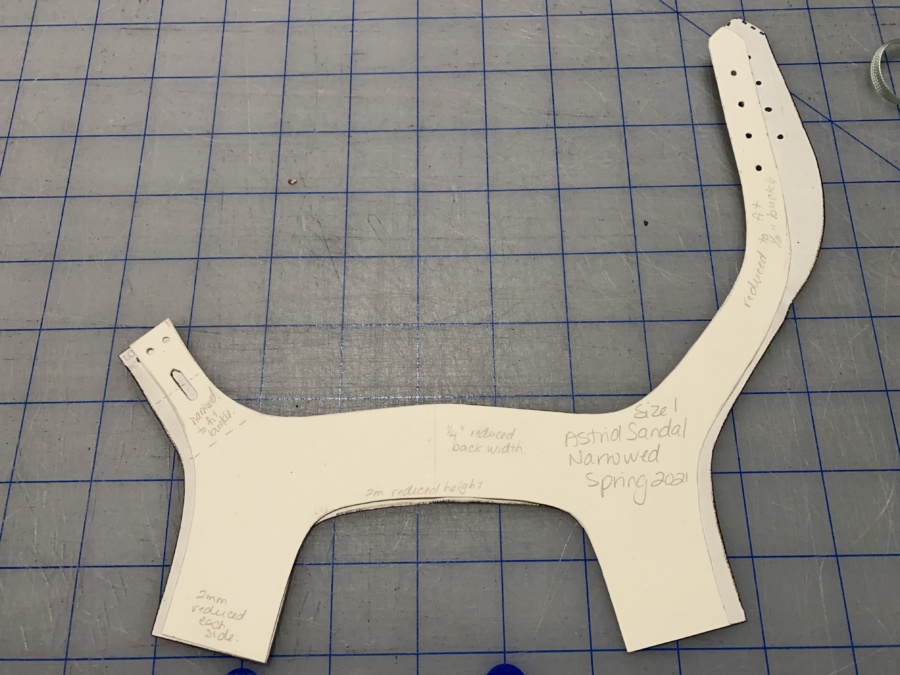
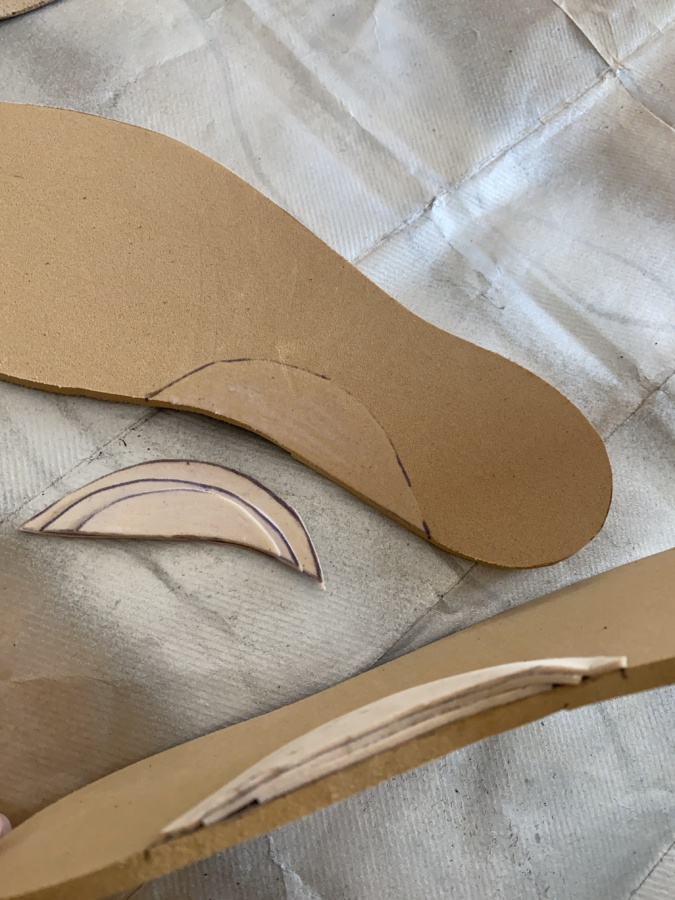
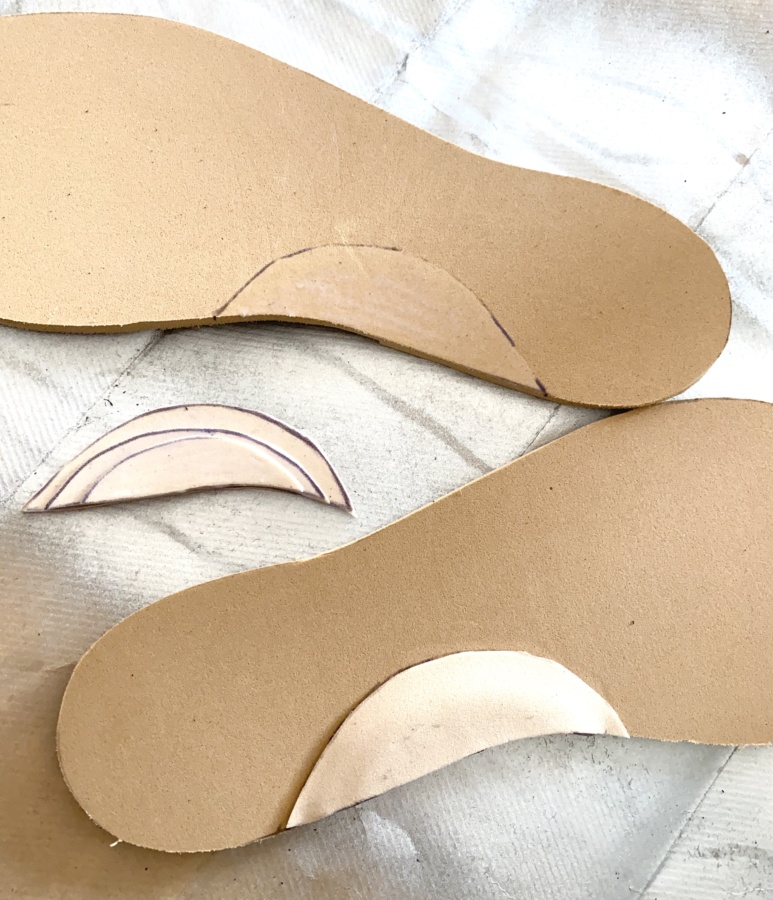
Now about mine. I started by redrafting the insole pattern to remove some of the excess forefoot width and length that I had in my first pair. I made a size 1 for the uppers but I found this a bit big for my 5.5/6 (36) foot on my first pair so I folded out 1/4 inch from the centre back of the ankle piece and about 2 centimetres on the front strap to move the bend of the strap closer (sorry for jumping between metric and imperial, at these small dimensions I use whichever system gives me the cleanest measurement). I also reduced the width of the ankle strap to accommodate my half-inch buckle and reduced each side of the main front piece by about 2 mm on each side. Here is a photo of my final ankle piece shown over the original size 1.
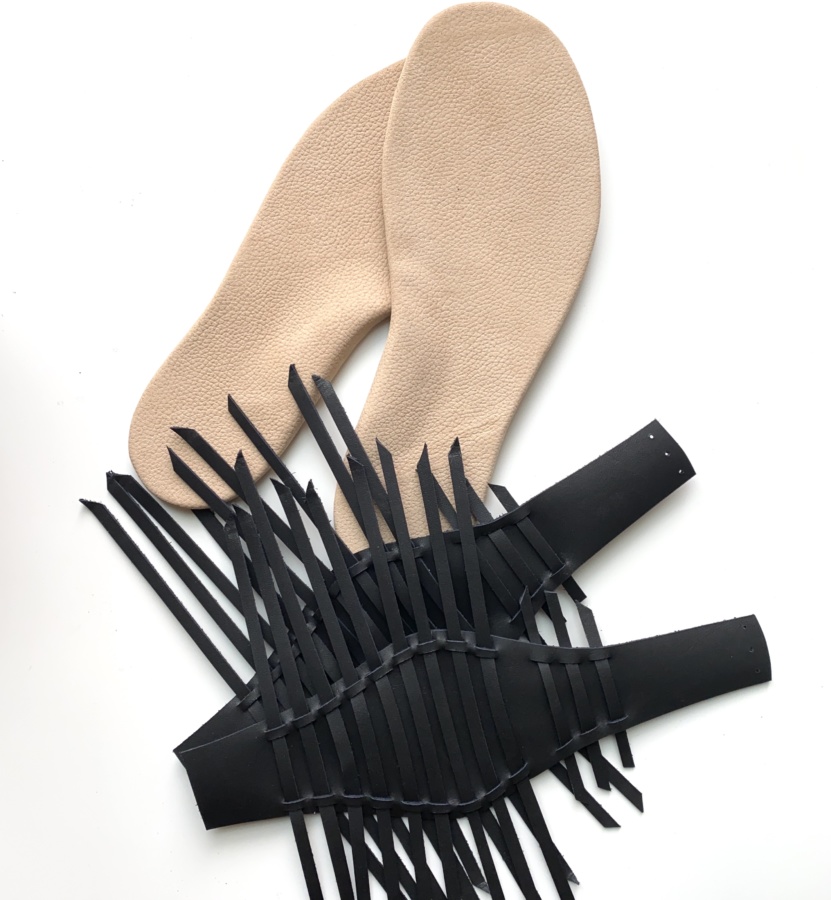
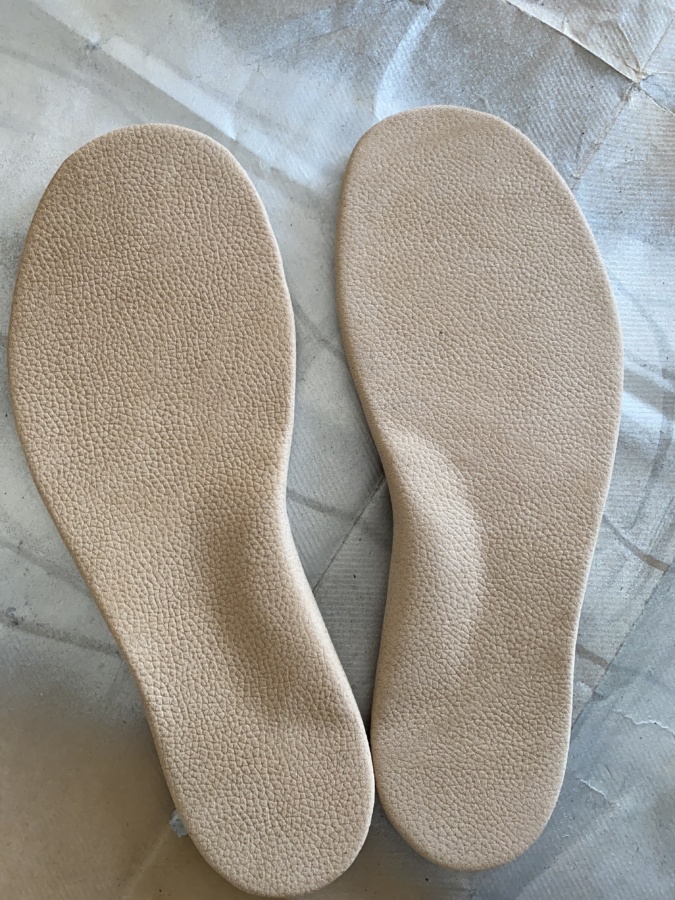
After my pattern mods, I moved on to cutting my leather. For my uppers, I chose something a little thicker and more structured than my white pair. It’s about 2 mm thick and has very little stretch. I learned from the I Can Make Shoes course that less stretch is better for sandals. For my insoles I used a very thin, maybe 1mm leather in a natural colour. I found both upper and lining leathers at Pat Bay Leather, a quirky little shop here in Victoria operated by Vern. He will definitely ask you to make him jeans or a shirt to trade for leather once he finds out you sew though ;)
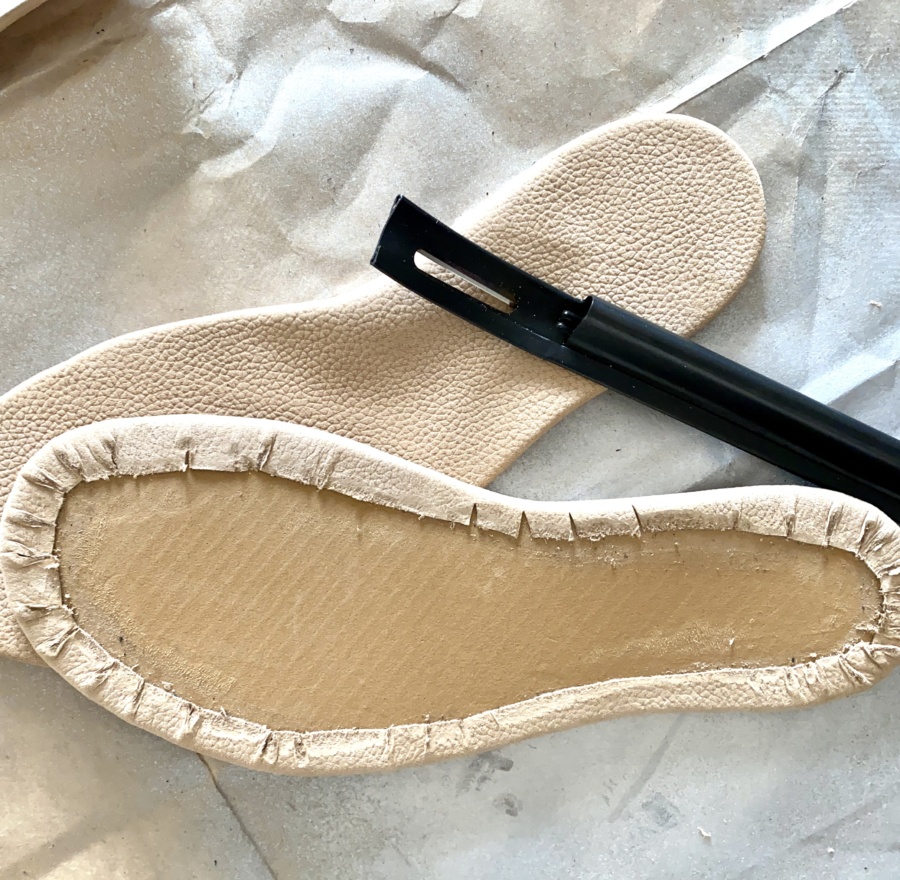
Being flat sandals, my first pair lacked arch support and felt a bit thin on the sole. I tried solving these two problems on this pair. For the arch support, I used the I Can Make Shoes arch support tutorial. Luckily I already had my supplies from I Can Make Shoes that I purchased with my course so had some thin insole foam, which I used to build up the little arch pyramids. I just guessed at a shape and formed my pyramids through trial and error. Once I had the shape and height figured out, I glued the pyramids together and then upside down the thicker Shoe Camaraderie insole foam and covered the whole thing with lots of glue and my lining leather.
For the sole thickness, I debated trying a thicker soles but I already had the Shoe Camaraderie supplies and I didn’t want to be wasteful so I took another tip from the I Can Make Shoes course and added some cork. The cork is just some thin sheet cork that I had in my stash from other projects and worked perfectly. It both filled in the void between the insole and the randing and gave me just a little extra comfort. Win win!
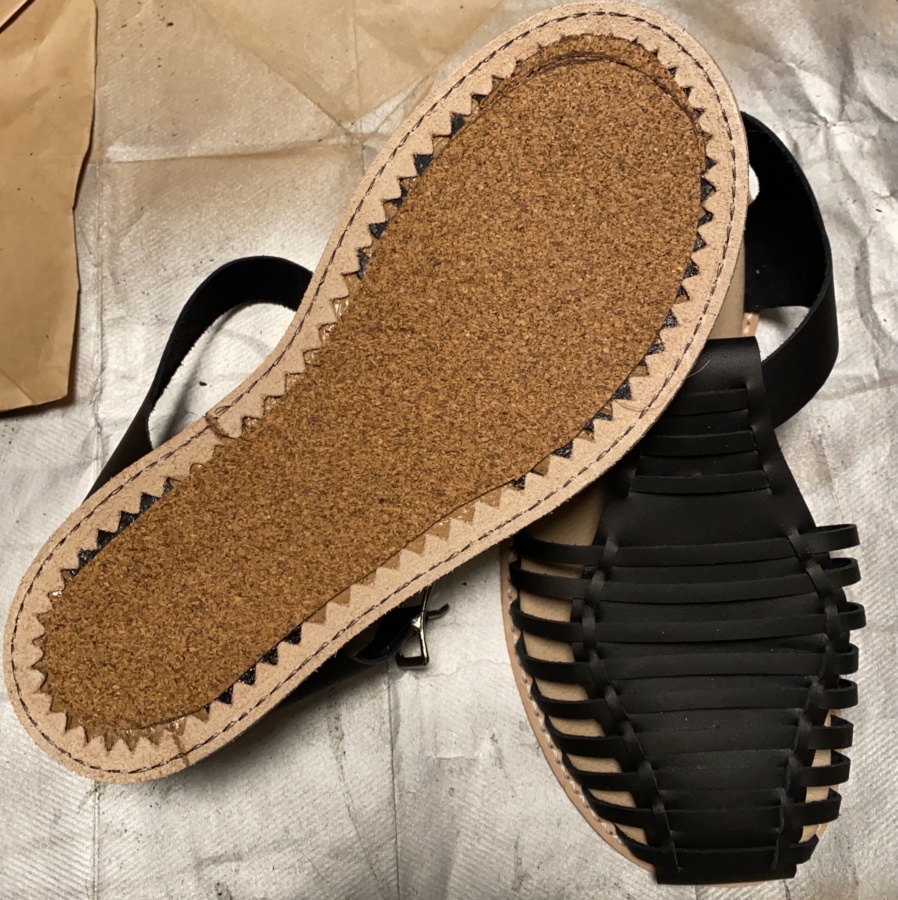
Before adding the cork though, I had to last my uppers around my foot. My first pair ended up looser than I like in the forefoot so for this pair, I pulled the leather strips quite tightly around my foot during lasting. It felt quite tight when I was doing it but I far prefer the finished fit of these in the length, width and overall tightness to my last pair.
The last thing I had to do to finish them was glue on and sand the soles and heels. Last time, I had my local cobbler do the sanding but I decided I should be able to do that myself. So I asked for and received a Dremel 3000 for my recent birthday from my in-laws and gave it a go. Oh. My. Gosh. The dust! I wore glasses and a mask and an apron and sat in a low folding chair out on our small deck (I wish I had a photo, it was comical)… and I was covered head to toe in super fine resin dust after my first sandal. I cleaned myself off and came back in the house to rethink.
I carved away as much of the second sandal sole as I possibly could with the sharp knife (that came in my Shoe Camaraderie kit) before taking it back outside to sand. It was still messy but there was much less of it. I did the same with the heels, cutting them very close to final shape before gluing them on. My results are not perfect my any means, but decent. I just couldn’t do any more with my current set up. I’m going to purchase some real safety glasses and proper mask, cover my hair, and make a clear plastic box to act as a shield before I tackle my next pair.
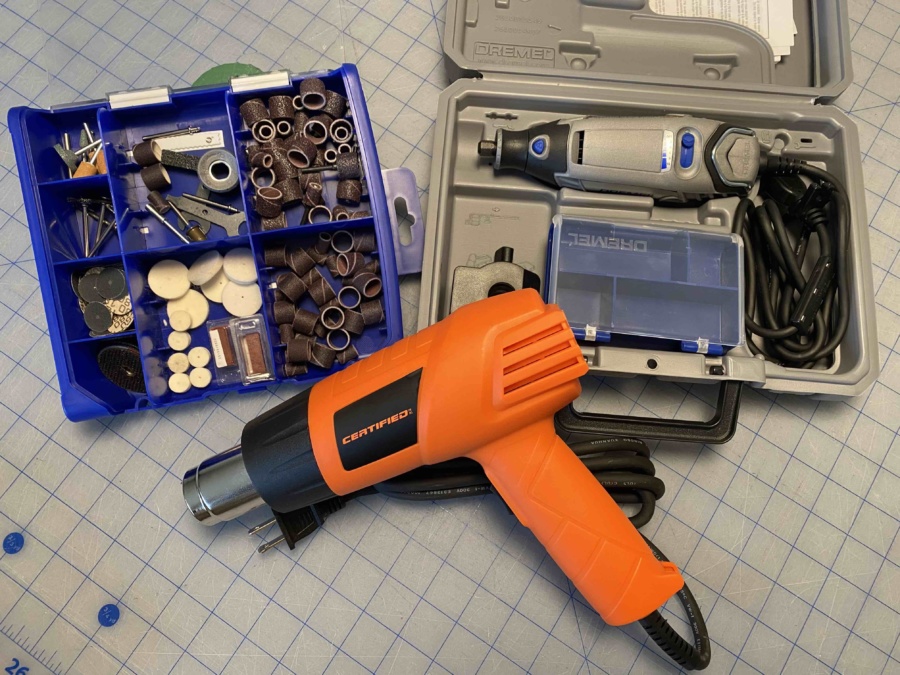
Other tools that made this project easier than my first version were a heat gun (also a birthday present), and my safety beveler from my I Can Make Shoes kit. It is such a great tool for thinning the leather and I’m glad I’ve got one in my tool box now.
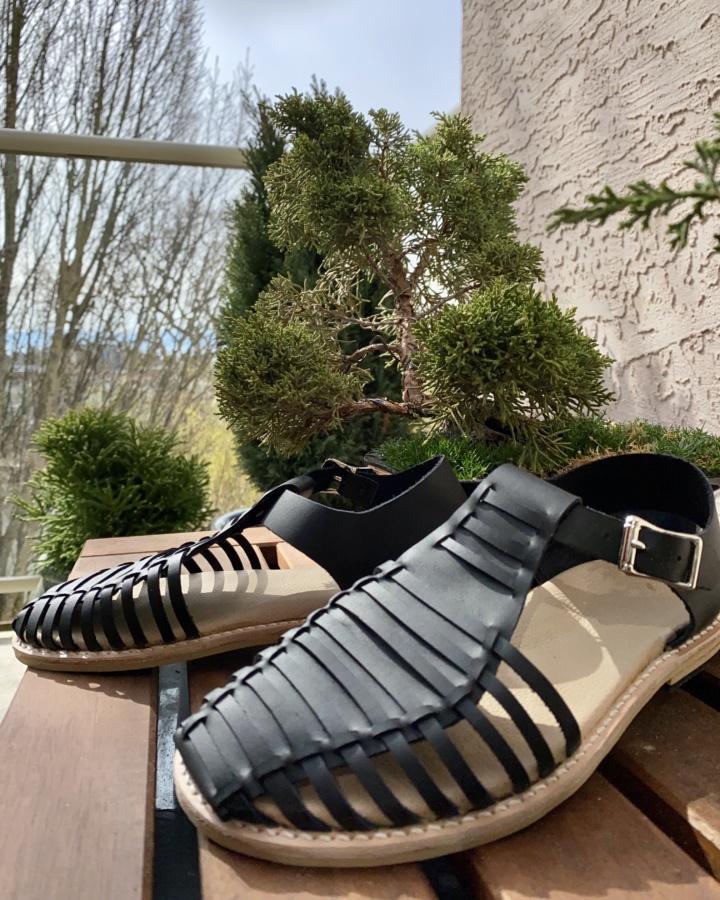
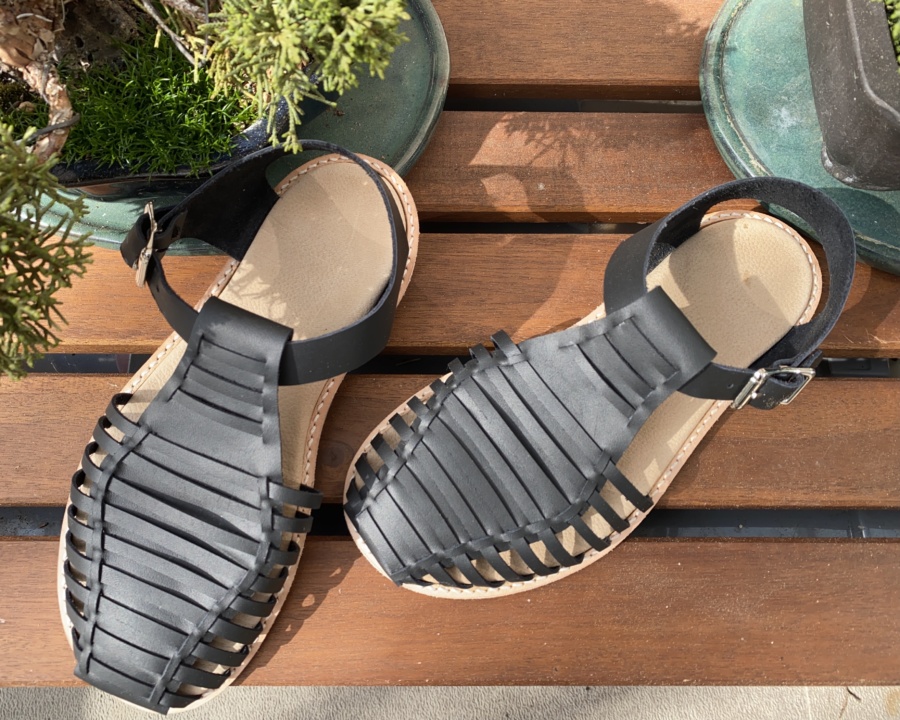
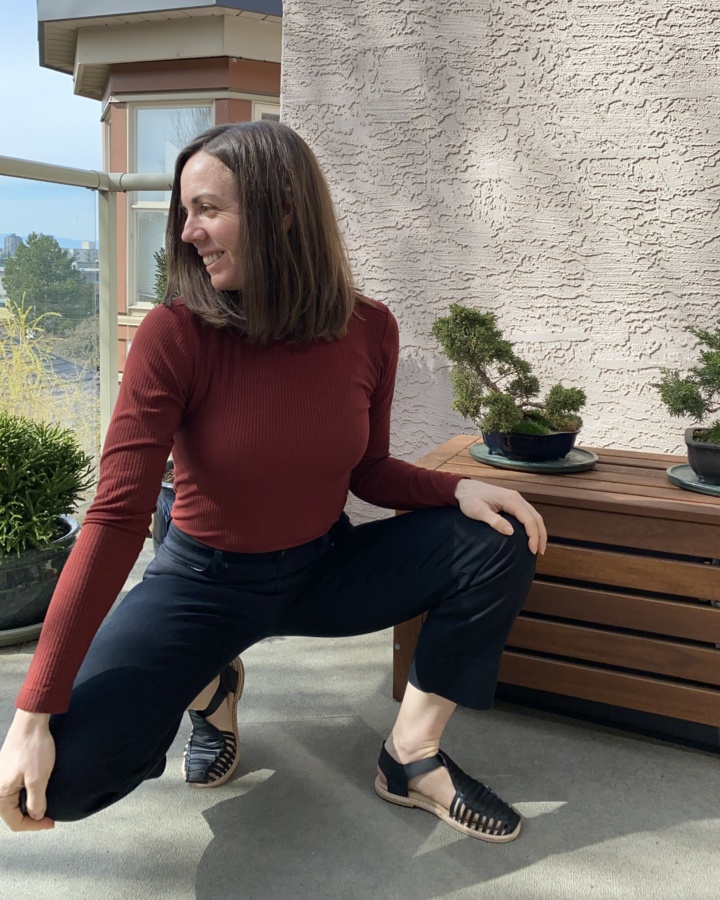
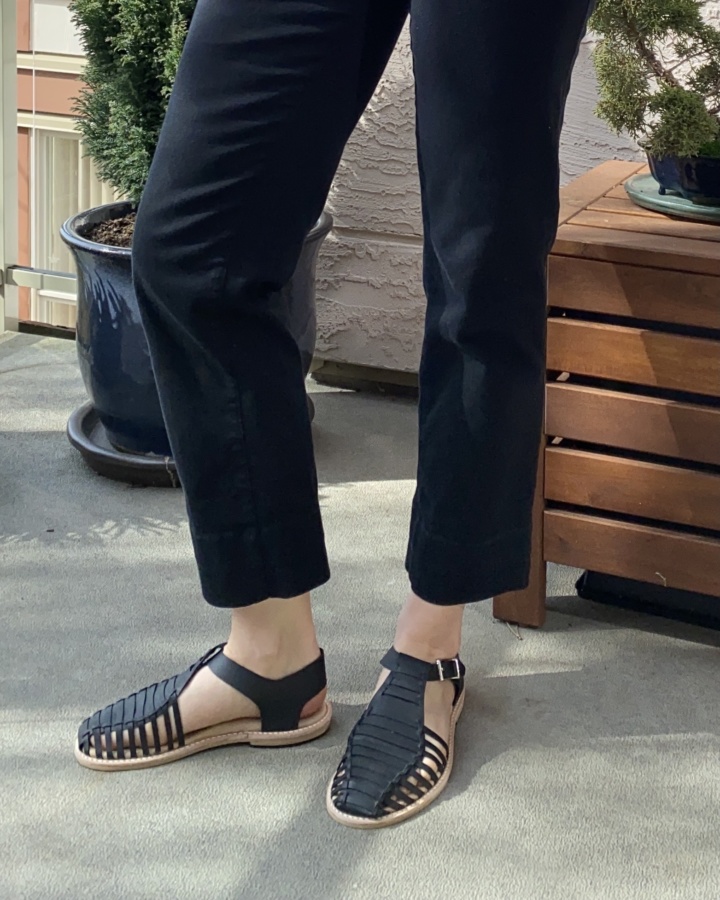
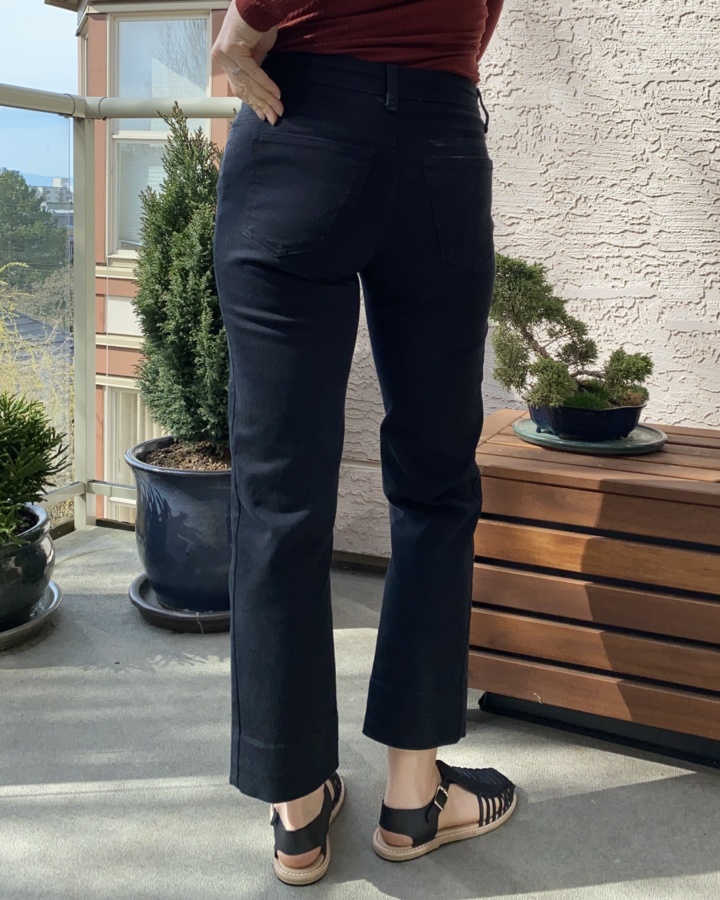
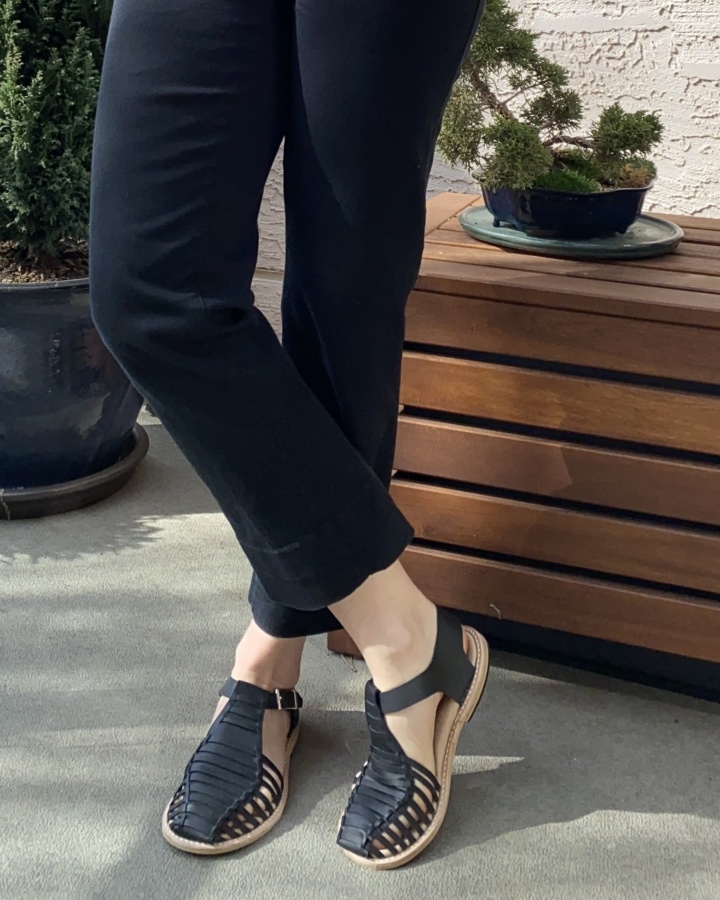
But aren’t they glorious? I’m seriously smitten with these sandals. If they were for sale in a shop, I’d buy them. They are going to get so much wear once it warms up a little more here and stops dipping back into winter. If you’ve been contemplating jumping into shoe making, I can’t recommend it enough. Sandals are a great way to start and The Shoe Camaraderie is a wonderful place to learn. I’ve also learned a ton from the I Can Make Shoes online course so I can heartily recommend both. I’m not sponsored. Ive just loved learning to make my own shoes!
If, like me, you also sew all your own clothes, you already know how great it feels to wear your own creations. Standing in an entirely me-made outfit, from your shoes right down to your undies, is an absolutely glorious feeling. It feels utterly incredible.
Powerful.
I can’t wait to make more.
Thanks for stopping by!
~ Lindsay