It took me almost a year to finally order a Shoe Camaraderie kit after first seeing and falling in love with the Astrid Sandal on Instagram. It took me another two months after the kit arrived before I got up the guts to make my sandals. Once I started though, I soon realized that I had nothing to fear.
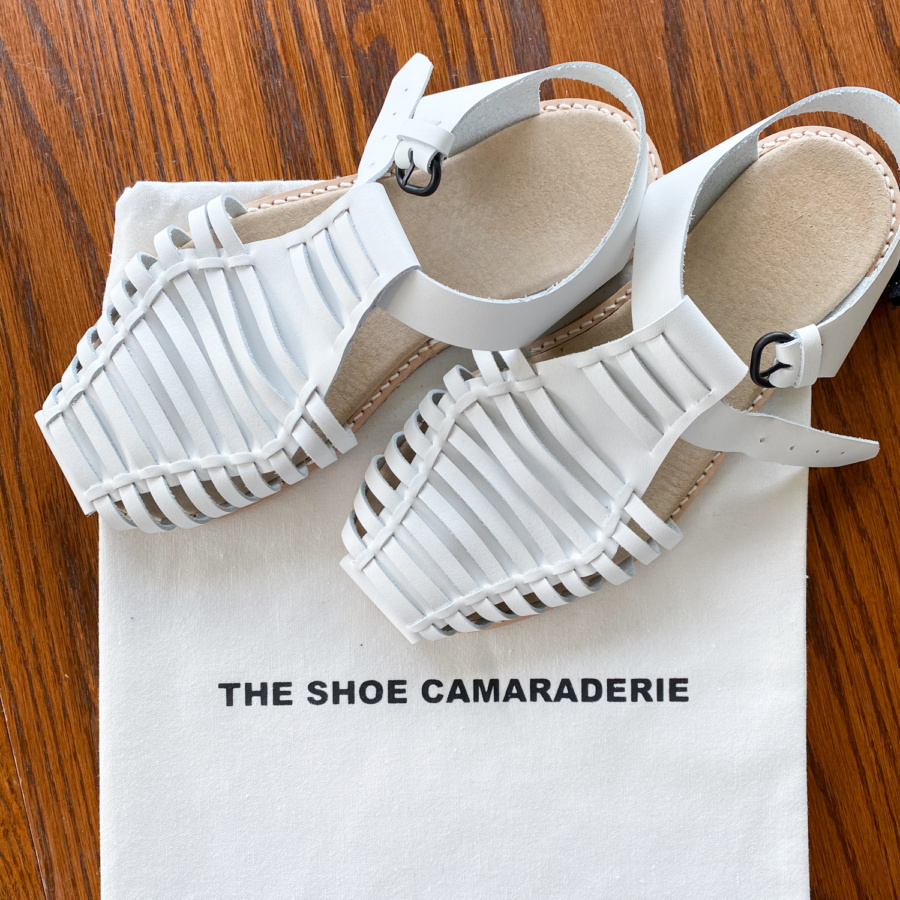
For those who are unaware, The Shoe Camaraderie is a DIY sandal making company based in Australia. They provide everything you need to make any one of 10 chic sandal designs, including materials, instructional videos and even personal consultation via email with owner Lisa Turnbull at crucial stages of your sandal making process. The kits even come with odour-free, non-toxic glue (if you were worried about smelling up your home, don’t be).
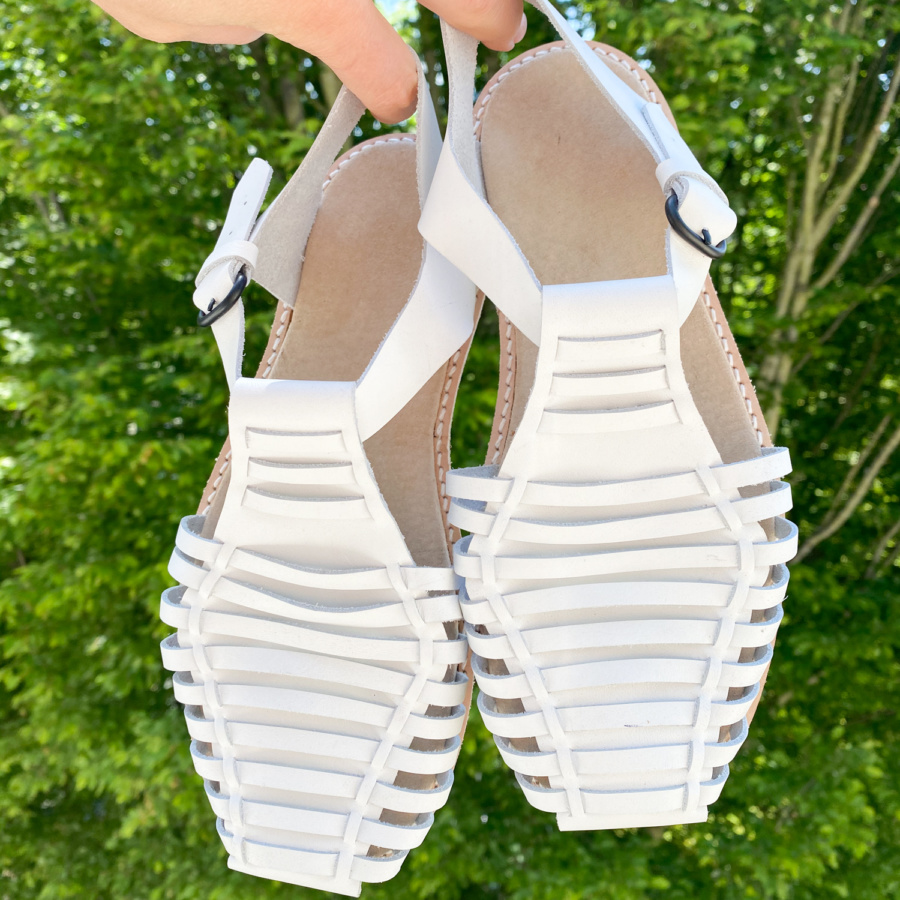
I found the process pleasantly challenging but not excessively difficult and, though I got hung up in a few places and made a couple of mistakes, I’m really happy with how this first effort turned out. Having said that, there are things I know now that I wished I’d known when I started and also some things that I’ll do differently for my next pair.
Here are my tips for making these sandals:
- Use more glue than you think you need and press for longer and harder to adhere the glued pieces together. I didn’t use enough or press hard enough (according to the fellow at my shoe repair shop when I took these in for sanding – who kindly filled in the few small gaps that I’d left).
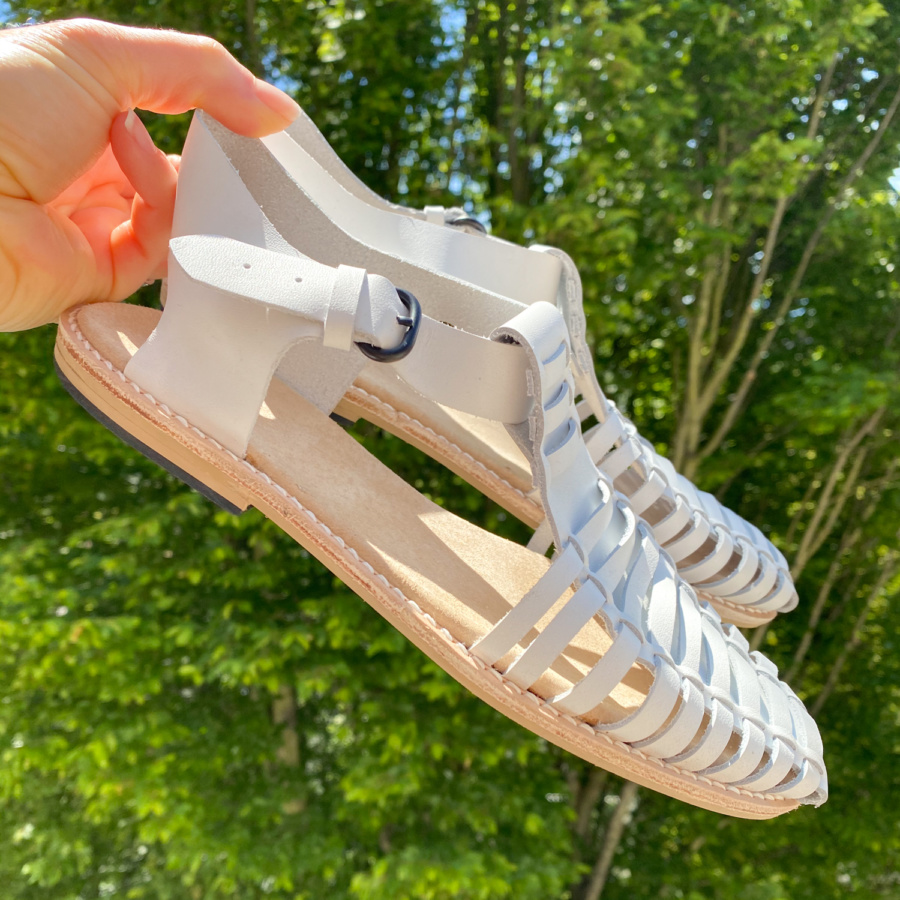
- Be careful not to undercut when trimming the sole and heel. Cutting these is difficult and my sheers had a tendency to angle inward toward the bottom. This meant that there wasn’t much for my shoe guy to sand and he asked me to leave him more next time. You can see the angled sole in the side view photos. This will be an easy change as I’ll just cut a few millimetres away from the edge of the rand.
- Cut your insole shape smaller than you think you should. I knew this and still ended up wishing I’d shaved another few millimetres from the sides of mine. It ends up looking much bigger once it’s all put together with the rand and sole.
- Pull tight when you’re figuring out strap placement. I don’t know if this would apply to all designs or all leathers but I didn’t pull mine tight and now they are just a bit looser than I’d like them to be. I’ll make them much tighter on my next try.
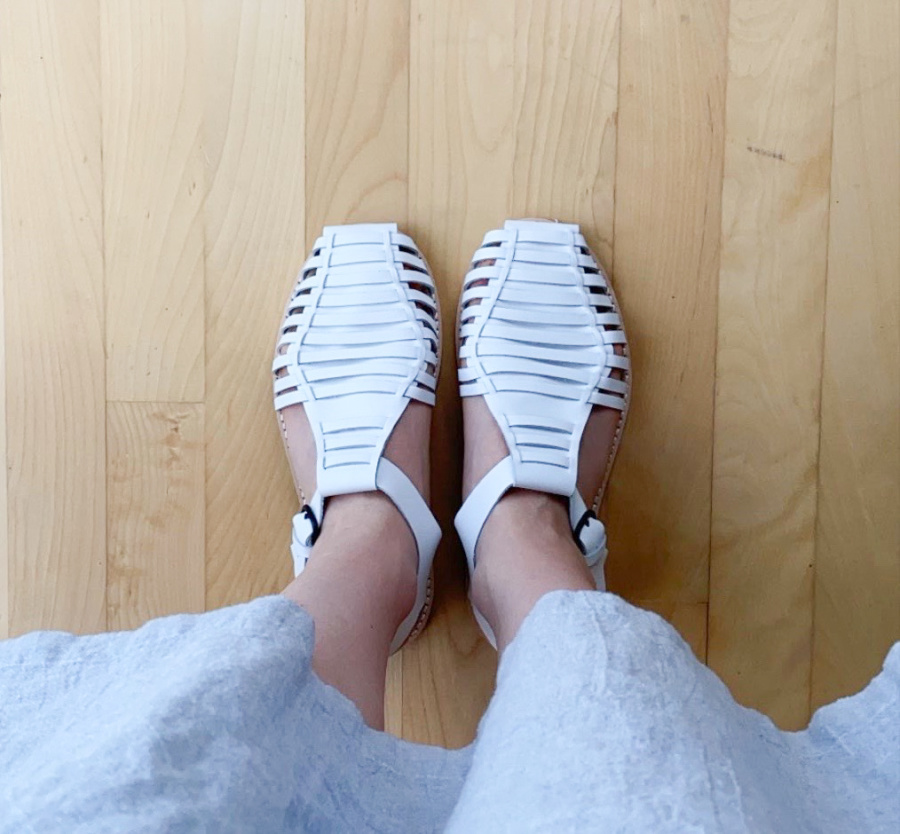
The only other thing I would note if you are considering trying out one of these kits is that they are flat sandals. The insole material provided in the kit is lovely and comfortable, but don’t go into this expecting excess cushioning or arch support. That being said, I’ve worn these comfortably for some fairly long walks downtown, on concrete sidewalks, and have found them quite comfortable.
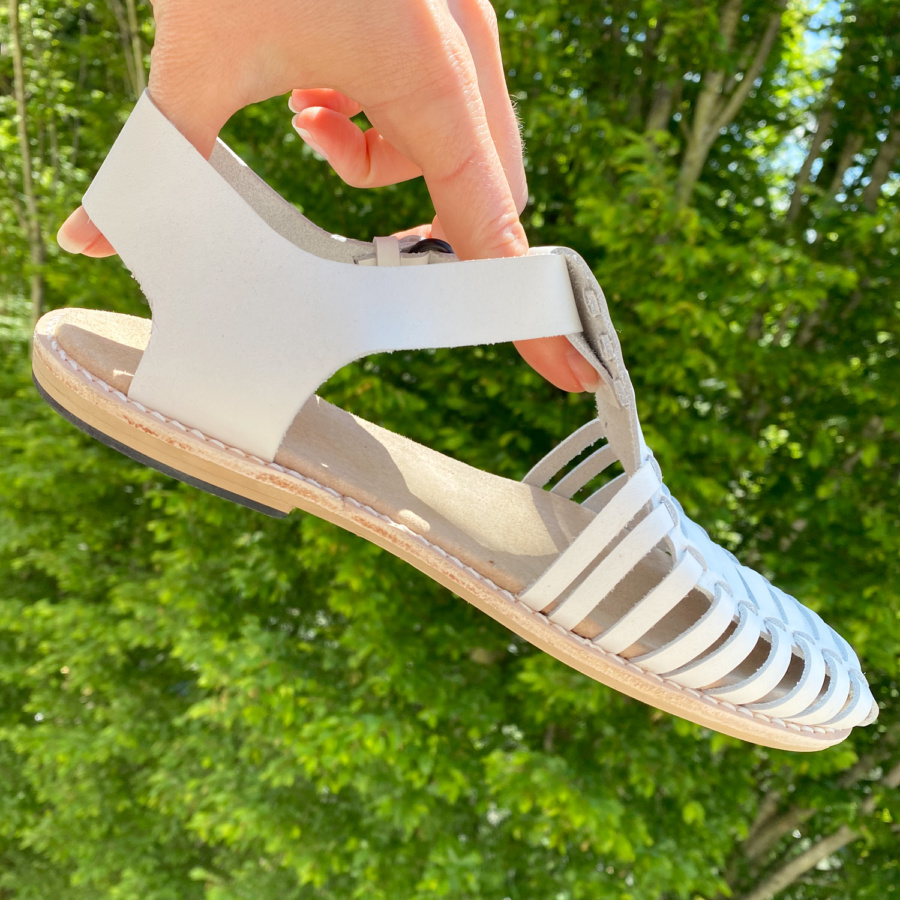
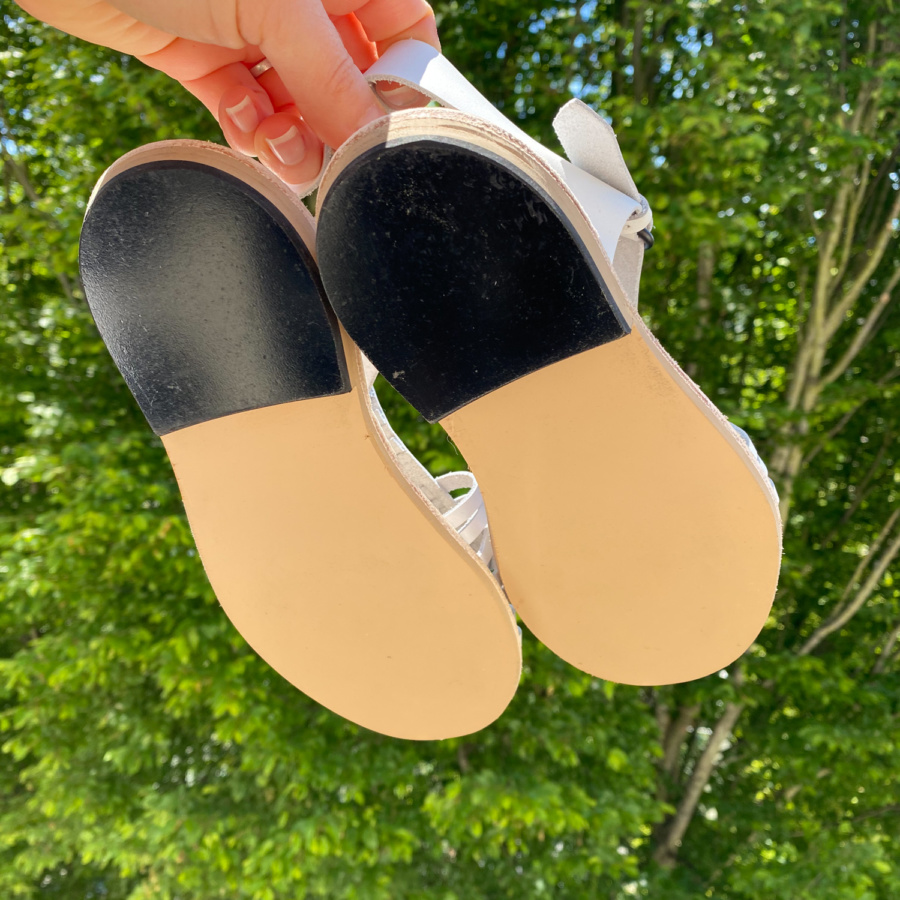
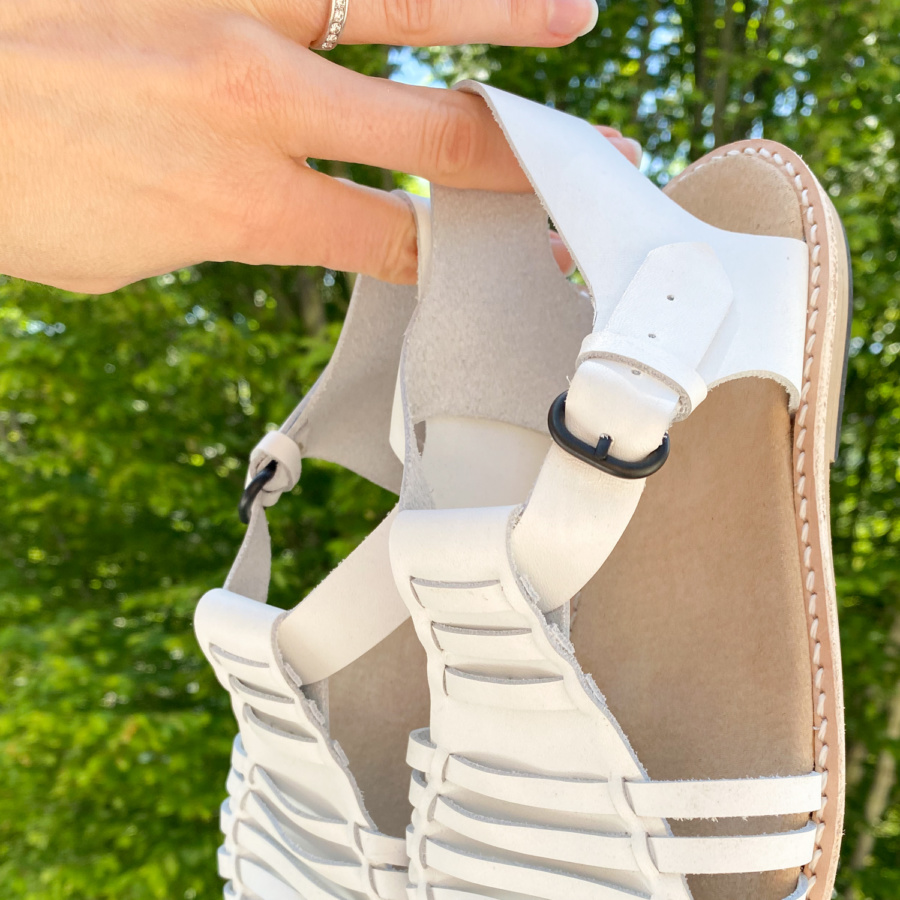
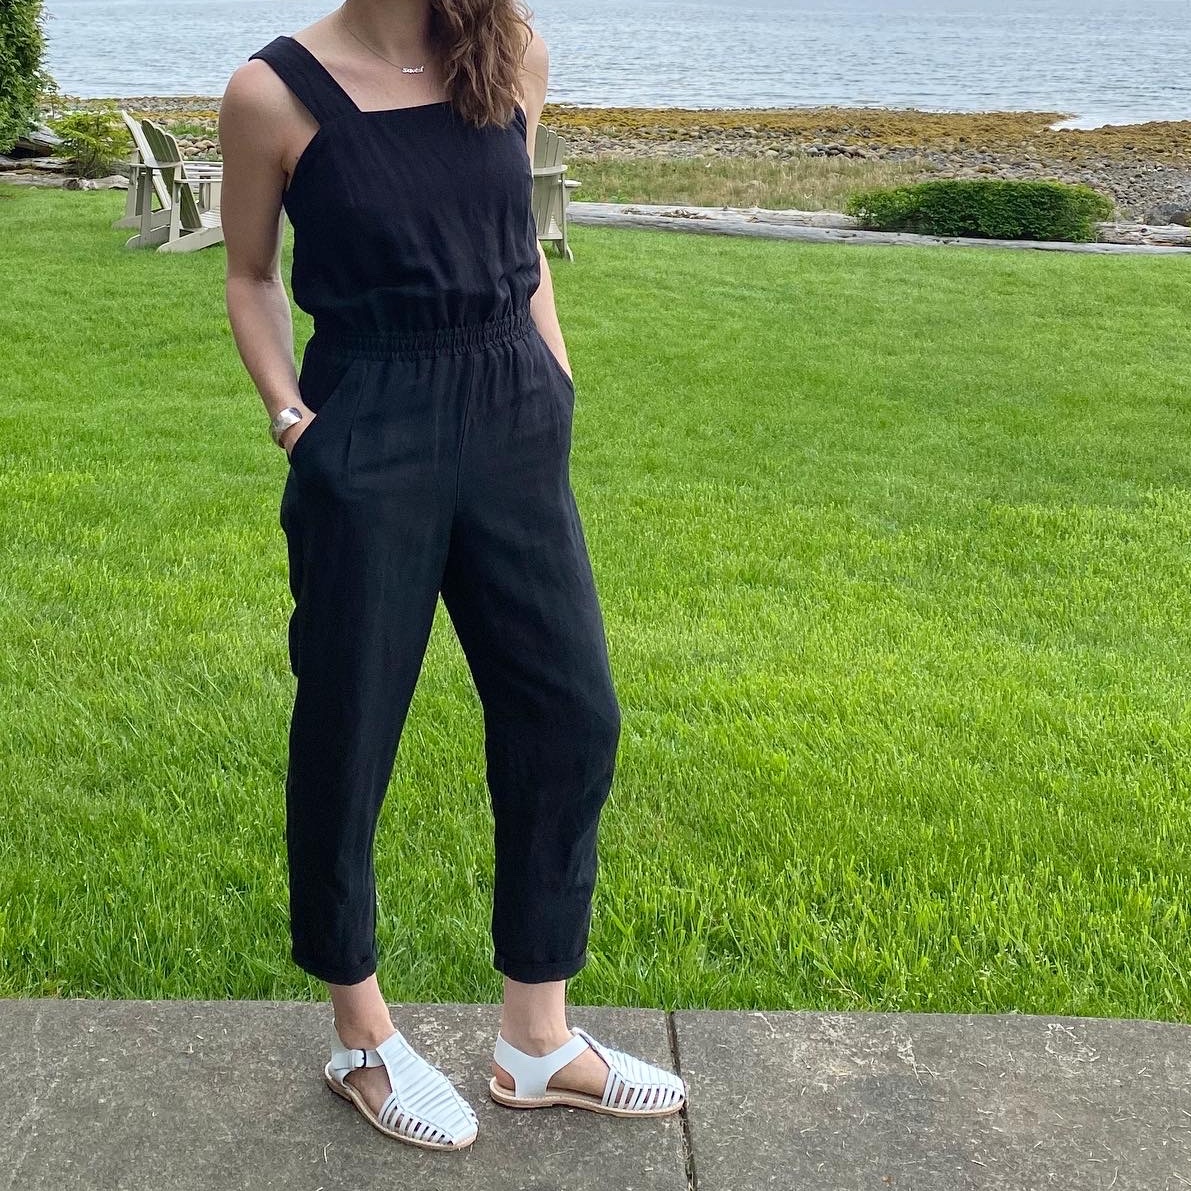
Did I mention I’m hooked? It feels so good to wear an entirely me-made outfit from my bra all the way down to my shoes! I’ve made another order already, just soles, insoles, rand and heels this time as I’ve found a quirky local leather supplier for the uppers. If you don’t have a local supplier, you can also get full refills of any kit, with all the materials, direct from Lisa. For my next projects, I plan to try the Astrid sandals again in black and also try a couple of my own designs.
I’m super excited for these next few makes. I’ll have to wait for shipping from Australia first though so I might not be able to start them until the fall. I highly recommend going on a sandal-making adventure with the Shoe Camaraderie. Not a sponsored message – just great fun!
~ Lindsay
August 25, 2020 at 11:29 am
Wow! So cool that you are wearing a me-made outfit from head to toe! Well done and thanks for sharing.
August 25, 2020 at 10:05 pm
Thanks Heather. It is so fun wearing 100% me-made!