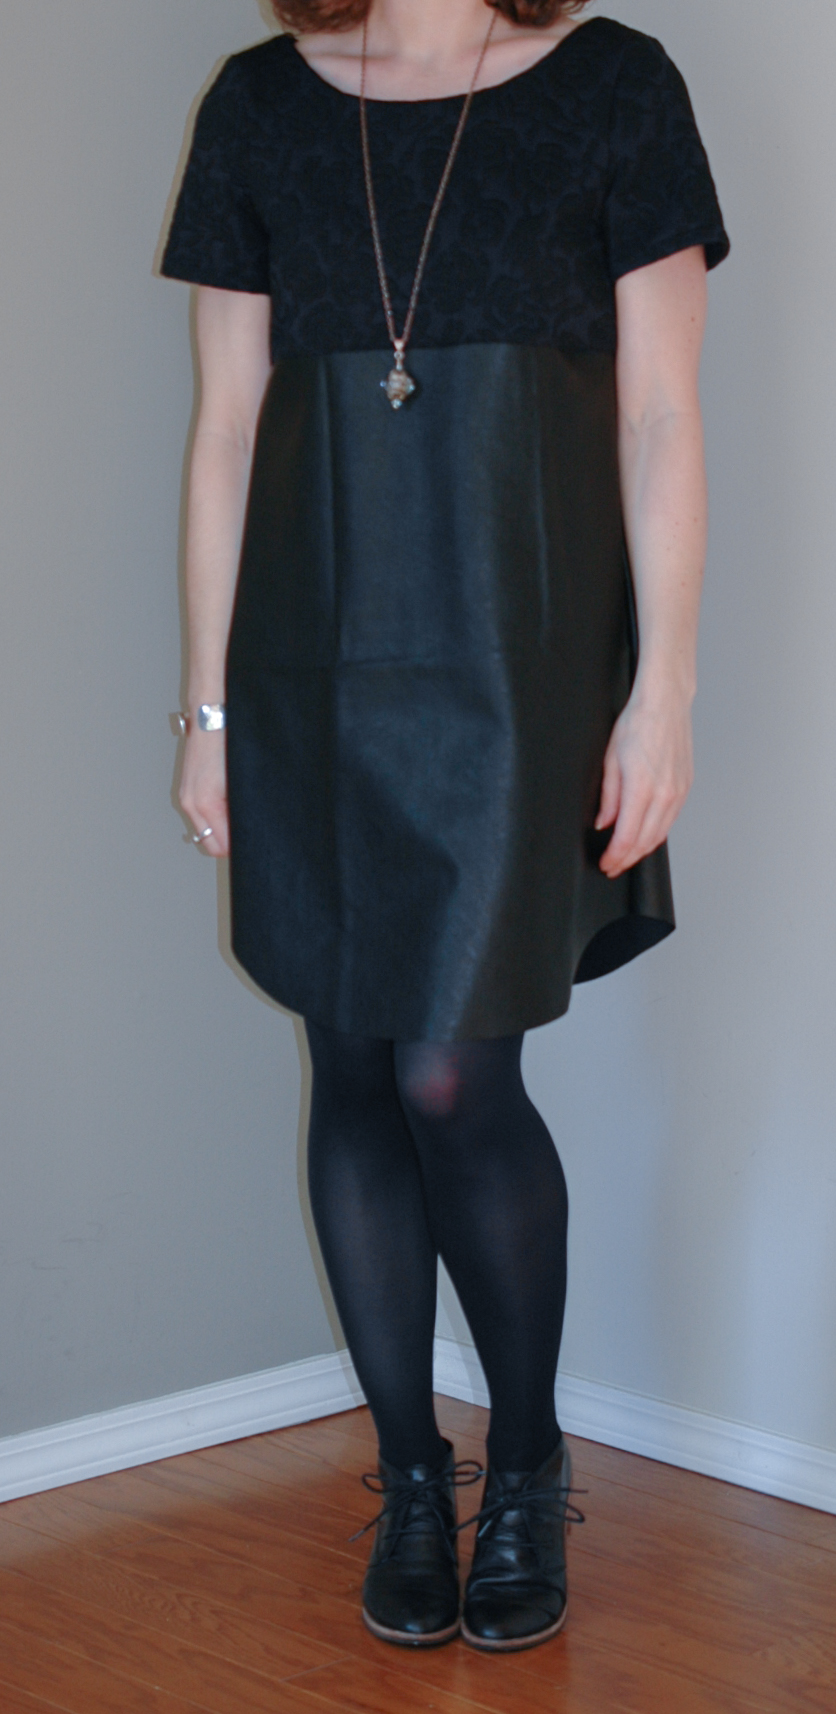
I love this dress! I had to get that out of the way right at the beginning because I do, I really really do, but it took a bit of trial and error to get there. Let me introduce you to the Georgia dress by Seamwork.
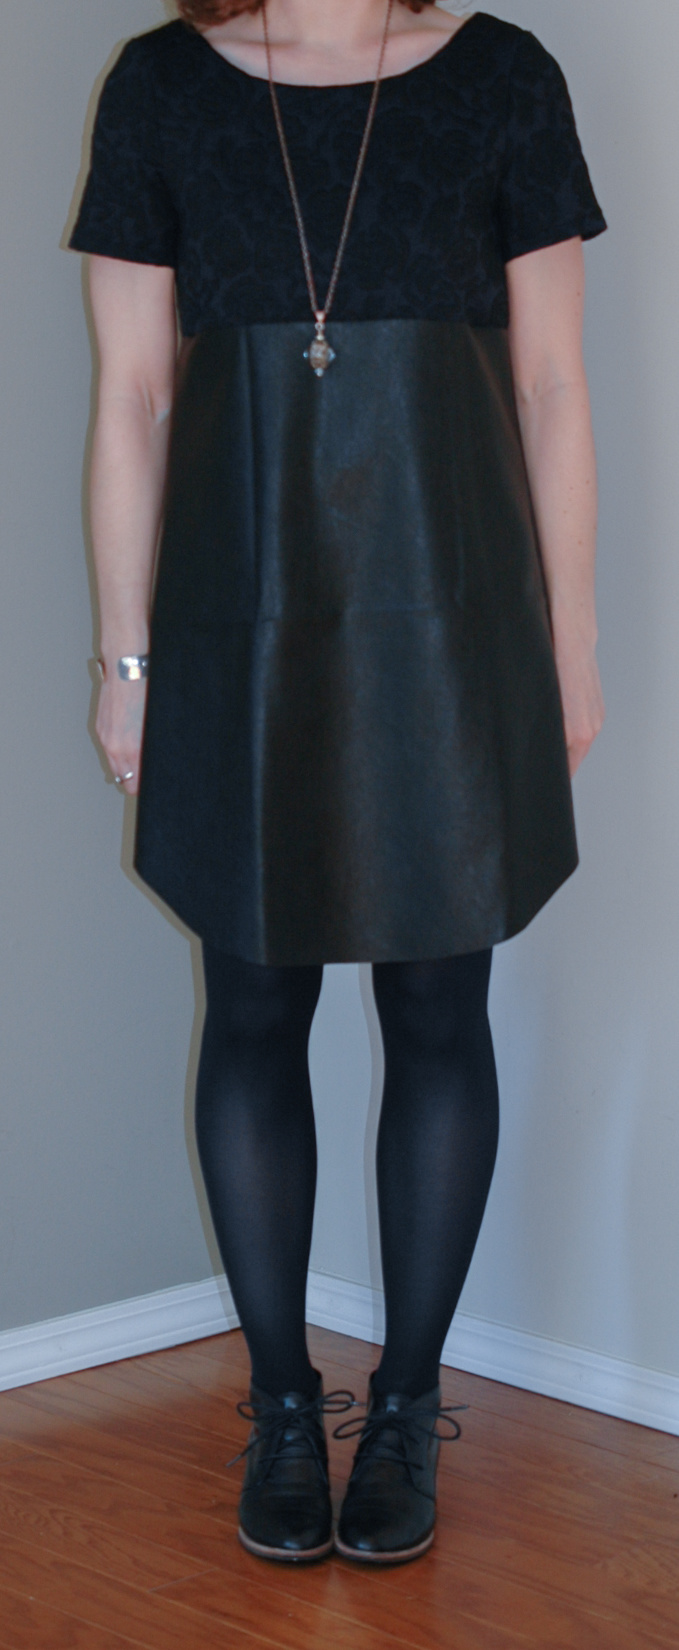
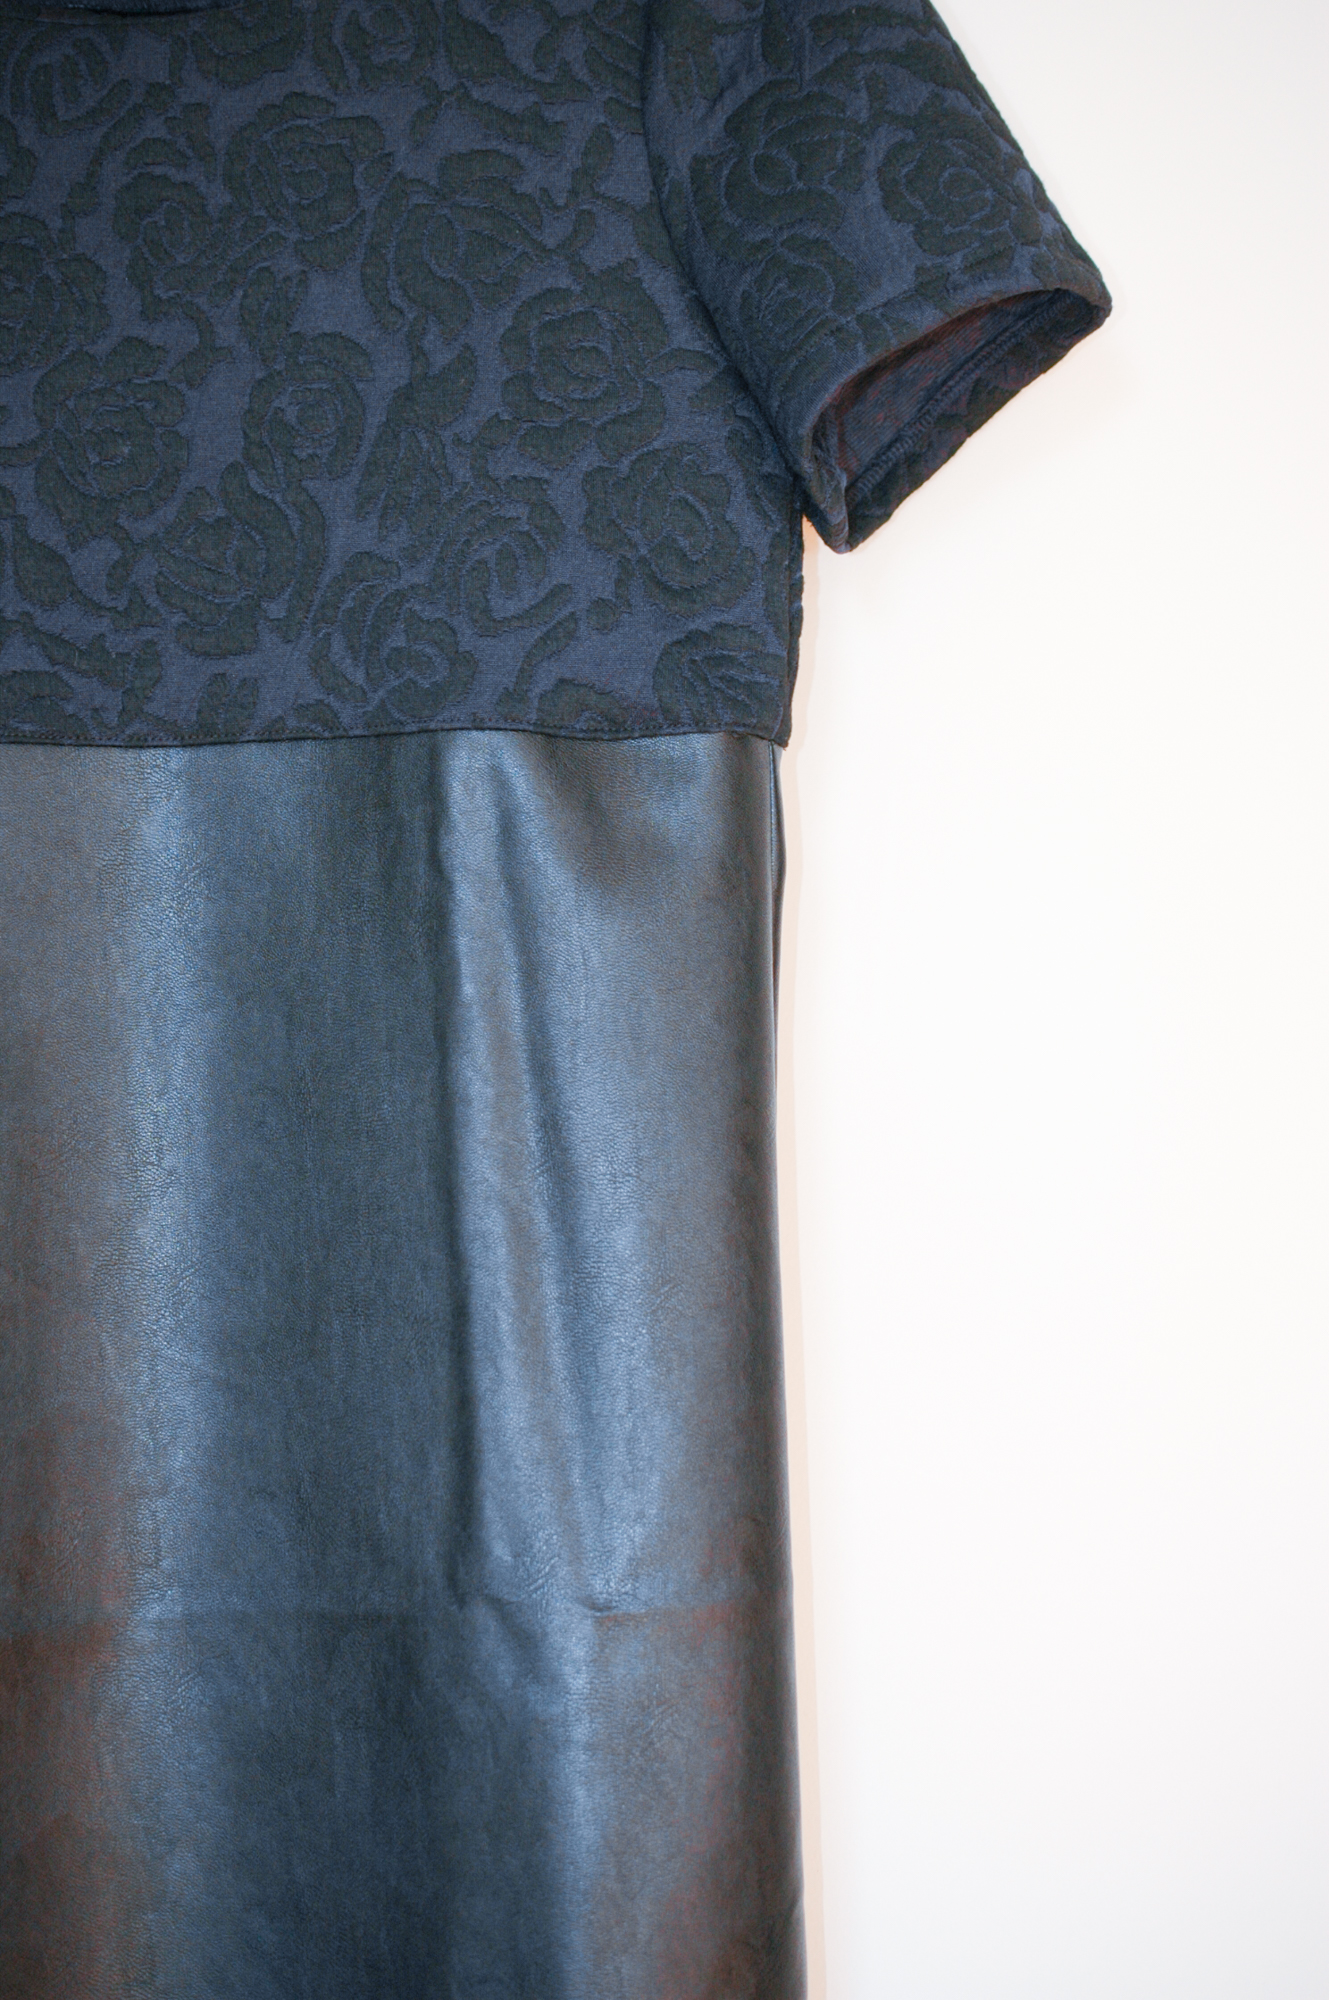
I knew I might have some issues with the fit of this little dress before I even started but I was so inspired by the black version shown on the Seamwork website that I knew I had to give it a try and I knew it had to be in faux leather. I had the leather already from a previous project that I decided not to go through with. For the top I used a black and blue stretch jacquard from Fabricland.
Now for the fit issues. I’m pretty tiny through the hips but I have wide shoulders from my gymnastics days so I often cut a larger size in the arms and shoulders and taper down to a smaller size in the waist and hips. I did that with this pattern, cutting a 6 up top, tapering to a 0 at the empire waist and continuing with a zero in the skirt. Even when I did this though, the dress looked like a parachute on me.
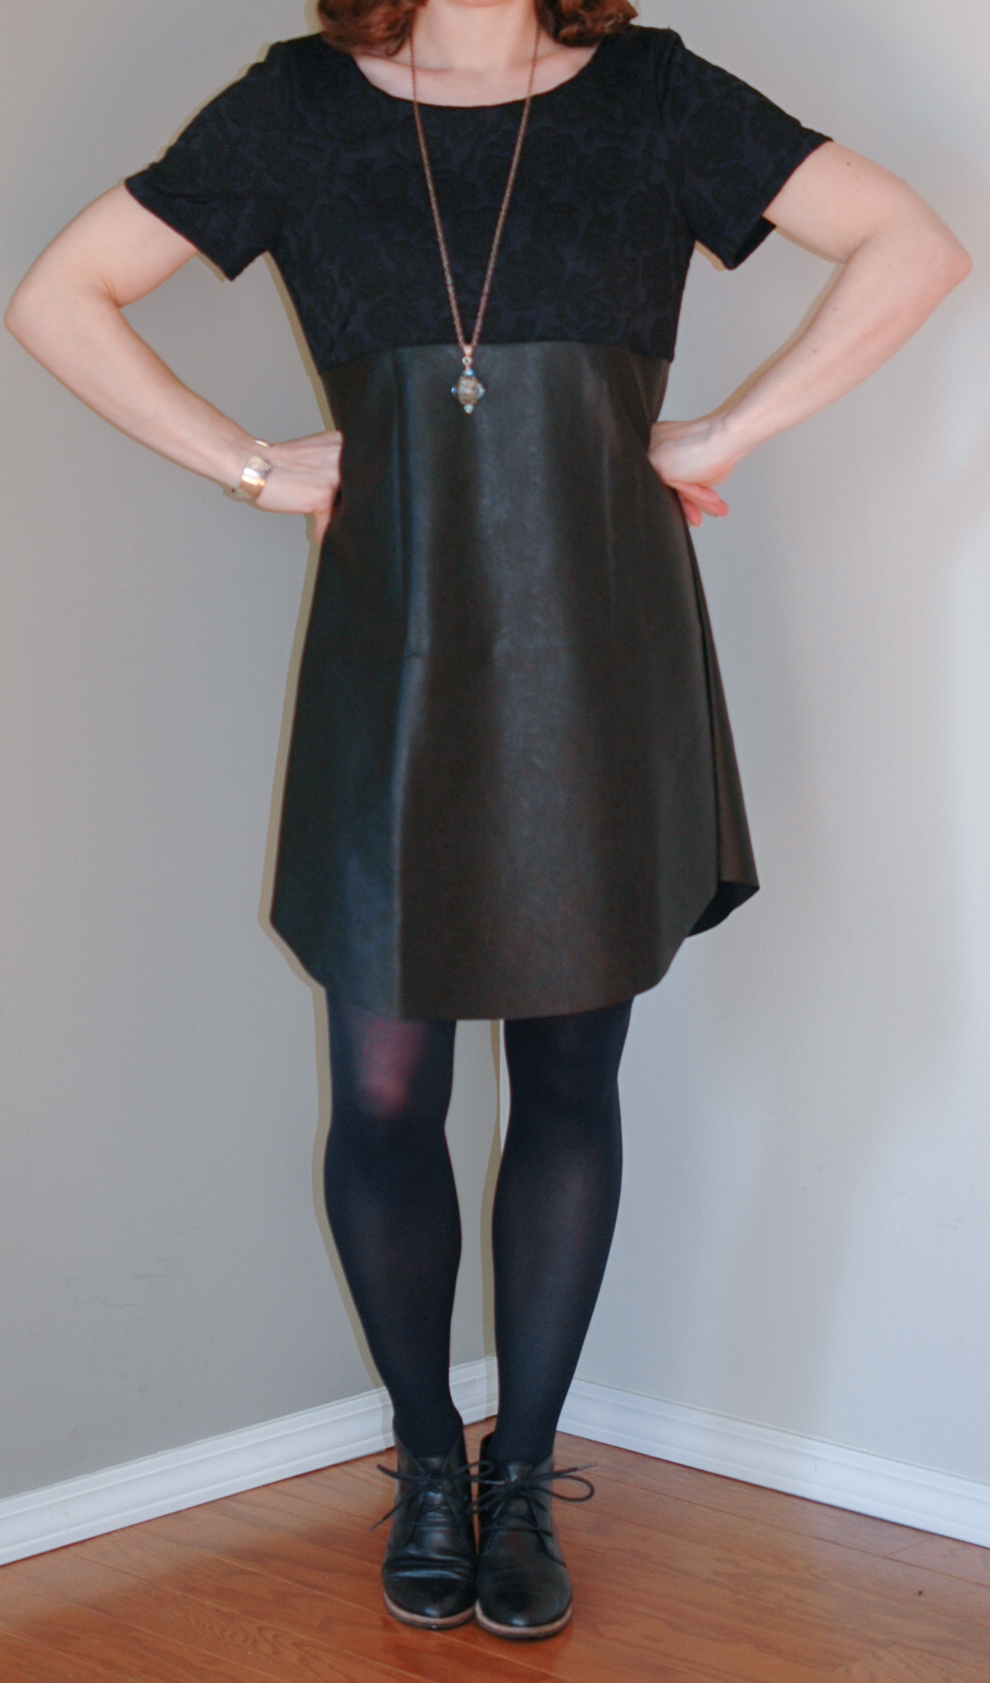
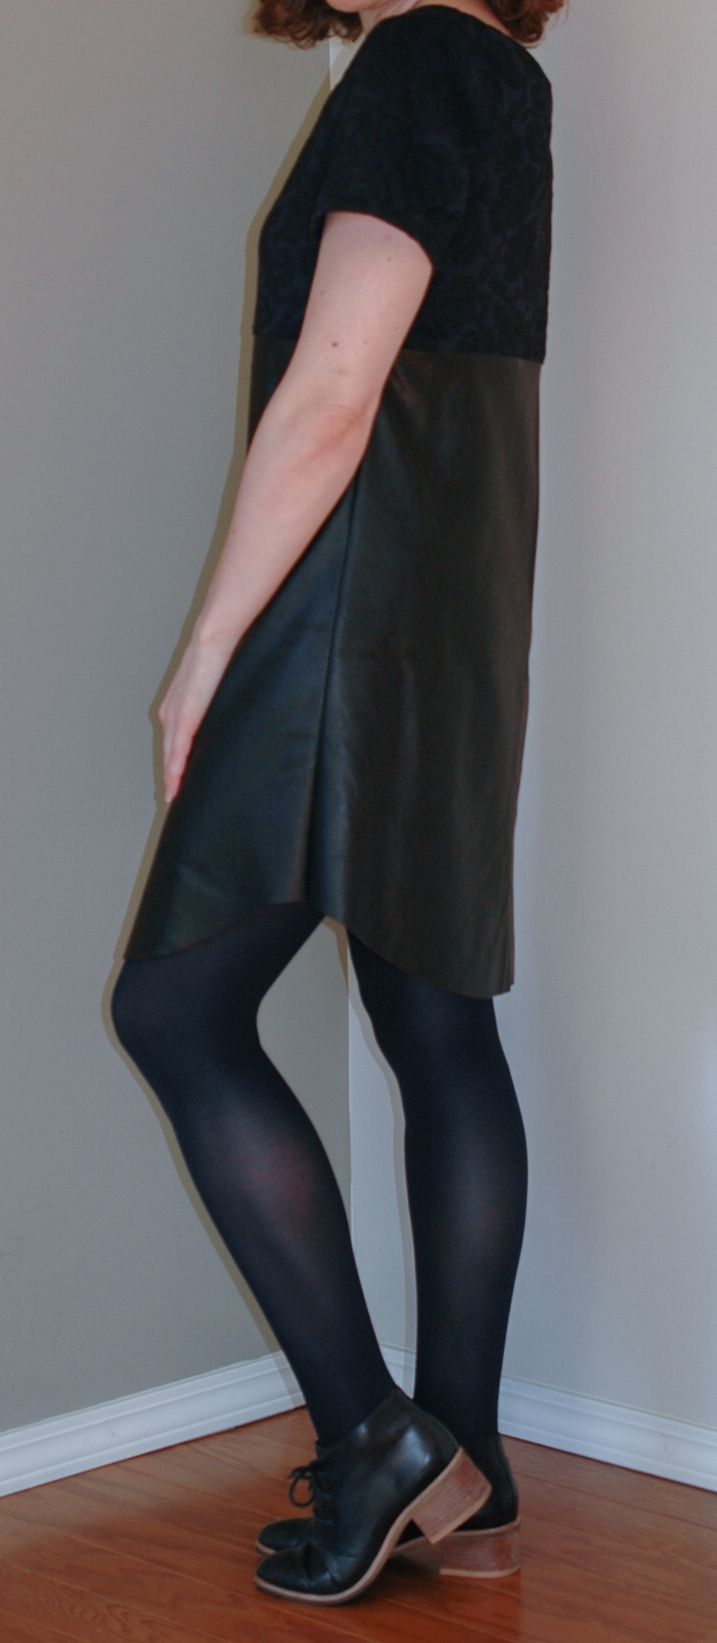
I know that the style of this dress is meant to hang from the shoulders and not be fitted at all through the waist and hips but that look really doesn’t work for me (which I knew heading in). Luckily, I did not attach the sleeves at the arm holes (a trick I do if I think I’m going to have to take the sides and sleeves in) so I was able to bring the sleeve seam in by an inch at the under arm and the side seam in by an inch on both sides without any difficulty or stitch ripping. That reduced empire waist circumference by four inches… and that’s off the size 0! I adjusted the side seam of the skirt to be a straight A-line, matching up with my new top side seam at the top and tapering to the original side seam at the bottom. I thought I was done at this point…
But I wasn’t.
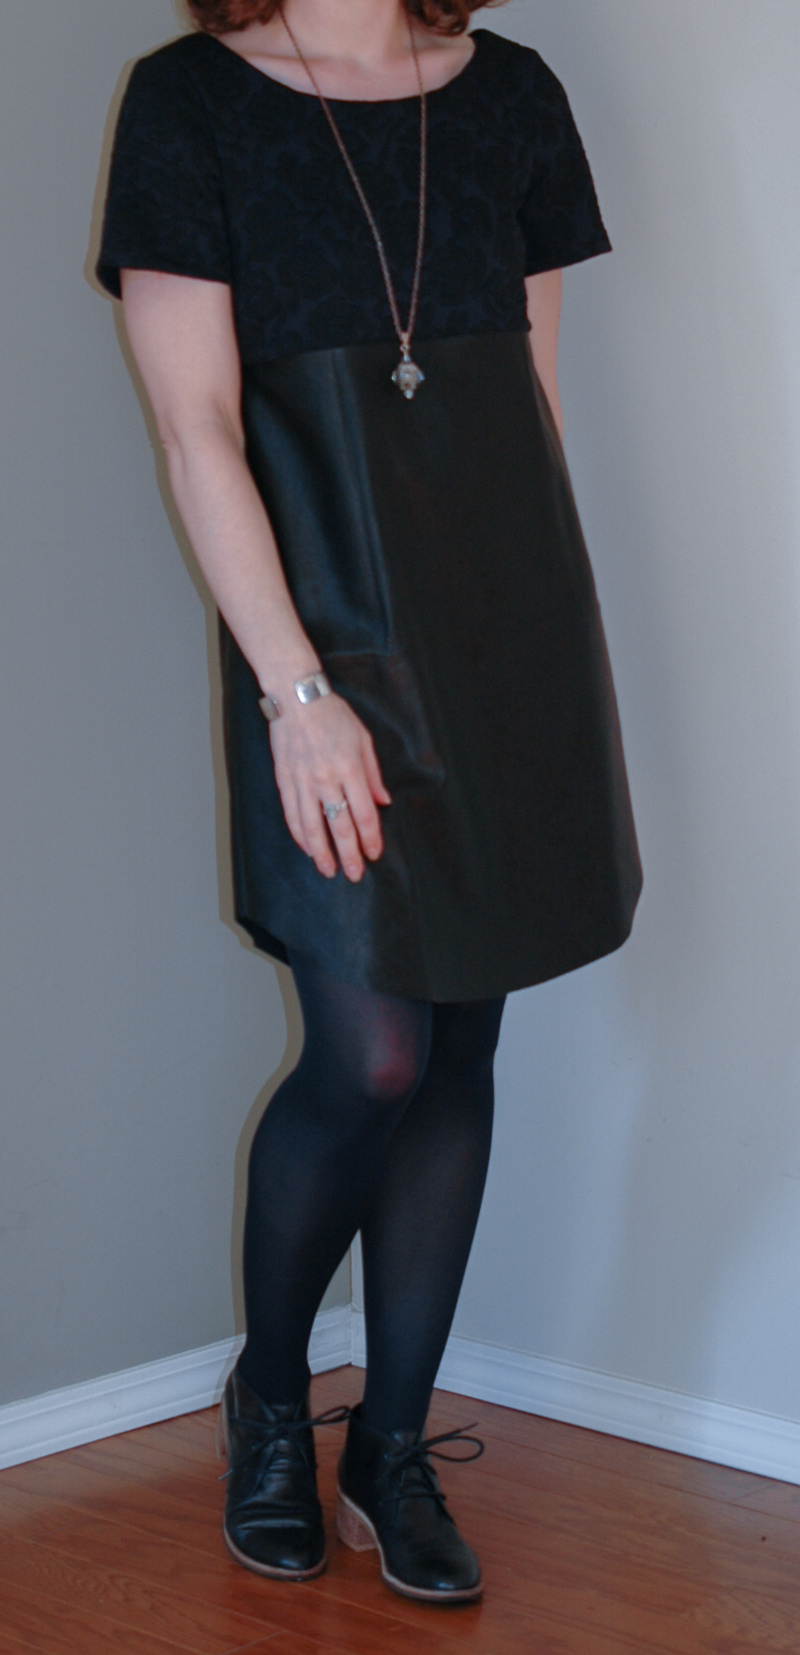
The front of the dress sat very oddly. It stuck way out from my body and did VERY bad things for my shape. Then I remembered that the back bodice of this dress is cut straight across but the front bodice has the same hem shape as the bottom of the skirt (even though the top of the skirt that attaches to the bodice is straight on both the front and back). I’m not sure why it is constructed this way but I knew I had to undo it and re-cut the bottom of the front bodice straight across to fix the fit. Too bad I had already serged and top stitched the waist seam so I had five seams to rip through to detach the bodice… but that’s not the worst part….
I seam ripped the wrong side the first time. Yup. Seam ripped it, cut off the “curved hem” and put it back together before I realized I’d done it to the BACK not the front. I was so upset with myself. Words were said and I’m lucky G wasn’t home or he would have been quite concerned. Thankfully, the change I’d made to the back didn’t ruin it, even though I cut off a fair amount that did not need to be cut off. Then I seam ripped the front and cut off the actual curved hem and put it all back together… and I LOVE IT. I might love it more because of the trials and tribulations. Even with all of the issues, I finished it in four and a half hours, including cutting it out. I didn’t hem it because the faux leather is fine left raw and I was really mentally done by then.

Now I just need to figure out how to get the fold lines out of my faux leather.
If you are going to make the Georgia, which you should, it is lovely, I would recommend cutting the front bodice straight across the bottom. Also, maybe make a toile first so that you can get the right fit for you.
Thanks for stopping by!
~ Lindsay