The first piece of clothing that I tried to make without a pattern probably wasn’t the easiest choice. But that’s usually how I roll. I chose this top because I thought I could find fabric that would work and I loved the version I had but wanted to make a few changes.

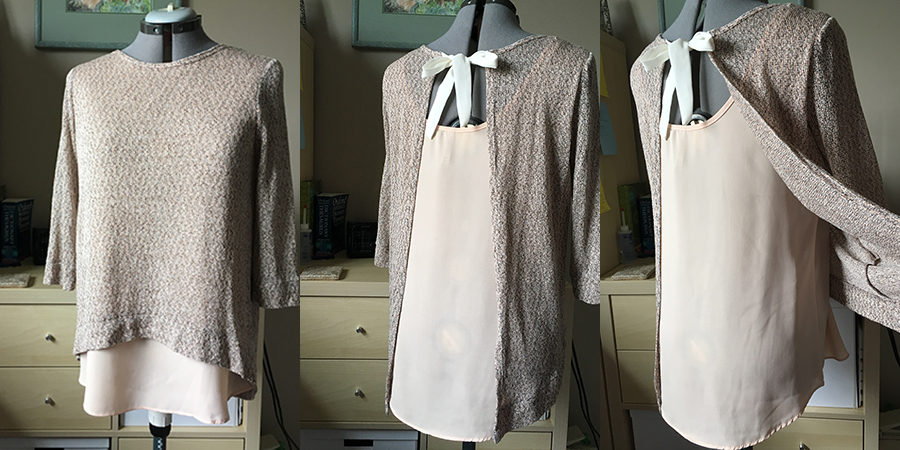
The first thing that I did to remake this was examine it carefully to figure out how many pieces there were and how they were put together. Here are the pieces that I needed to trace for my remake:
- one back piece and one front piece for the under tank
- one front piece
- two back pieces
- two sleeves
- two cuffs
- three hem pieces
- bias neck binding
Next I needed to figure out how it was put together. The under tank is connected to the outer layer at the front, shoulders, and around the arm holes.
I would recommend taking your time with these first two stages. I rushed a bit as I traced the sleeves and had to redo them on my first effort. I also didn’t take as much off of the length as I wanted and had to go back in (after I took the pictures below), remove the hem, and shorten the sides up.
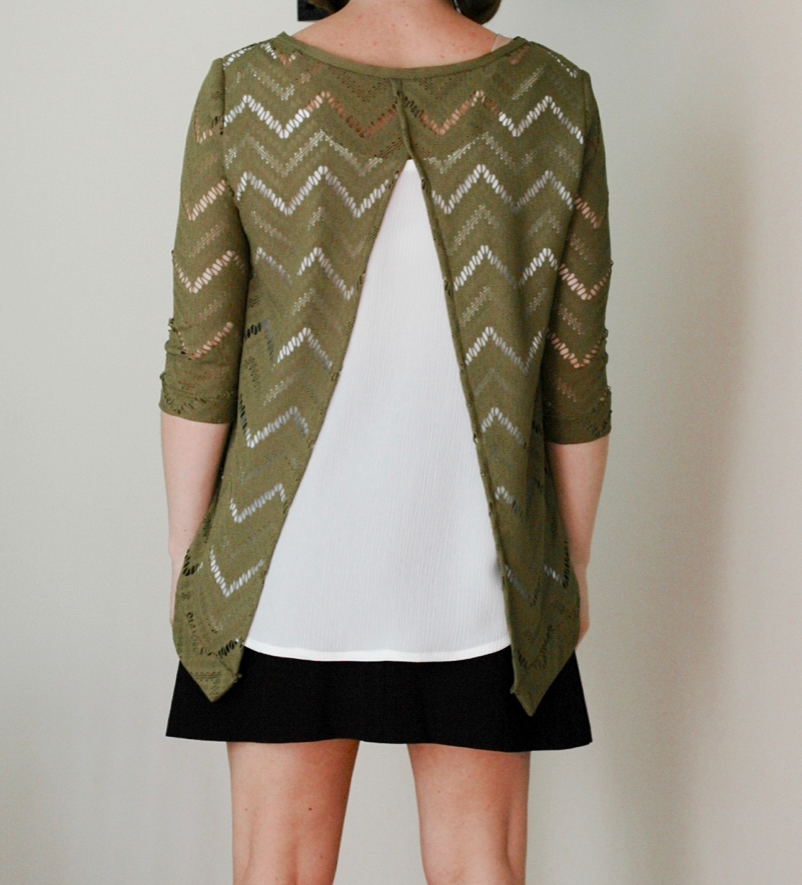
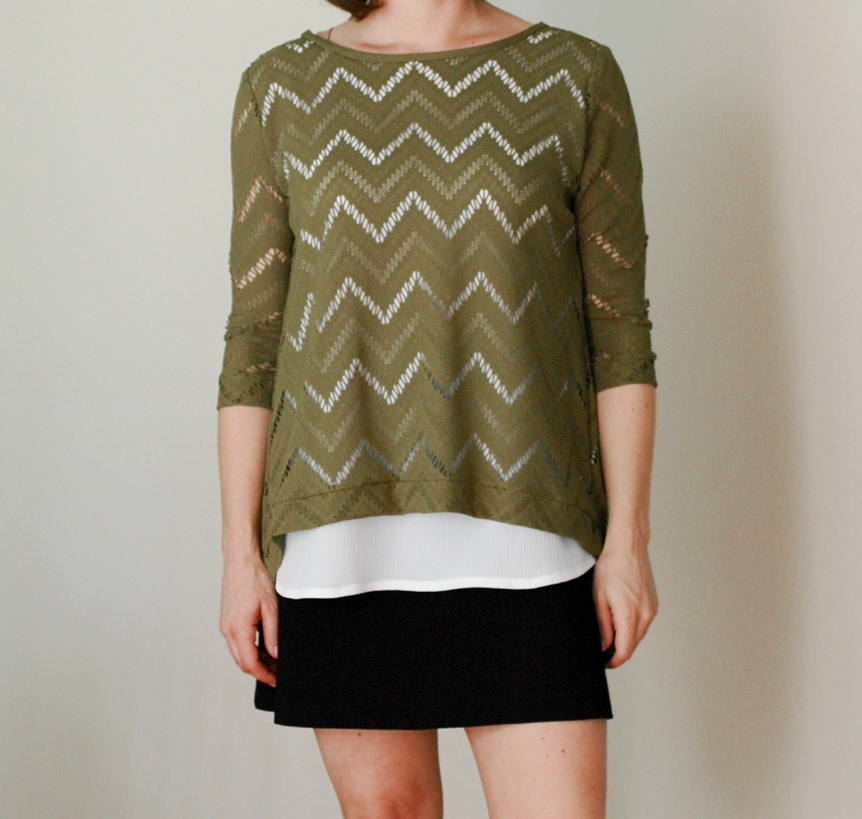
Unfortunately I didn’t take step-by-step photos of this project. I was too focused on the task at hand! Here are some photos of how it turned out.
Since my first go at this top I’ve remade it twice for different people and made changes each time. I widened the sleeves in the second version and changed the angle of the back pieces and in last version I added bust darts to improve the fit. I do plan to make this one again so I will try to take step-by-step photos when I do. Until then, don’t be afraid to try remaking your favourite top
Thanks for stopping by!
Lindsay


