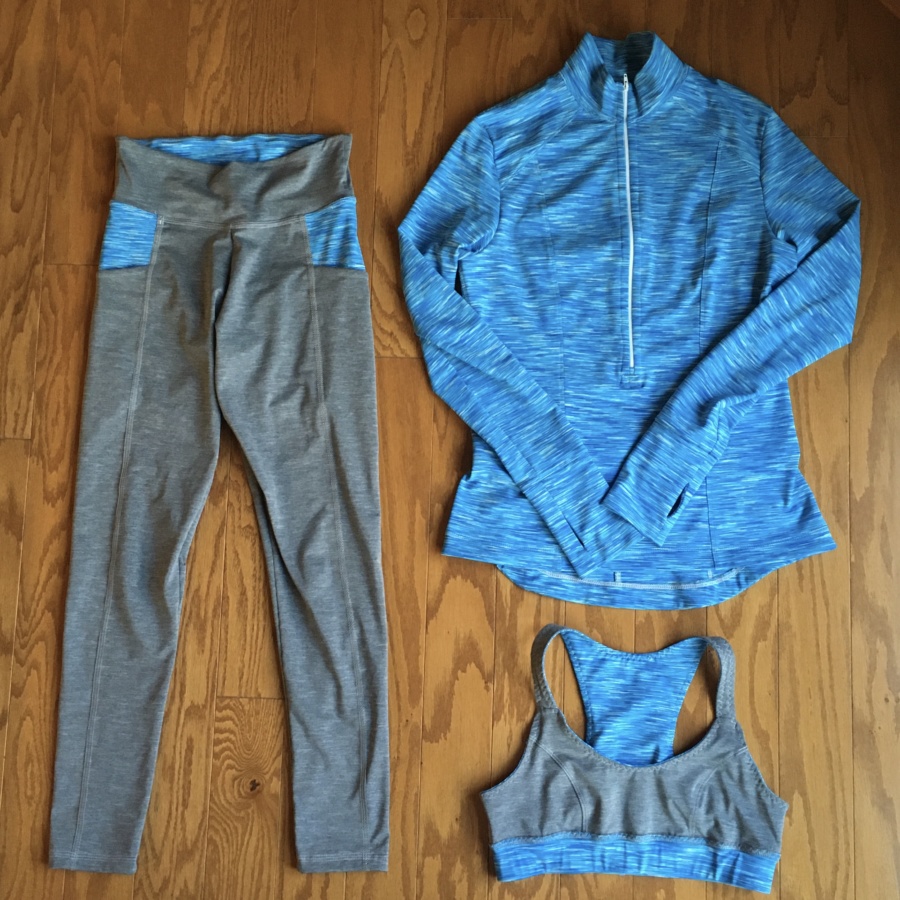
My modified Avery Leggings were the first of three planned makes for the first project of my Make Nine plans this year. Next up were a reversible Power Sports Bra and a modified Sundance Jacket (both from Greenstyle Creations).
These were my first makes with Greenstyle Creations patterns and they were fun. The instructions are good and there are blog posts and YouTube tutorials where the instructions lack. Here is some more information about each and the various mods I made (or will make next time I make these patterns). There is also a note at the end about my learnings after two weeks of CoverPro 2000CPX ownership.
Sizing:
- Power Sports Bra – size 32C
- Sundance Jacket – size extra small
- My measurements: 161cm (5′ 3.5″) B35, W29, H36
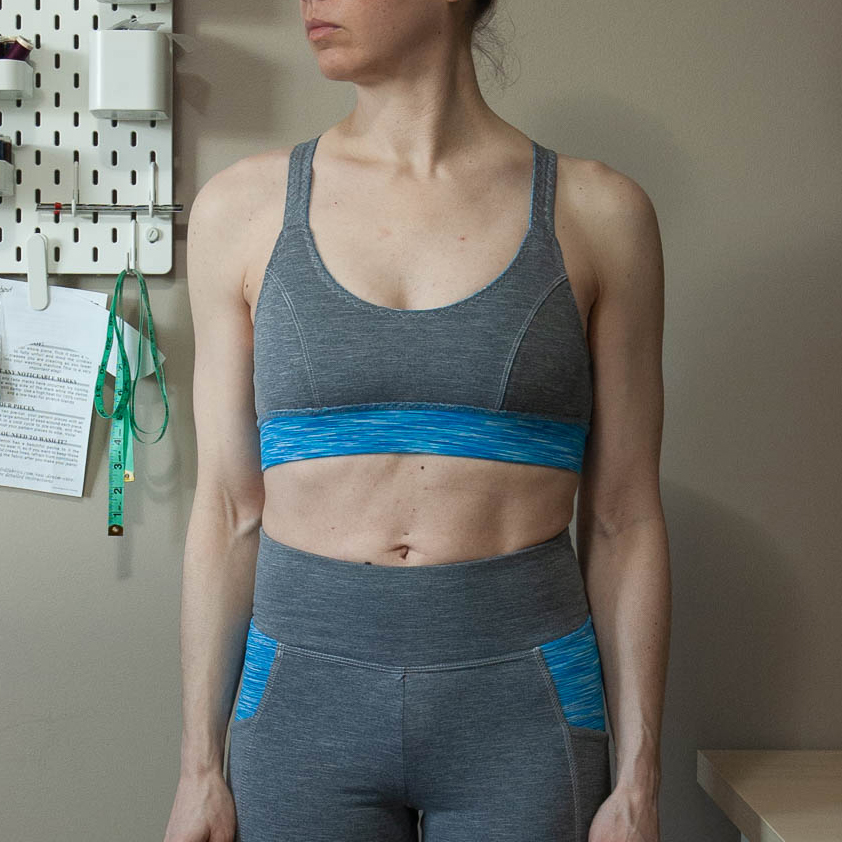
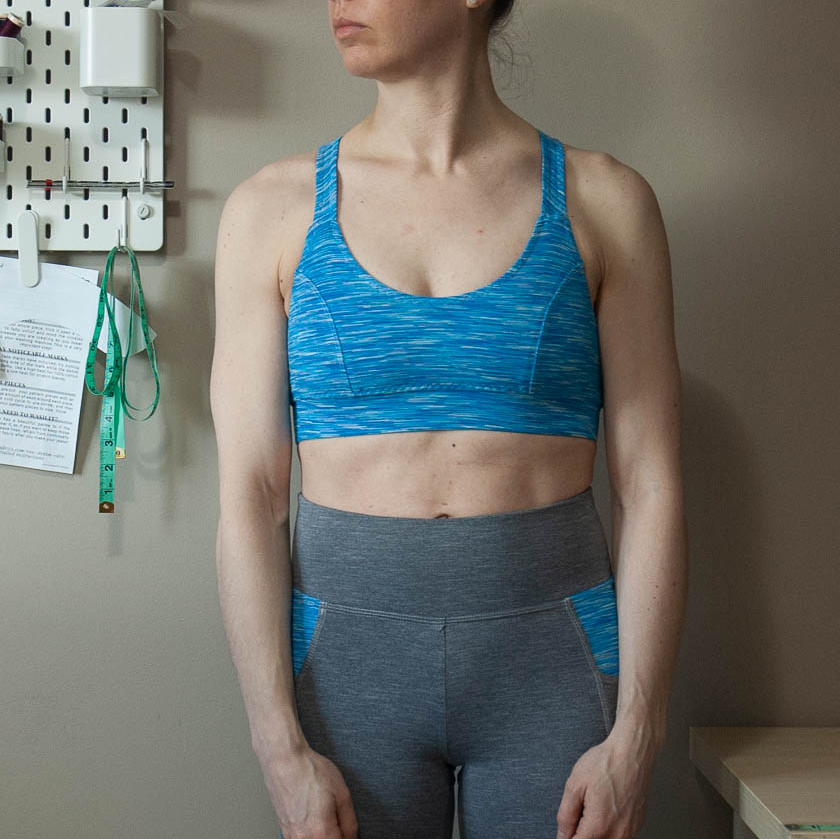
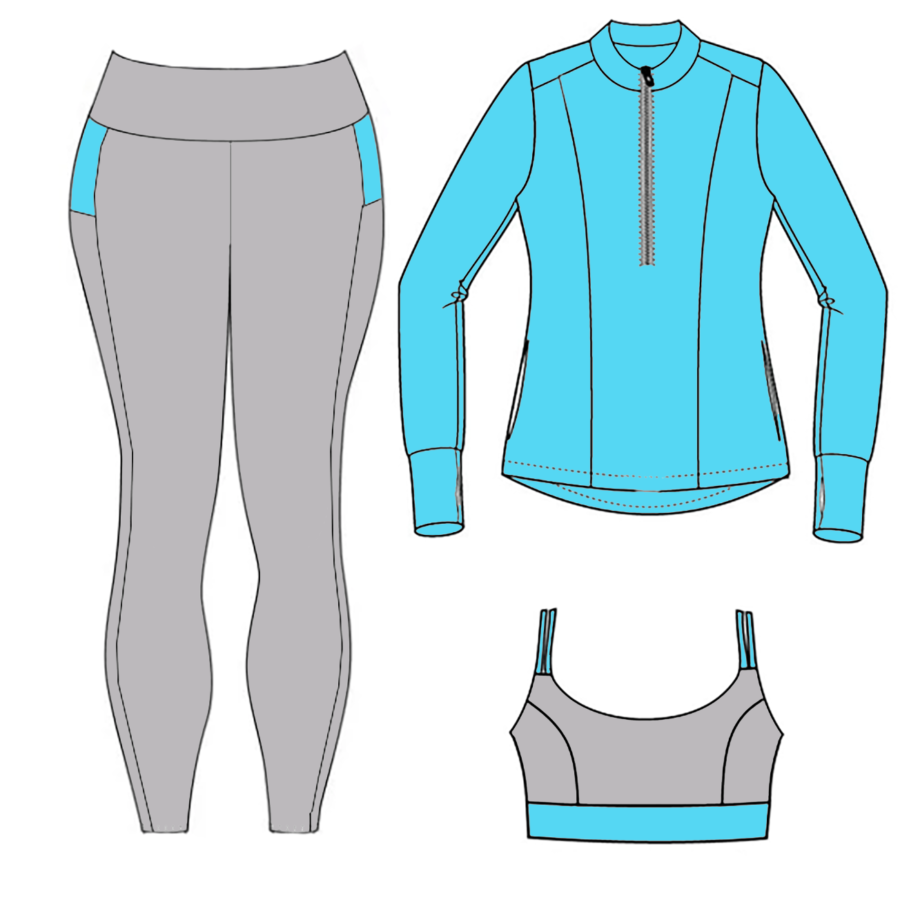
Greenstyle Creations – Power Sports Bra
I made the Power Sports Bra racer-back version with two small mods: I flattened the upper part of the curve on the side front pieces and I shortened the straps by 1.25 inches.
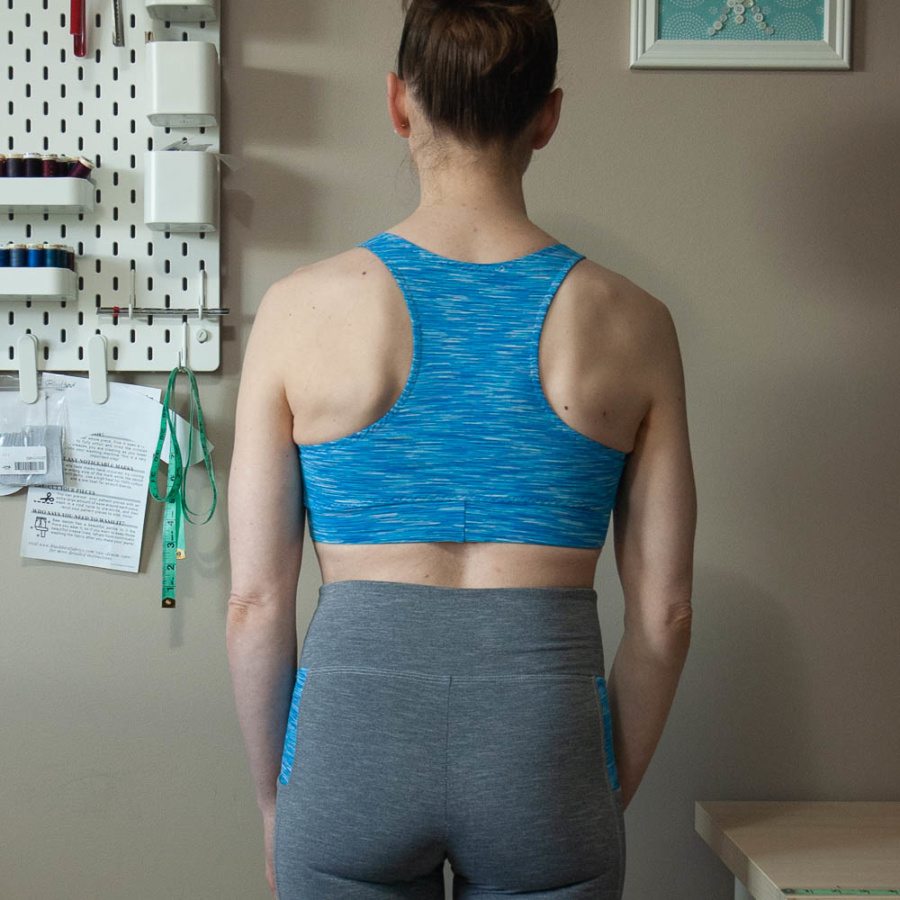
By using the two materials from my Avery Leggings and being strategic with my thread colours, I was able to easily make it reversible. I decided to top stitch the edges but my coverstitch machine really struggled with it (more on that at the end of this post). After ripping out numerous attempts, I finally switched to a stepped zigzag on my Brother Innovis, which worked well.
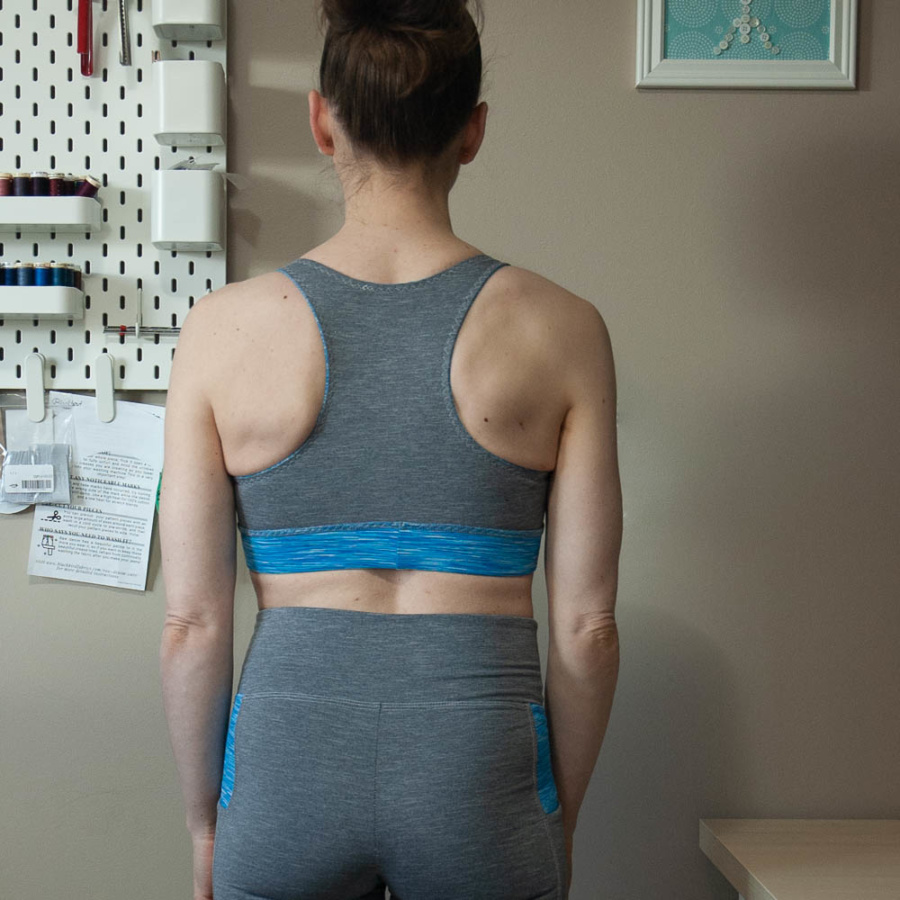
The only thing I will do differently when I make this again is to go up a size to 32D. I should have started with that size according to the pattern instructions but it sounded ridiculous to me as a very small-breasted person so I went with the 32C. It fits but is a teeny bit tight.
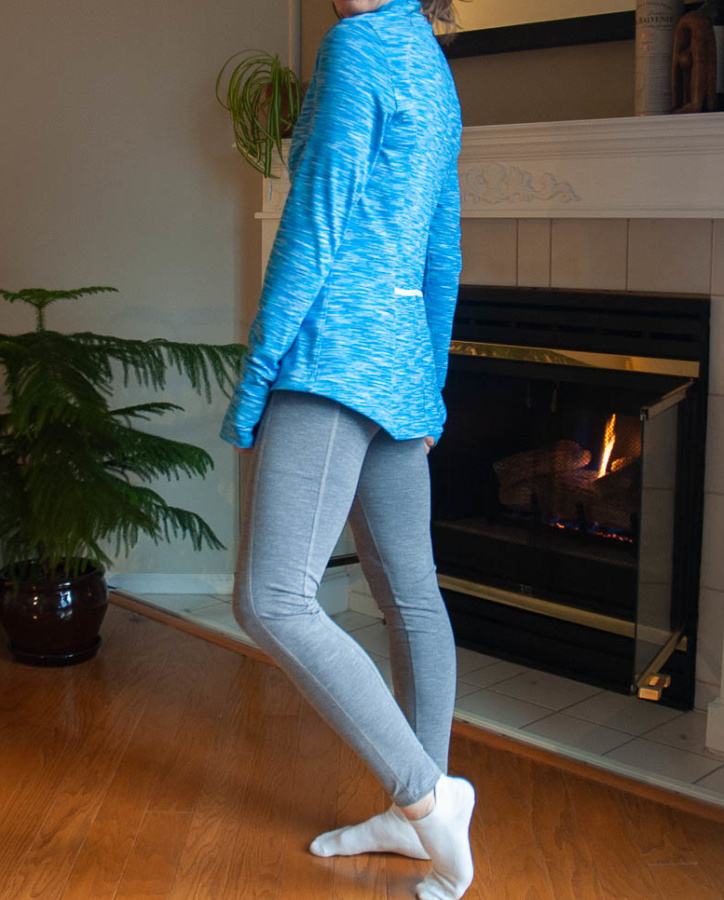
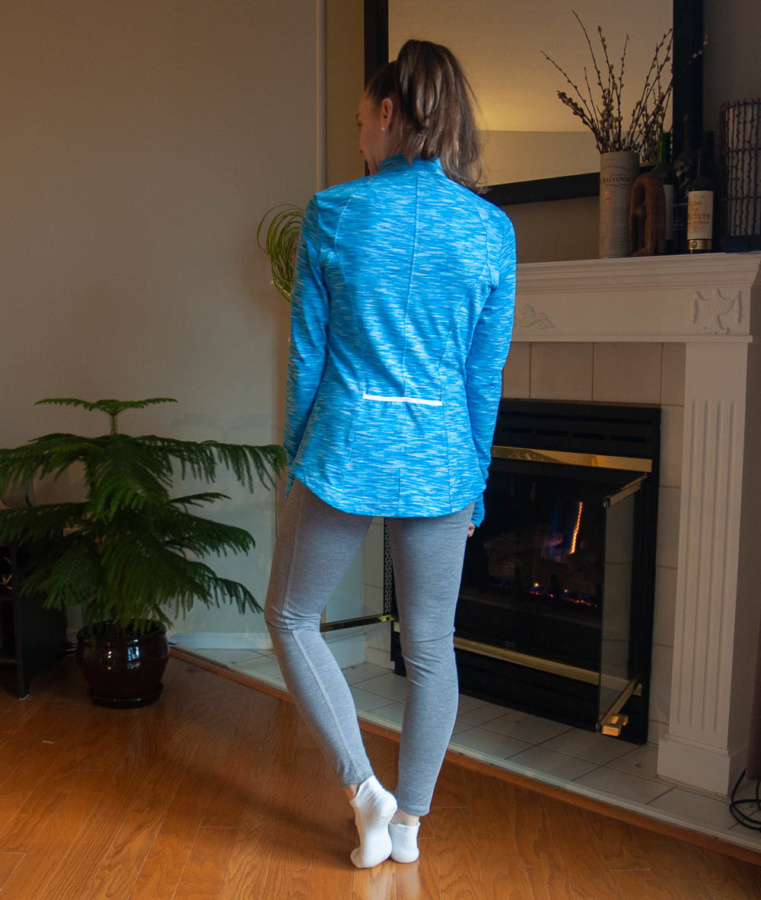
Greenstyle Creations – Sundance Jacket
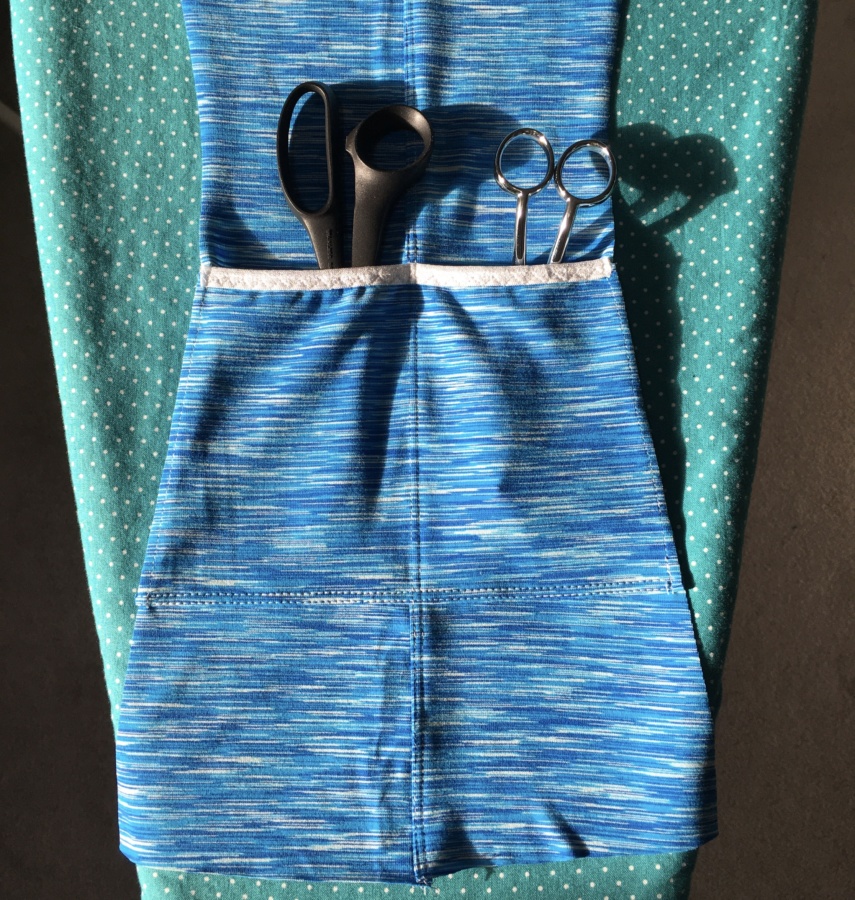
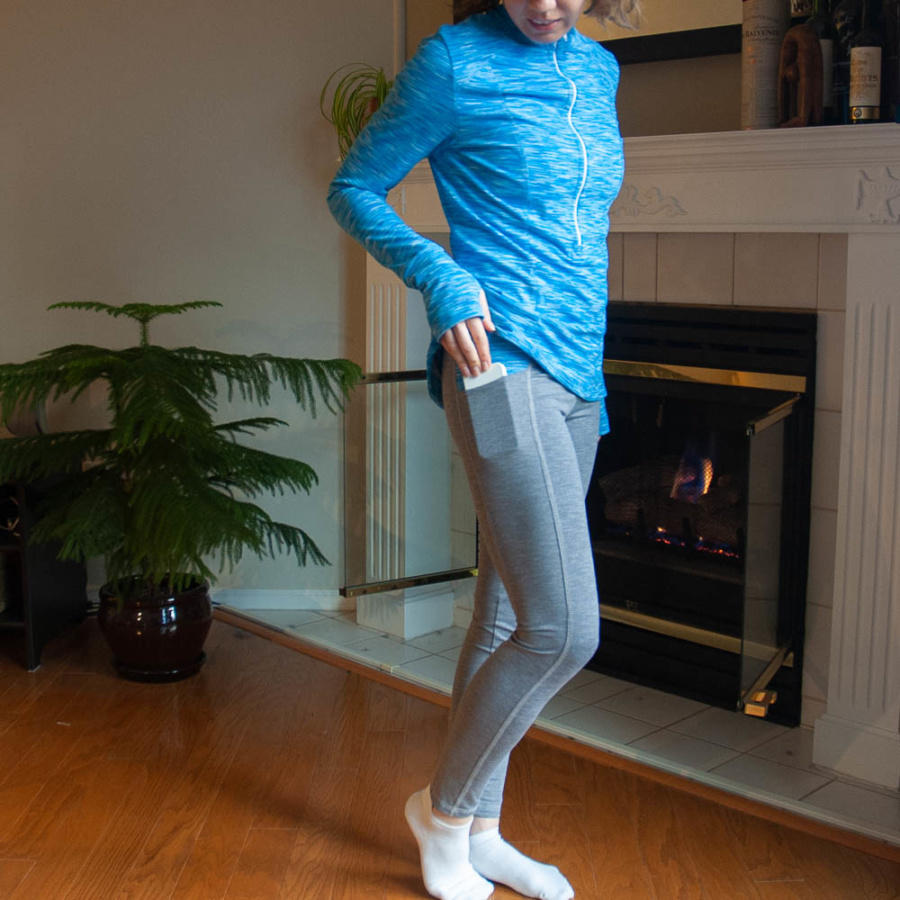
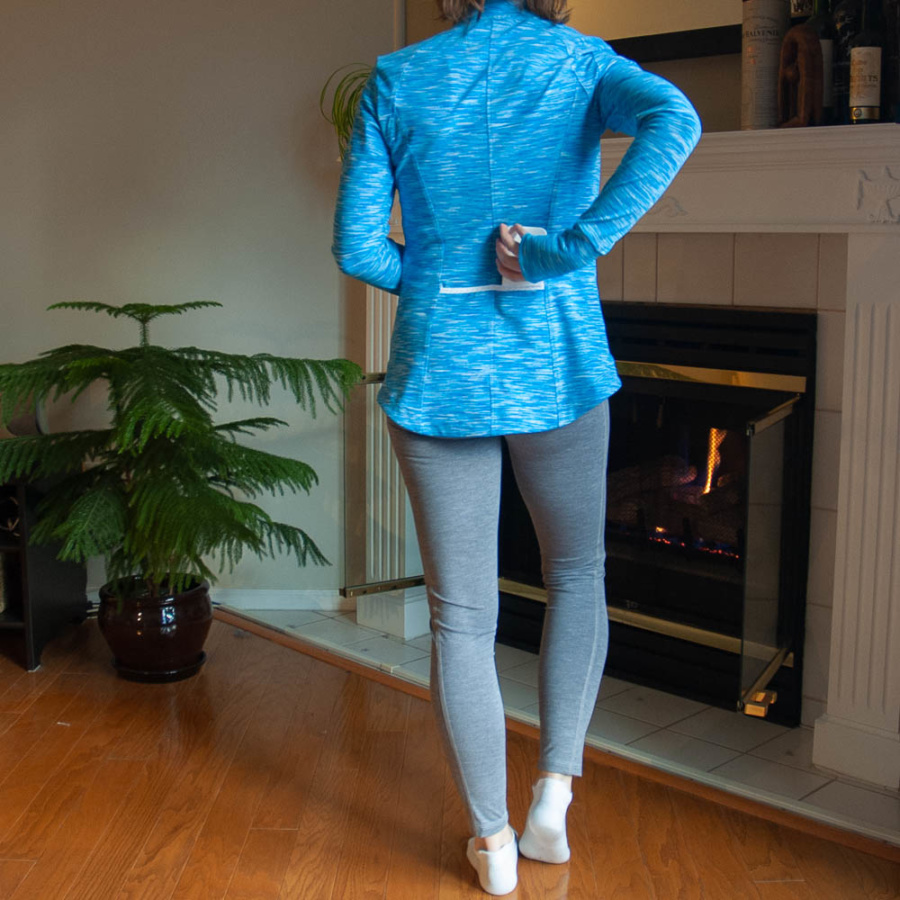
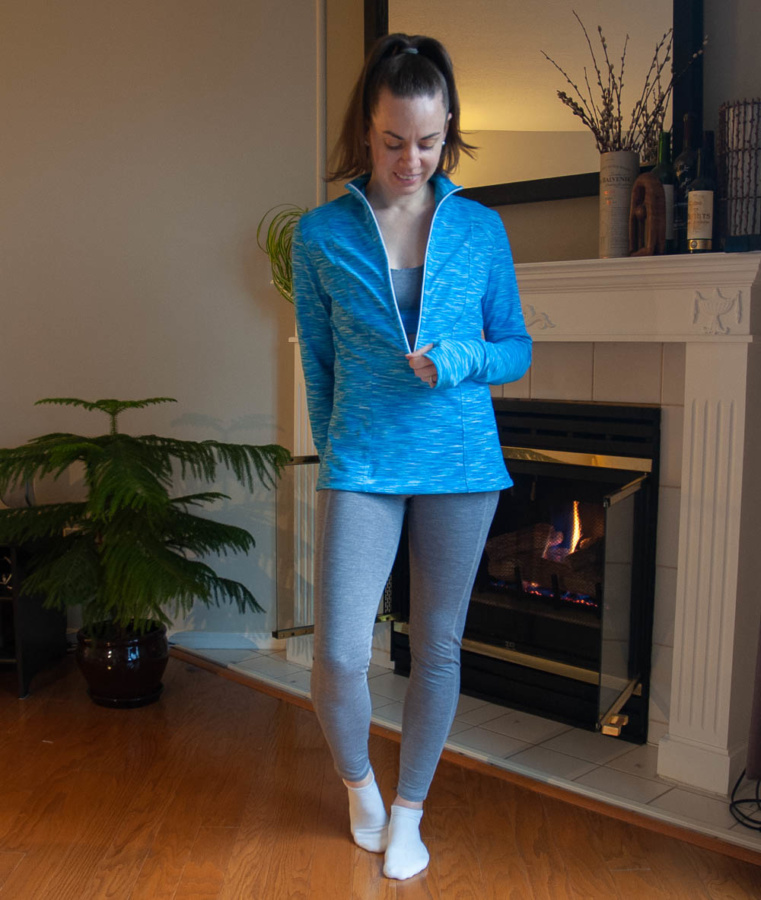
Next and last in this project was the Sundance Jacket. I made two mods right away: I eliminated the side pockets and added one to the centre back panel instead. I also used the Pacific Pullover video tutorial to add a half zip instead of the full zip from the pattern.

For the pocket mod, I sewed and top stitched the centre back seam first and then drafted the pocket from a piece of scrap fabric. I finished the top of the pocket piece with a piece of fold over elastic 1.5cm shorter than the fabric. This gives the top some tension to help keep it from stretching out over time. After I applied the elastic, I folded up the bottom edge upward by half a cm and basted the sides on the back panel just below the waist. Then I sewed the bottom and the centre of the pocket with my coverstitch machine and added the side back panels according to the pattern instructions. The only other difference was pressing the side panel seams out to the sides rather than the centre back because the additional bulk from the pocket and elastic preferred to lay flat.
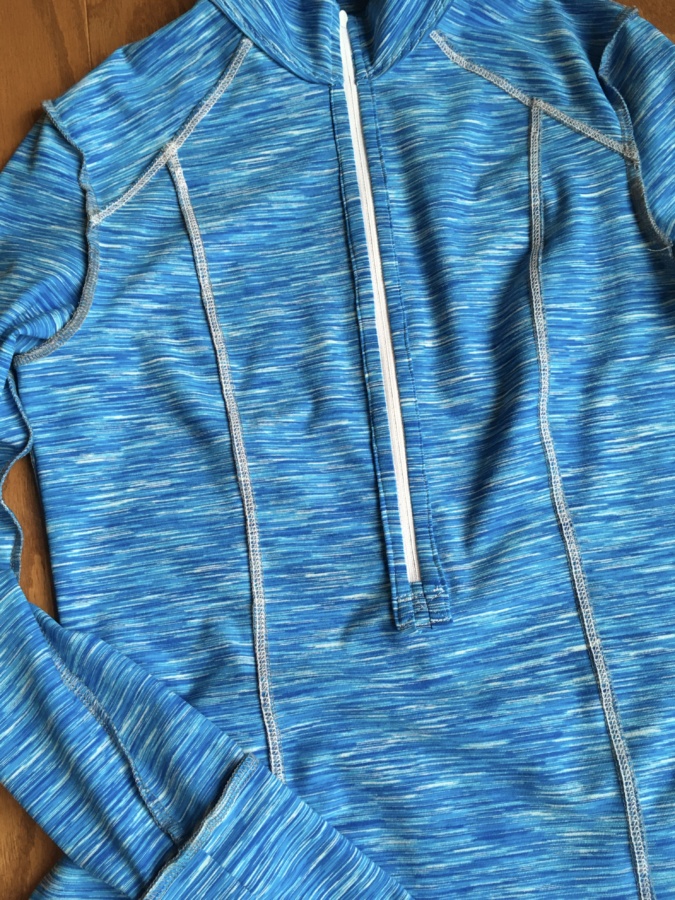
For the half zip mod, I followed the Greensytle Creations Pacific Pullover tutorial, with the addition of binding around the seam allowance and zip prior to top stitching. I also left the top stitching until I’d finished the collar so I could have the stitching run continuously. I also highly recommend the alternate method tutorial for the thumb hole cuffs. The alternate method makes for a lovely clean finish but is confusing if you just rely on the instructions.
I really like how this make turned out. It’s a lovely pattern that comes together well. All of the coverstitched seams make it look almost store-bought and it gave me a lot of opportunity to get better with my CoverPro. Mostly, I’m thrilled with how perfectly it fits with my other two pieces. I’ve now got four pockets when I wear these makes together – unheard of for workout wear!
Again, I’m really pleased with how my Sundance Jacket turned out but there are three small mods I will make to this pattern for when I make it again:
- Enlarged thumb holes – I will add 3/4 inches to the thumb hole openings on my next go round. They fit perfectly but, because they are sewed with a regular straight stitch, they feel a bit tight.
- Reduced shoulder width – I actually did this mod on this version. The shoulder seams hung over my shoulders so I unpicked the serged sleeve caps and cut 1/2 inch of the shoulder seams, blending to the shoulder yoke seam in the front and a point mid-way down the back. You can see this overhang on the line drawings so I believe it is intentional, I just didn’t like it on me.
- Larger sleeve cap – even with the overhanging shoulder seam, the sleeve cap on this pattern is too tight on me. There is no ease in the sleeve cap either – so I’ve altered the pattern to add some for my next go and will pull the added ease to the front for my forward shoulders (see photo of pattern mod below).
- Forward shoulder adjustment – I should probably just do this by default on every pattern because I always seem to need it (except on coats, I never seem to have this issue with coats. I wonder why?

And just like that, my first Make Nine 2020 project is completed! I kept pretty true to my plans don’t you think?
And now for a note about coverstitching…
I learned a lot about my new coverstitch machine with these three makes. Here are a few notes for anyone else who is working with the Janome CoverPro 2000CPX:
- It really struggled with top stitching thick seams, or maybe just over thick seams with clear elastic. Regardless, I could not get it to handle the top stitching on my Power Sports Bra and ended up just using my regular machine with a three-step zigzag. I didn’t even try with the topstitching of my Sundance Jacket collar and went straight to the zig zag. It handled the top stitching on the rest of the Sundance seams just fine… aside from the issue described in my next point.
- It has a tendency to skip stitches at the beginning of seam (when not sewing in the round). This is especially problematic when the seam if thick, such as when top stitching a finished seam to the side. I mitigated this by starting on a piece of scrap fabric of similar thickness and chaining to the garment. This helped a huge amount and almost eliminated the skipped seams.
- It struggles over thick areas. I mitigated this by stopping just before the thick area and adding a thick wool scrap under the presser foot behind the needles. This is a bit tricky but does help a lot.
- Wonder Tape really helps with bunching and skipped stitches on lapped seams and lighter fabrics.
That’s all for now. Thanks for stopping by!
~ Lindsay