This make wasn’t originally on my list for this year but I lost my desire to sew for most of January (I thought it was because we’re in the middle of a furniture overhaul and our place is a mess with stuff everywhere) and I realized it was because I just wasn’t really into one of the makes I’d put on my list.
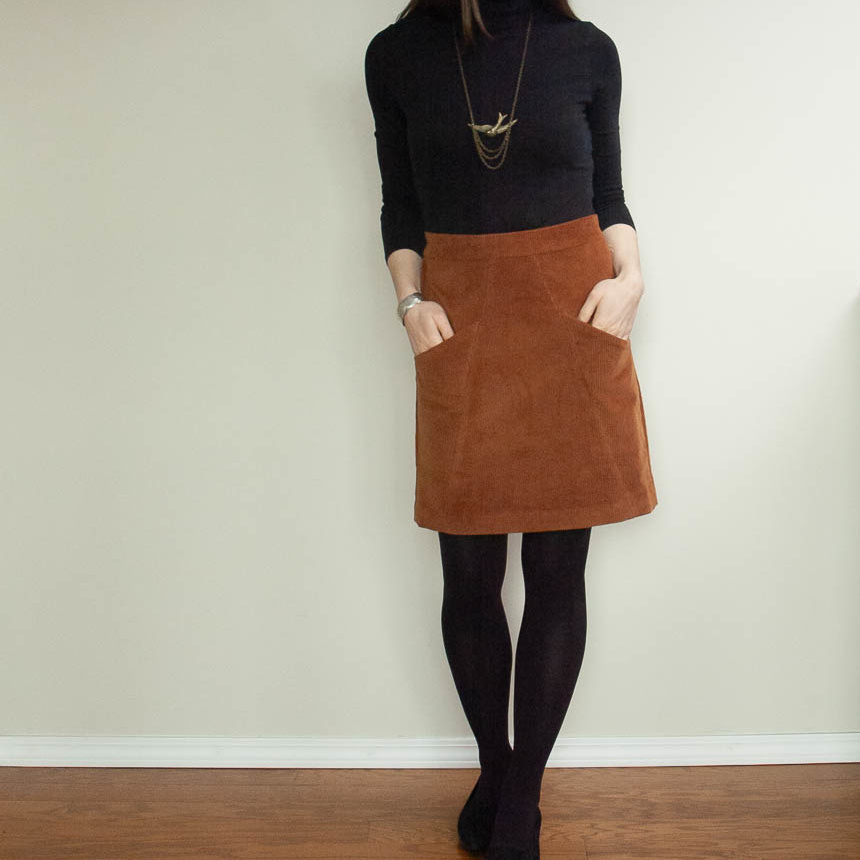
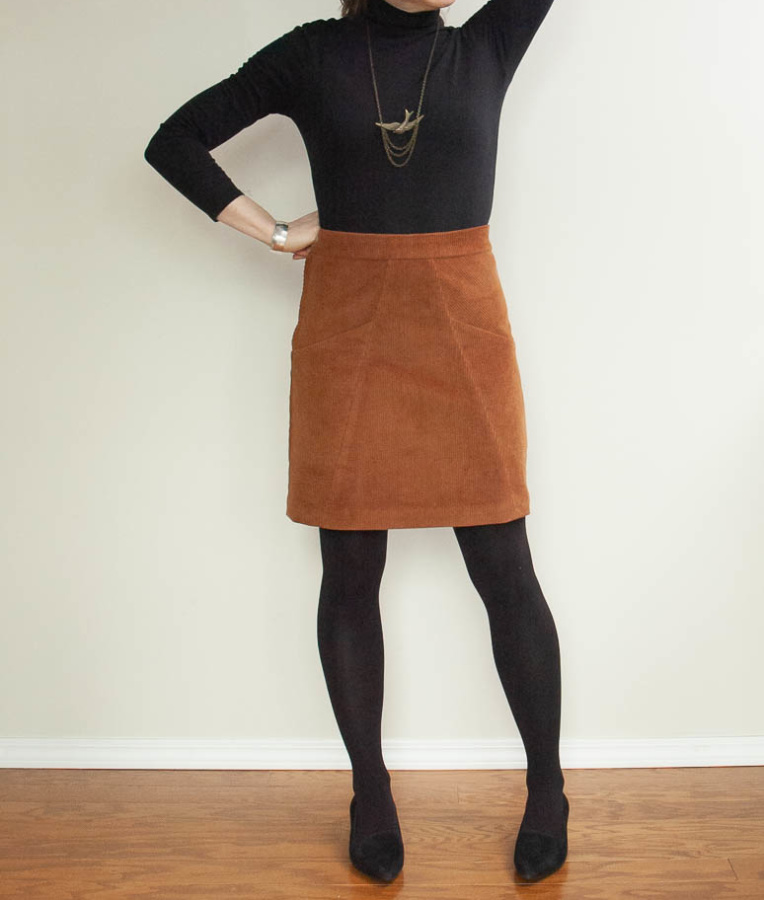
Part way through my un-motivated month, I had a flash on inspiration for a new winter work outfit. It required a teak-coloured stretch cotton corduroy skirt and I was SO excited about it (seriously, I told all my coworkers about it before I even had the pattern or fabric). Instead of adding this make on to my already very full schedule, I decided to remove the make that I wasn’t feeling excited about and replace it with the Blueprints for Sewing A Frame Skirt.
As soon as I gave myself permission to make the change to my Make Nine list, my desire to sew came roaring back. I found the fabric at Blackbird Fabrics and ordered it and the skirt pattern right away. This make would be two firsts for me: First time sewing with corduroy, and first lapped zip. I cut a size B, graded to a C at the waist.
I knew before I started this make that I wanted to make some changes to this pattern to better fit my vision:
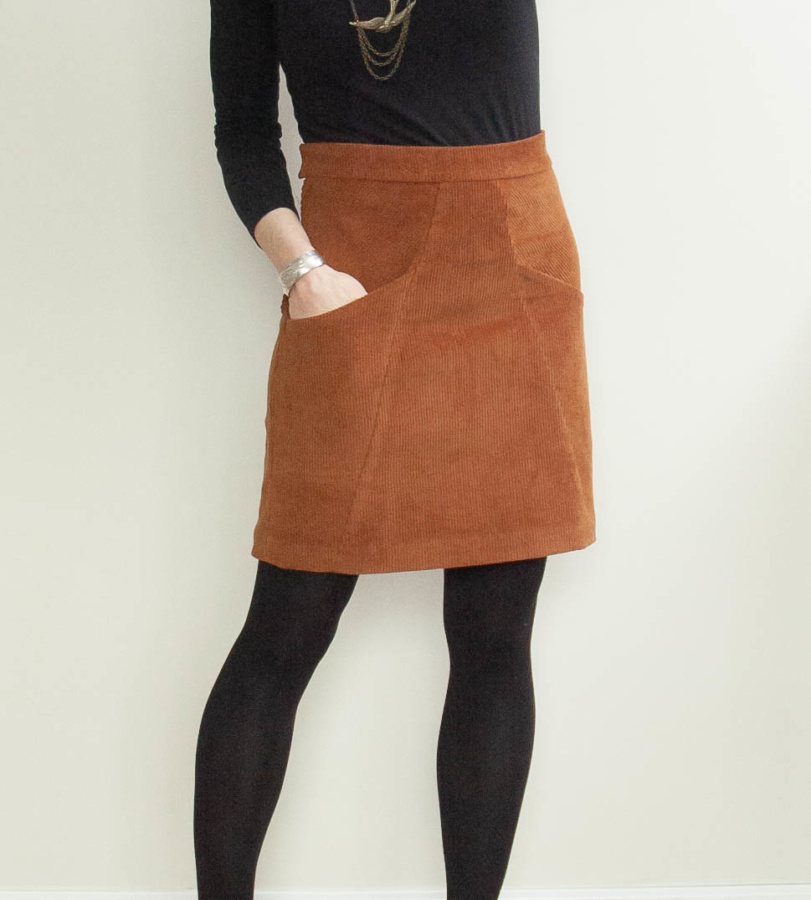
- Crop it to a mini length and remove the kick pleat
- Move the zip to the side seam
- Widen and curve the waistband
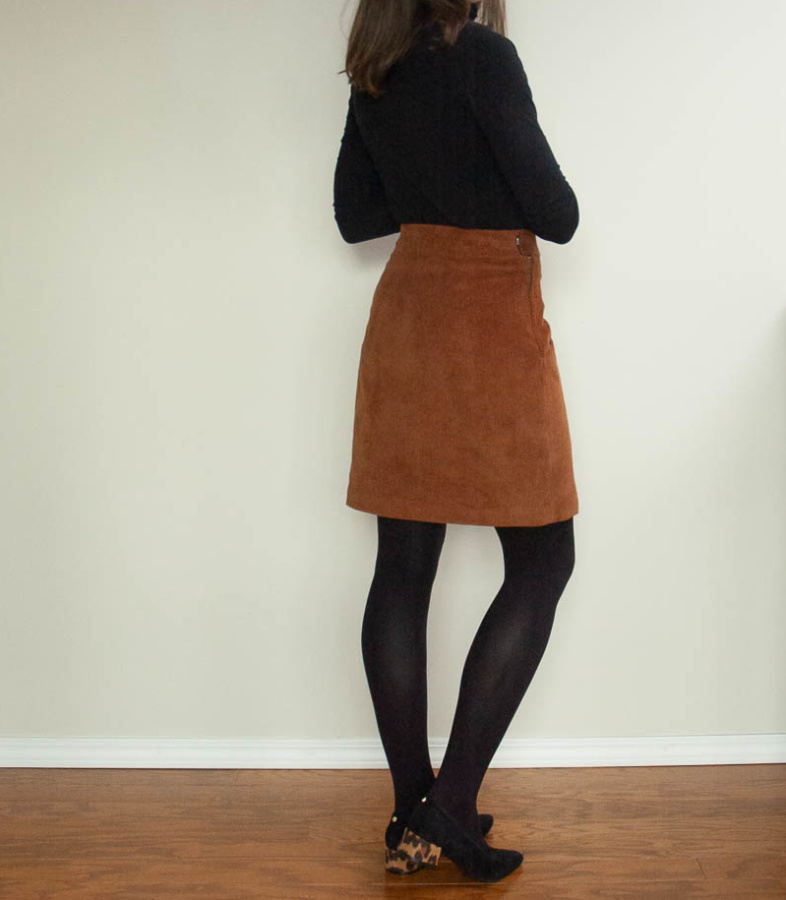
The first of these mods was easy. Moving the zip proved a little more challenging. It was my first ever lapped zip so I decided to follow the Closet Case Patterns Jenny Overalls zip tutorial (highly recommend). I decided to short the zip a lot so it would end above the pocket to avoid excess bulk. This probably wouldn’t work if you have a larger difference between your waist and hip measurements but I’m fairly straight so I’m still able to easily get it on with the shortened zip.
Curving the waistband was easy, I just slashed and overlapped each waistband piece from the top edge toward the bottom at three locations. The overlaps were very small, about 3 mm each, so I ended up taking off about 1cm from the circumference of the top of the waistband on both the front and back. This change to a curved waistband meant I had to cut an inner and outer waistband rather than a fold over and I took the opportunity to widen the waistband by about a half inch. I also cut the inner waistband out of a stretch cotton poplin because I didn’t want the nap of the corduroy to cause the skirt to crawl up or down while I was wearing it. Because I moved the zip, I also had to cut the back waistband (and back skirt piece) on the fold and transfer the extra length for the button overlap to the right side seam.
Construction was easy after I had my pattern mods figured out. I put the pockets together first using a stretch stitch on all the horizontal seams so as to not interfere with the stretch of the skirt, then attached the side fronts and backs their respective centre pieces and basted the side seams. It was a bit big on my first fitting (probably from the stretch in the corduroy) but I decided I didn’t want to mess with the zip so I finished the side seams as they were and inserted the zip. From there I made the following mods to the fit via the front and back side seams (these are the diagonal seams that attach the centre and sides, not the side seams):
- Took the two side back seams in by 1 cm along the entire seam
- Flattened out the front by pinching out the curve around the pubis on the two side front seams, tapering to the original seam line at the waist and bottom of the pocket
Once I had the fit the way I wanted it, I attached the waistband. I wanted this skirt to be fitted but also comfortable so I did everything I could to keep the stretch in the waistband. I cut the interfacing on the bias (I interfaced both the inner and outer waistbands). To apply the outer waistband to the skirt and also to attach the outer and inner waistband pieces together, I used that stretchy lightning bolt stitch (does it have a name?). I didn’t understitch but I did press the seam toward the inner waistband and made sure it wouldn’t be visible from the right side. I hand stitched the inner waistband on the inside. I also hand sewed the hem to avoid having a horizontal seam cutting across the wales of the corduroy. All that was left at that point was to add a bar and hook to the waistband extension above the zip.
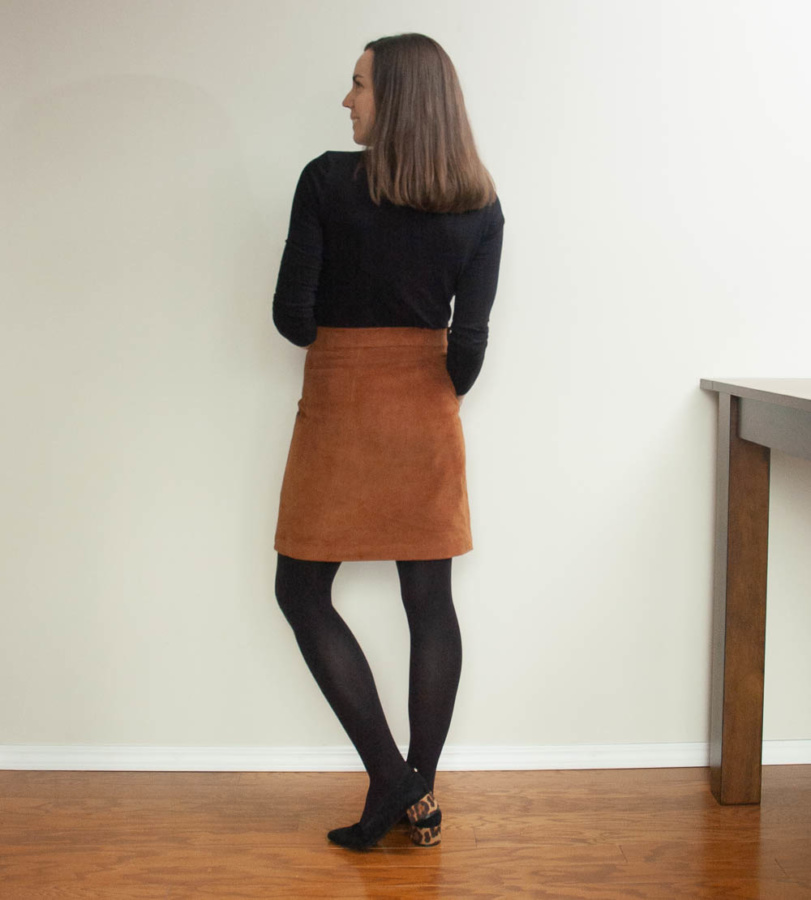
I am really happy with how this make turned out. It was my first lapped zip and first time working with corduroy, which I loved but it sure makes a mess. I really need to vacuum after this one! The seam lines are lovely and I played with them a bit by setting the upper side panels above the pockets on the bias. I had a vision before making this skirt and I achieved it almost exactly. It will work perfectly with black, navy and grey, all the colours of my winter turtleneck and tights combos.
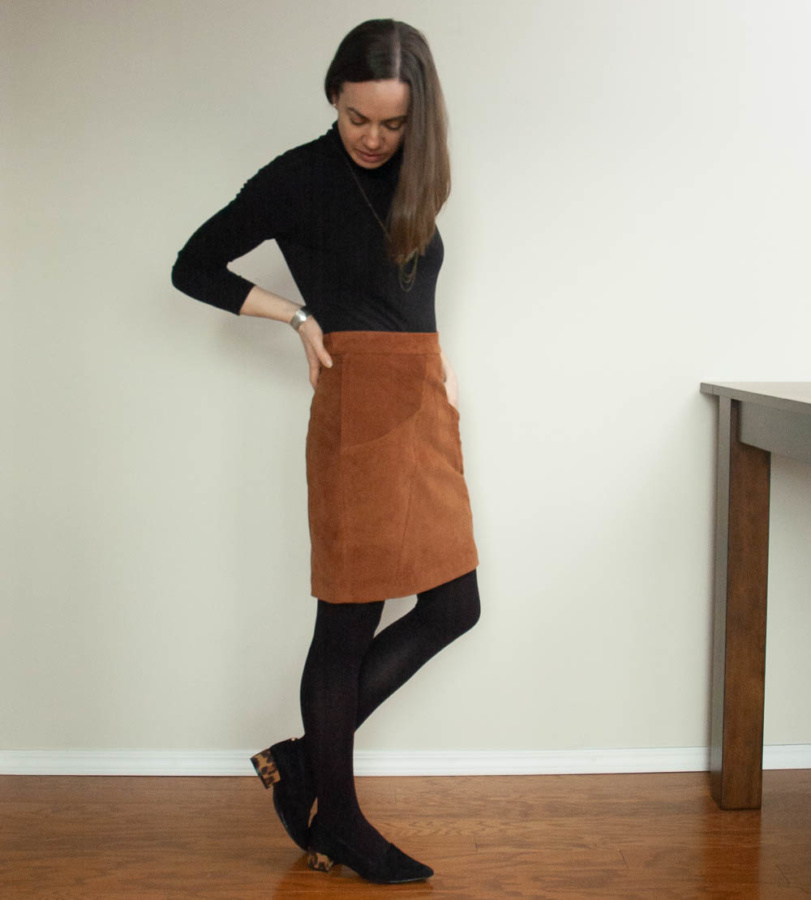
My sewjo is fully back after this make. We also have one piece of our new furniture that you can see in these photos… it’s a counter-height dining table that perfectly fits my large cutting mat! I’ve already cut out my next Make Nine project on it, my second take on the Closet Case Kelly Anorak, and look forward to all my future cutting being up at a comfortable height.
Thanks for stopping by!
~ Lindsay