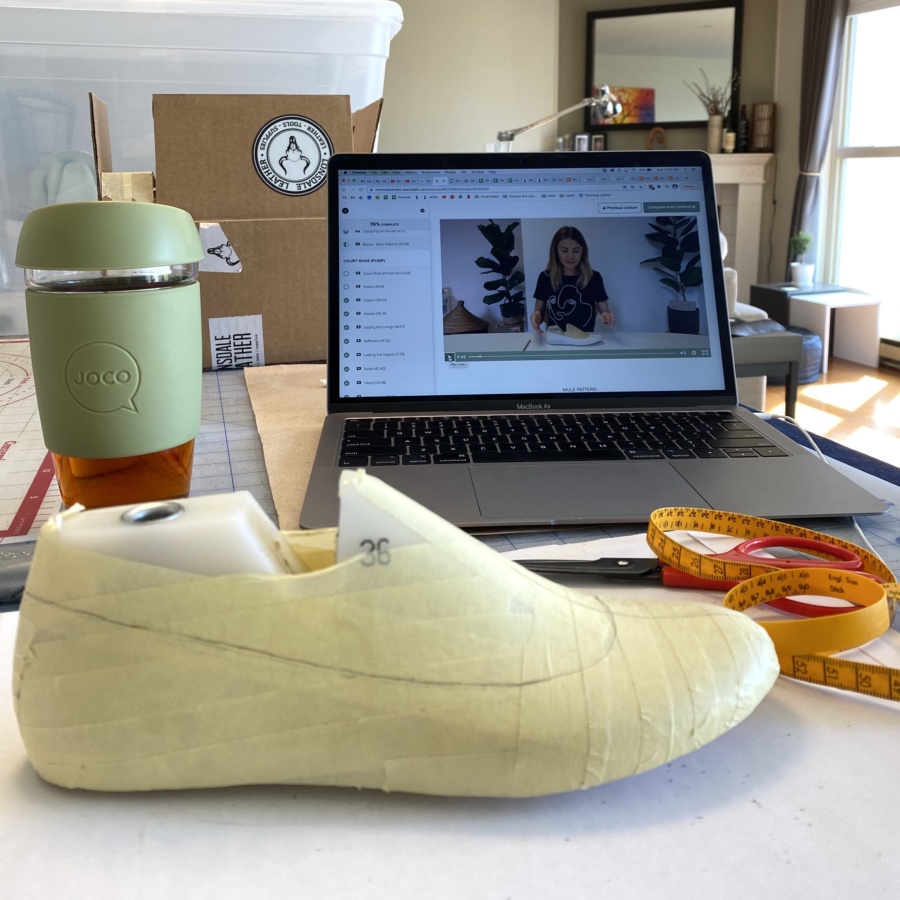
I didn’t start 2021 planning on getting into shoe making. I planned to make sandals and then I saw the I Can Make Shoes online course (which my husband generously gifted me for my birthday) and have been obsessed ever since. I knew going in that my first pair was going to be about learning techniques and assessing the fit of my lasts so, after finishing my third pair of sandals, I decided to jump right in and give it a go.
I’d like this post to serve as notes for me for future shoe makes so I’m going to go in order and note success and areas where I’d like to improve next time.
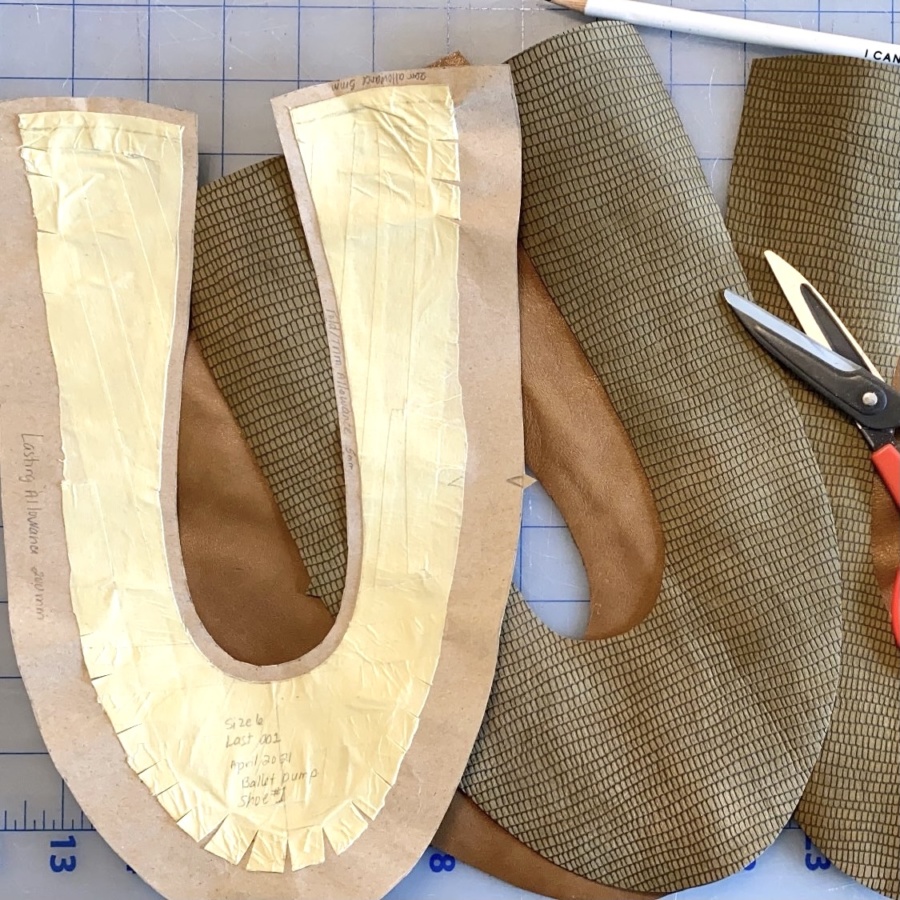
Pattern
I chose to start as simply as I could with a little ballet flat. Making the pattern was quite fun and I enjoyed this process, taking it slowly and not putting too much pressure on myself to adhere to an arbitrary timeline (as I sometimes find myself doing).
When I do this again, I will make a few changes:
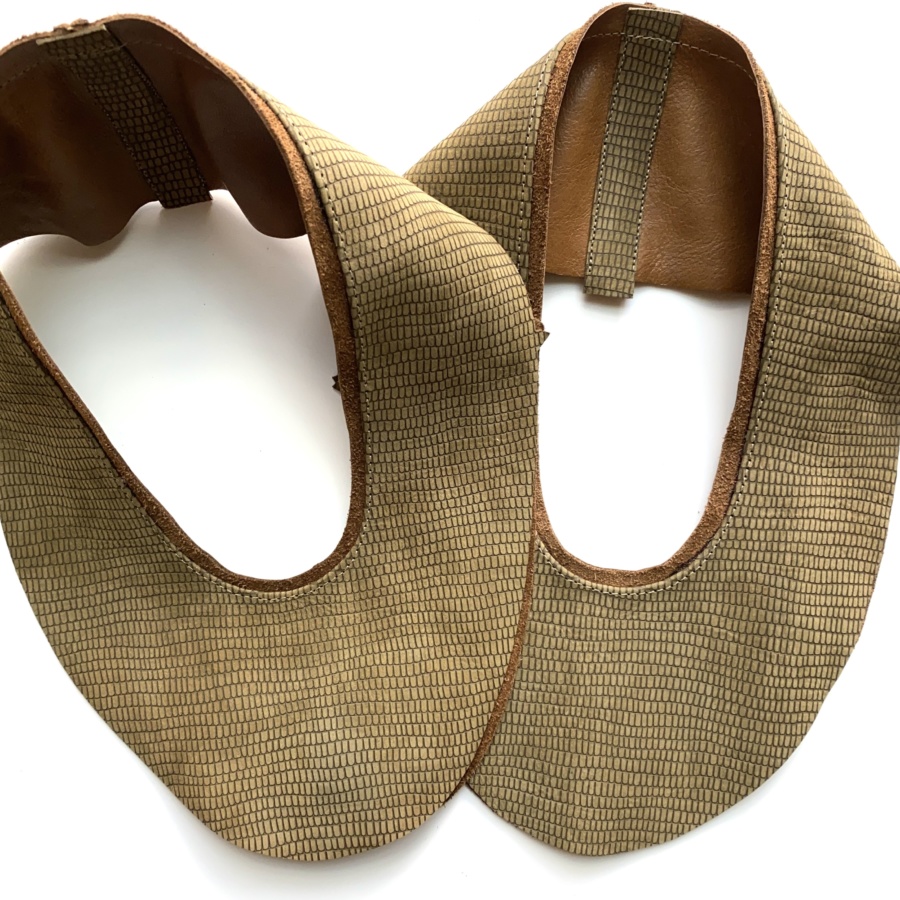
- Be more careful skiving and always use a sharp blade – I skived right through one of my uppers while I was creating the folded top line. My main leather was quite stiff so I had to skive it before it would fold. Luckily, I had more leather (though not as nice a cut) so was able to cut another, but it meant I didn’t have enough leather to wrap the insoles (this ended up being a blessing actually, but I’ll get into that later).
- Give more lasting allowance at the toe and heel when using a thick upper leather – after the toe puff and heel counter were added, I found I was barely able to wrap the main leather over and there wasn’t much surface for the glue to adhere. I’d like a little more lasting allowance to play with next time (for reference, the lasting allowance on these was 2cm for both the upper and lining pieces).
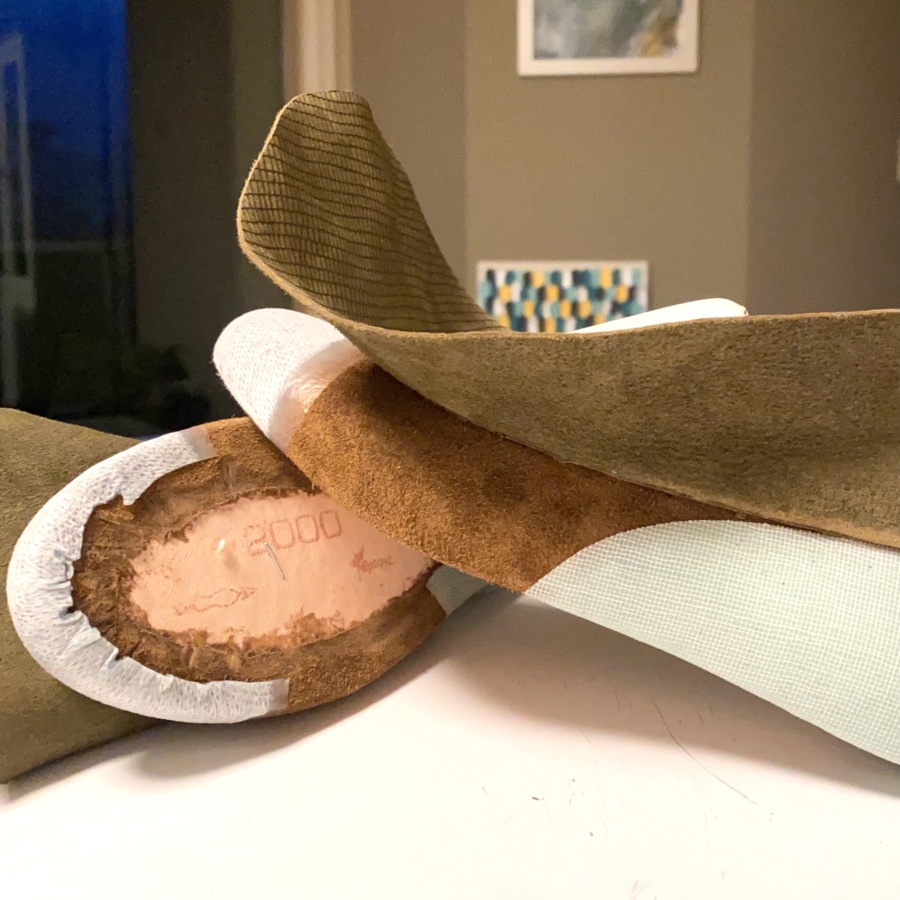
Insoles
I don’t have any pictures of covering the insoles, because I didn’t. I just cut out the insole board and used it bare. There was a plus side to this though. When I took my shoes off the last and found they were quite a bit too big, I was able to add a foam and leather insock, which helped the shoes to fit me better and I didn’t have to add it over an existing foam and leather insole. If using these last again, I’ll likely do the same, or be prepared to add an additional insole after taking them off the lasts.
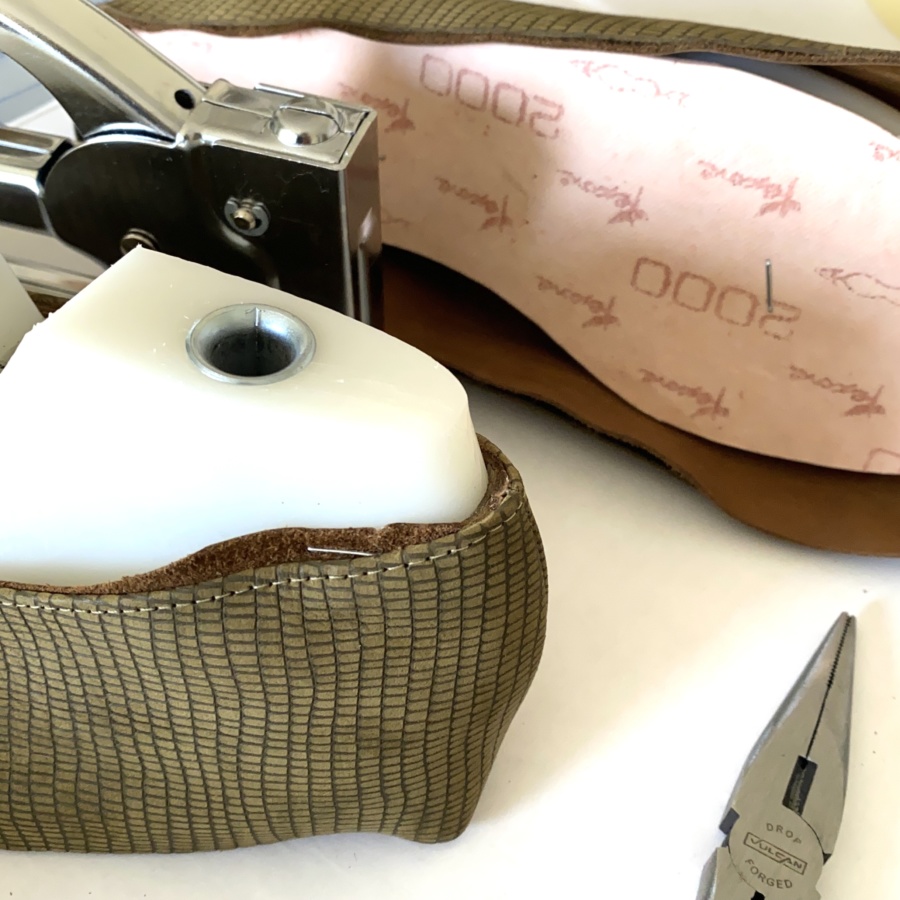
Preparing to Last
The I Can Make Shoes course teaches you to use masking tape to hold both the insole and the upper leather to the last. I tried this but I didn’t feel either were very securely held. I also found that taping the upper to the last at the centre back made it impossible to see the marked top line at the back and get the two shoes lasted evenly… so I took a walk to the hardware store at lunch and picked up a staple gun and some narrow pliers (to help pull the staples out). I stapled the insole to the last in two places and was immediately pleased with my decision. The insoles were much more firmly held. Stapling the uppers was more difficult. I first cut away the lining from the centre back so I could see the top line. Then I tried (many times) to staple the remaining bits of trimming allowance to the last. Holding the upper in place on the slippery last and centring the seam was incredibly difficult but I managed after about 20 attempts.
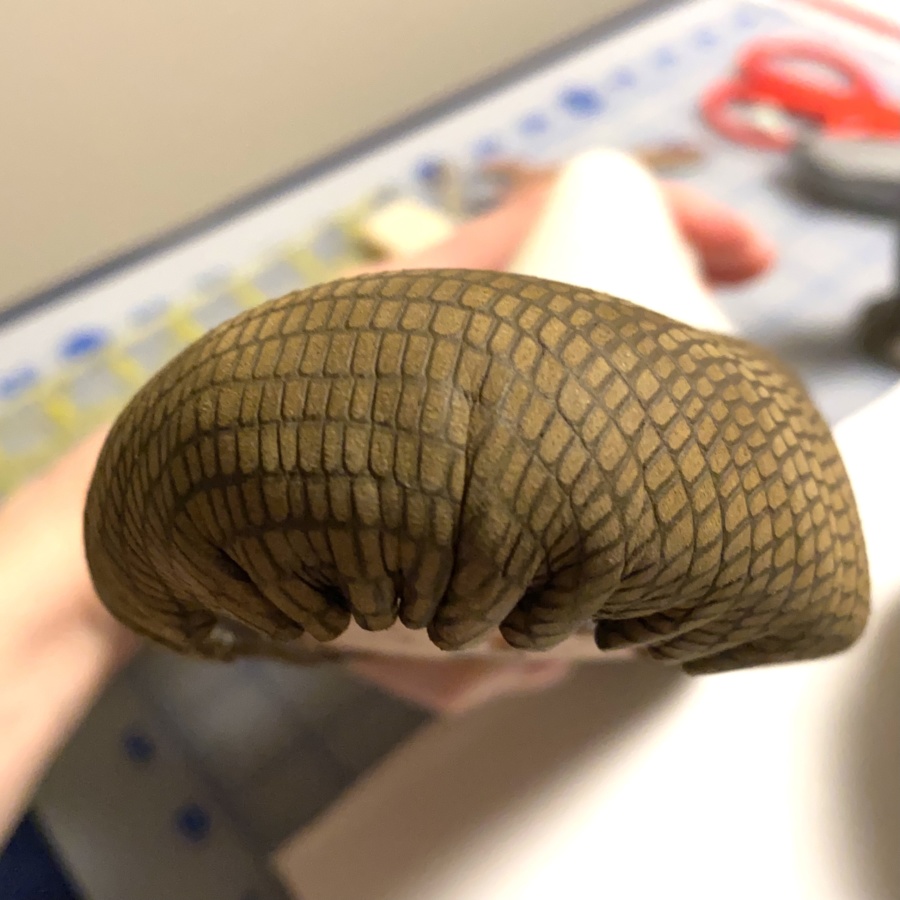
Lasting
This part was equal parts fun, terrifying and frustrating. Lasting the soft, stretchy lining leather was so easy, I felt like I must have done something wrong. It was a breeze. The counters and toe puffs were also relatively easy, once I got the hang of them, though I’ve included a note below of one thing I’d do differently next time. Lasting the main leather was another story though.
Here’s what I’ll do differently next time:
- Use my Dremel to sand down the lasted parts of the toe puff and heel counter. I trimmed them as recommended in the course but found that their thickness at the feather edge interfered with lasting the uppers.
- I’d like to try more traditional shoe-making technique to last the uppers next time. This means stretching and folding the uppers over before gluing, using nails to hold them in place, then brushing glue under and bending the nails over to hold the leather in place while the glue cures. I’ll have to play with the best nails to use for this but I think this would make it easier and give me a better result as there would be more time to manage wrinkles. Having more lasting allowance at the toe and heel as mentioned above would also help with this.
- Choose leather more carefully. My green upper leather wasn’t overly thick but had little stretch and was much more stiff then my lining leather. This made it far more difficult to last. I think it would actually be easier to have a thicker lining leather and more thin and stretchy upper leather so I’ll give that a try next time.
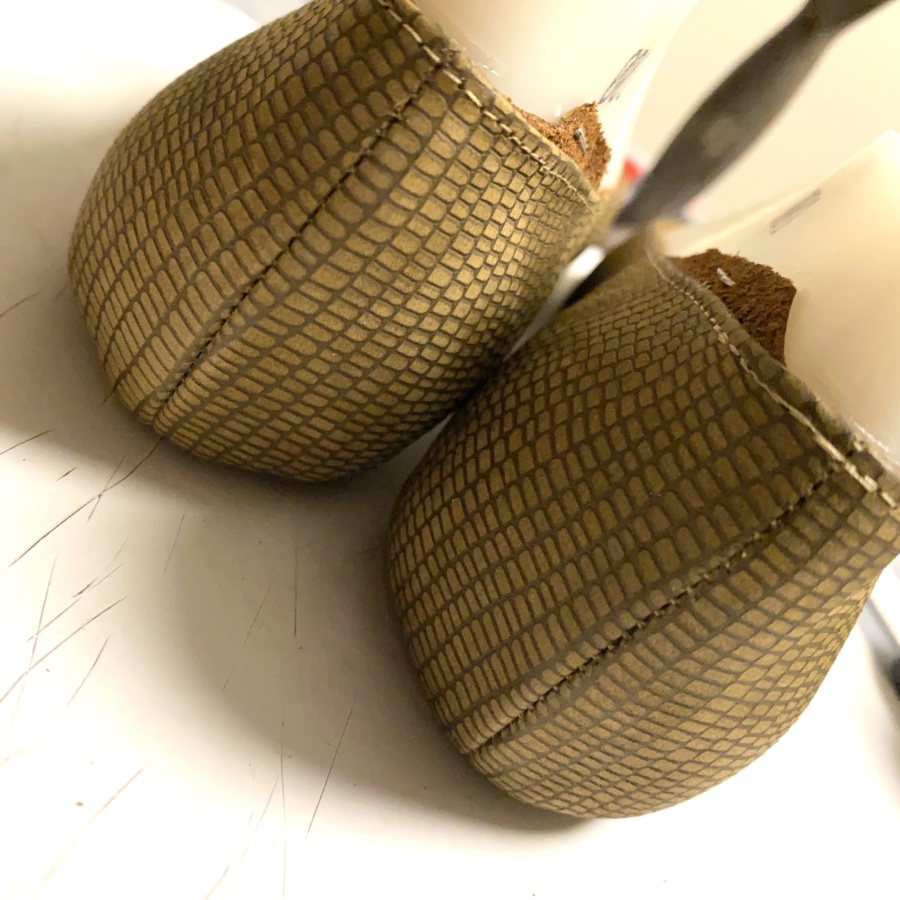

Preparing for soles
I was pleasantly surprised to see the difference skiving made on the many bumps and ridges that were created when I lasted the uppers. Skiving, when done properly and not when accidentally destroying your uppers (see previous note), is one of my favourite parts of shoe making.
After skiving, I covered the bottom of the lasts with plastic and traced out the area that I’d need to fill with cork. I’ve tried and failed to find the cork filler used in the I Can Make Shoes course so went with simple self-adhesive sheet cork (that I applied more adhesive to) that I picked up on roll from Canadian Tire.

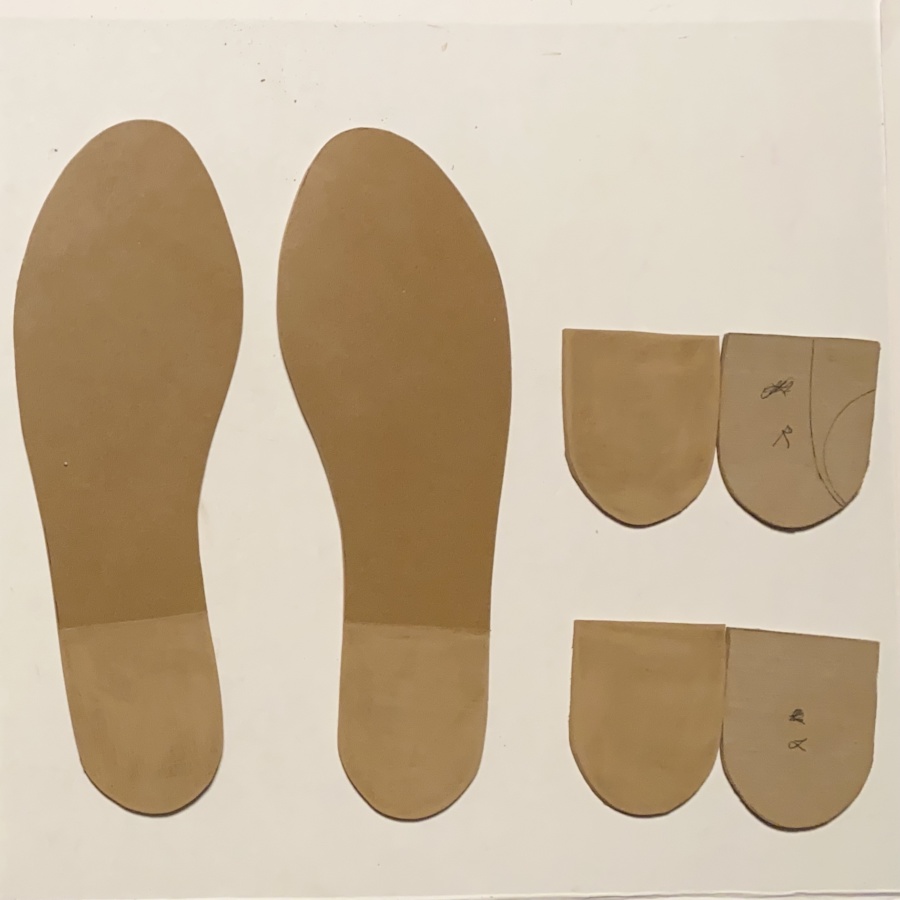
The last thing to do to prep for soles was trace the shoes to create a sole pattern and cut out the sole and heel pieces. I used a resin soling for these and used two layers of the same material to make a little stacked heel.
Attaching the soles and heels
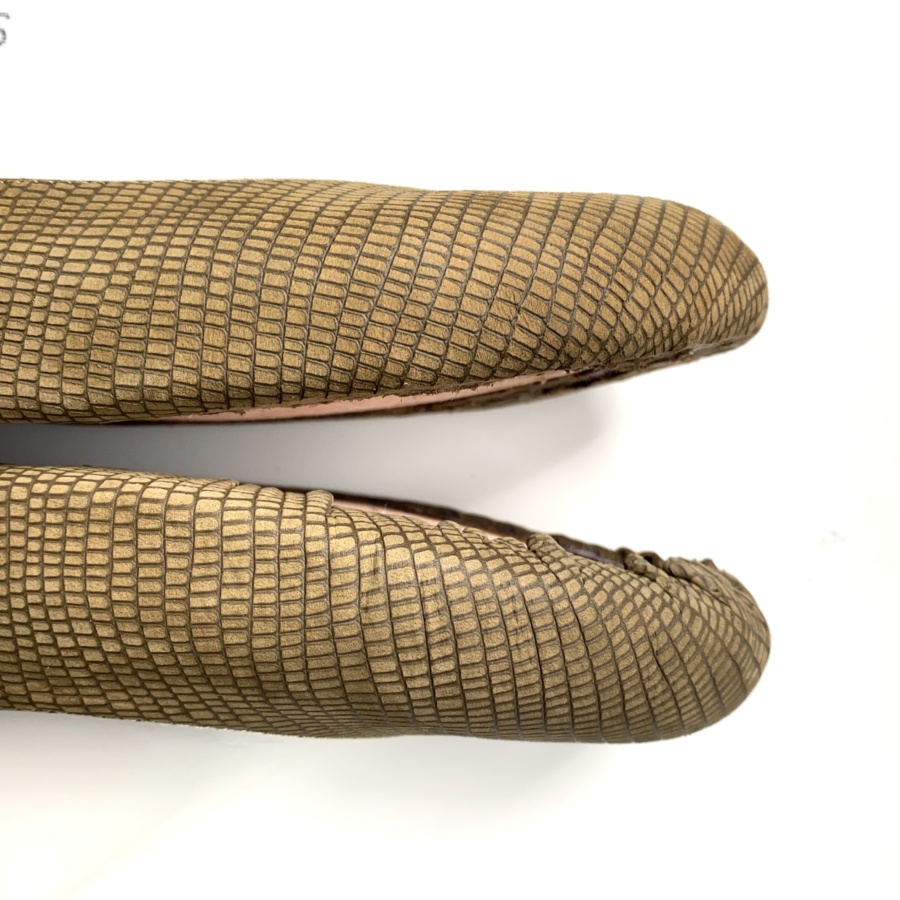
I was too excited to finish so didn’t get any photos of this process unfortunately . First, I traced the sole pattern on the bottom the the shoe so I knew where to add glue. Then I started assembling the soles and heels. I glued the stacked heels together first, then sanded the straight edge so they were even. Next I glued the heel stacks to the sole pieces and used my Dremel and new sanding box to get a nice smooth finish around the heel.
After sanding, I glued the soles to the shoes and used a hammer to adhere them as best I could. I realize in hindsight that my skiving efforts were not quite sufficient so there are some small gaps showing along the edge of the sole that I could not close, despite rather aggressive, elbow damaging hammering. But they will suffice. I did the best I could on my first go and was excited to take them off the lasts and try them on!
Finishing
…. and, they were too big. By quite a lot. I could stick a finger down to the insole behind my heel. I’d planned to add a leather and foam insock with a stacked foam arch support so I proceeded. The result is still too big, but I can walk in them without them falling off so they’re wearable.
This does mean that I either have to grind down these lasts though, or buy some smaller ones. I may try both, noting that I’m likely to ruin these by grinding them since I’ve never tried any kind of sculpture ever… still will be fun to give it a try though. While I’m at it, I need to add to the last a bit as well. These are tight across the end of my first metatarsal, a common issue for me with shoes of this style, which is probably why I don’t normally choose it. I’m debating though, because shoes without a seam there generally fit me fine. I’ll have to think about it a bit more.

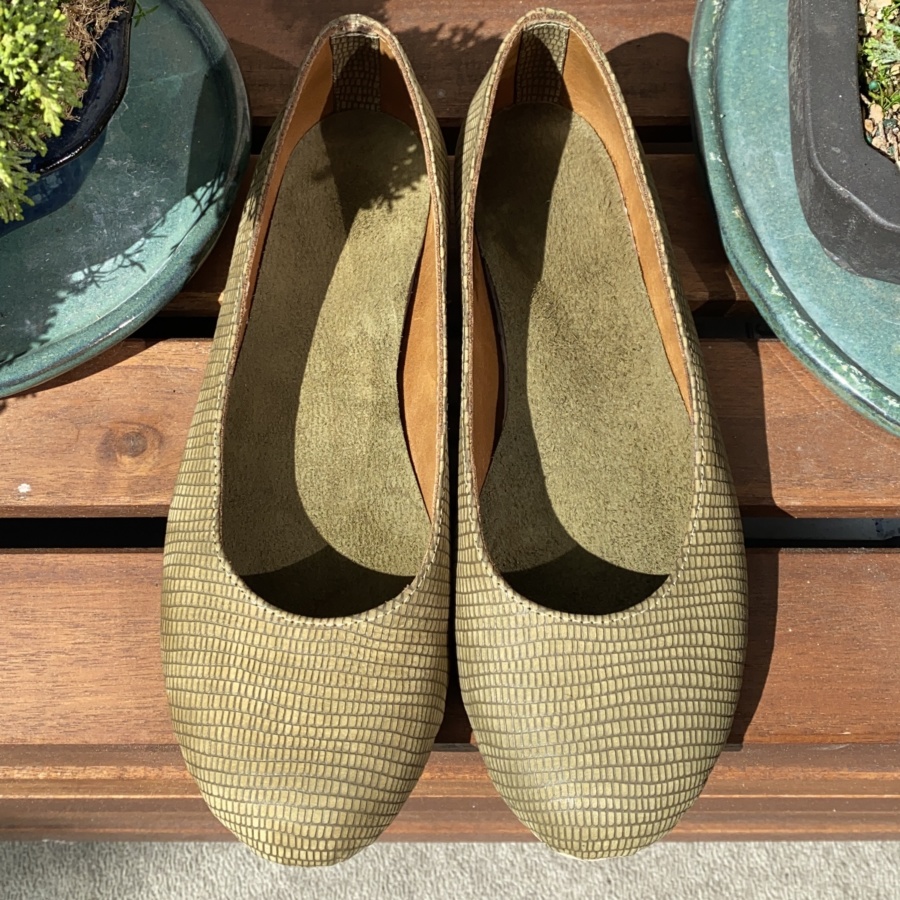
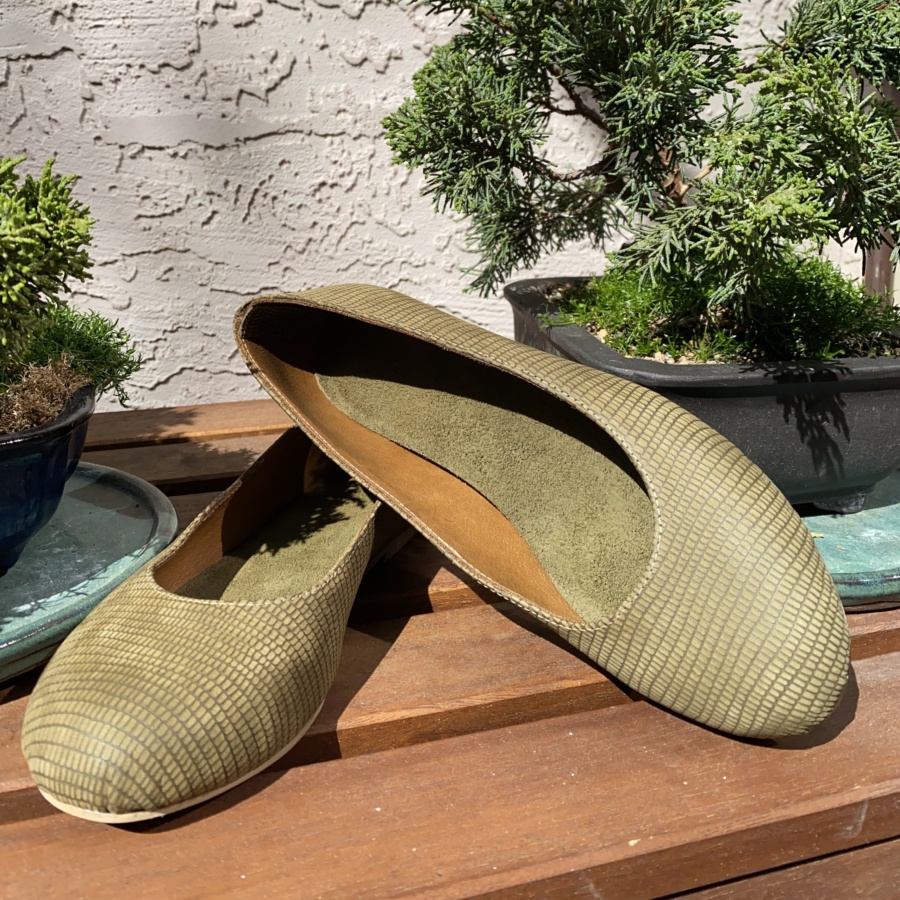
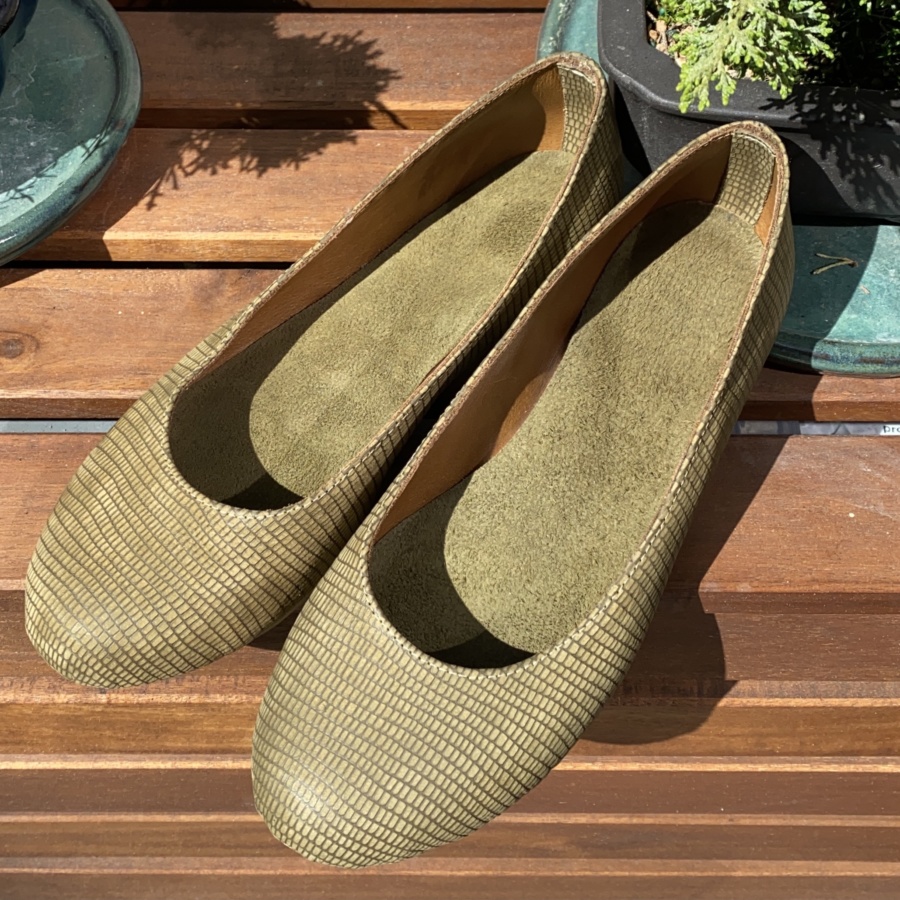
Photos
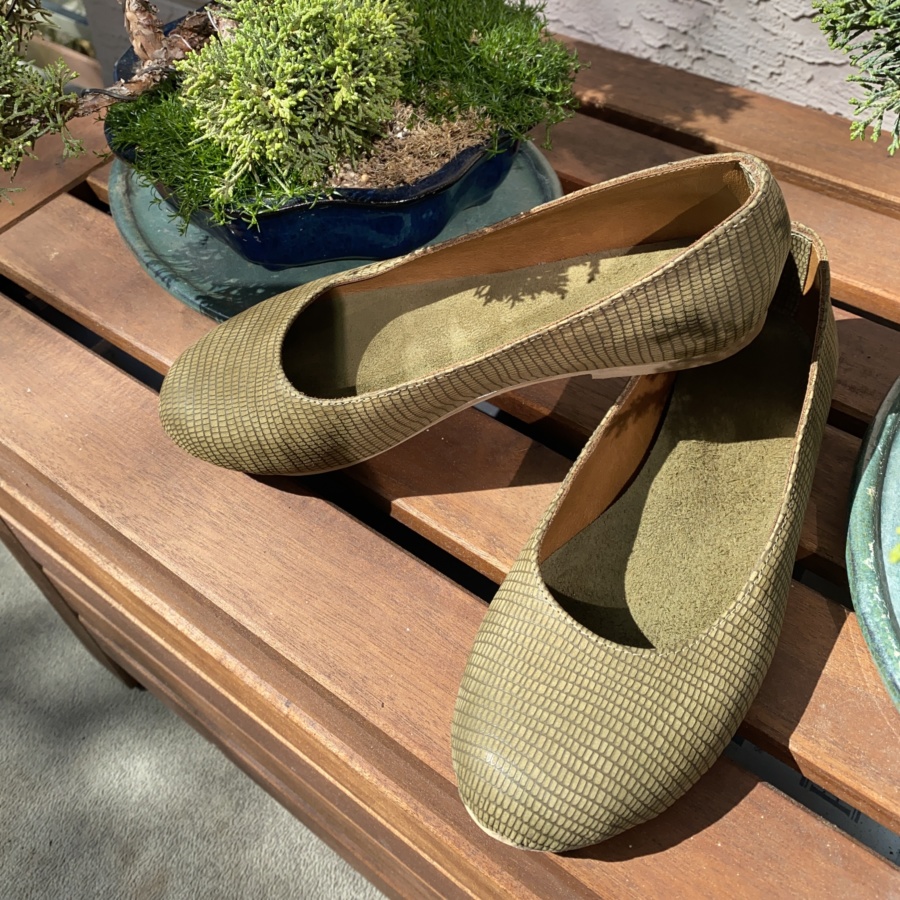
And that ends my first go at shoe making! My final takeaway from this project is that I don’t usually buy ballet flats because I don’t really like ballet flats. Why I decided to make ballet flats, I have no idea. Next time I’ll try to take these learnings and make something more suitable to my style, like an oxford. Before that happens though, I’ll need to find or make sore better fitting lasts.

Thanks for coming on this journey with me!
~ Lindsay
April 10, 2021 at 6:20 pm
These are beautiful!
I’m so excited for you that you learned so much with them!
I’m so appreciative of your posts documenting, because I may never be able to afford the course
April 10, 2021 at 6:30 pm
Thanks Heather. I’m happy to share what I’ve learned. Feel free to ask questions as you get started and I’ll do my best to help :)