Well, I’ve made another pair. This turn of events is hardly a surprise so let’s get right into what I learned this time around. I was trying for a few things on this pair:
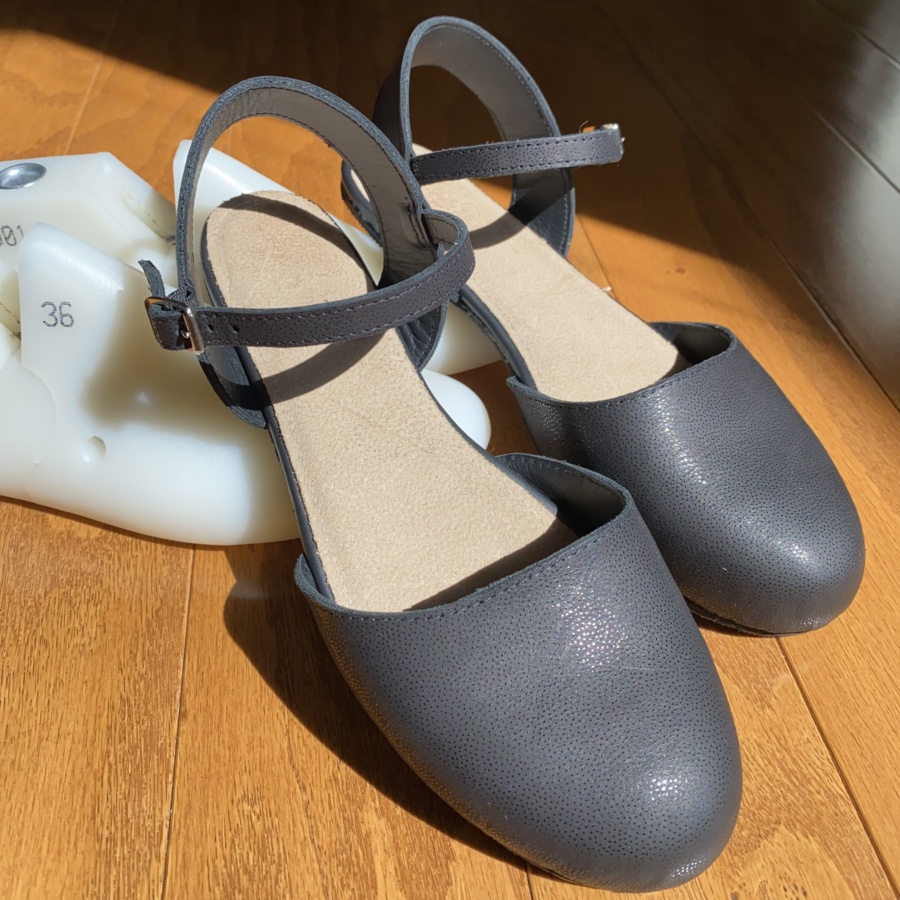
- Mary Jane style with a closed toe and sandal back to wear with bare feet or with tights
- Using the same lasts but achieving better fit than my first pair of flats
- Better lasting – pre lasting and fewer wrinkles in the final lasting
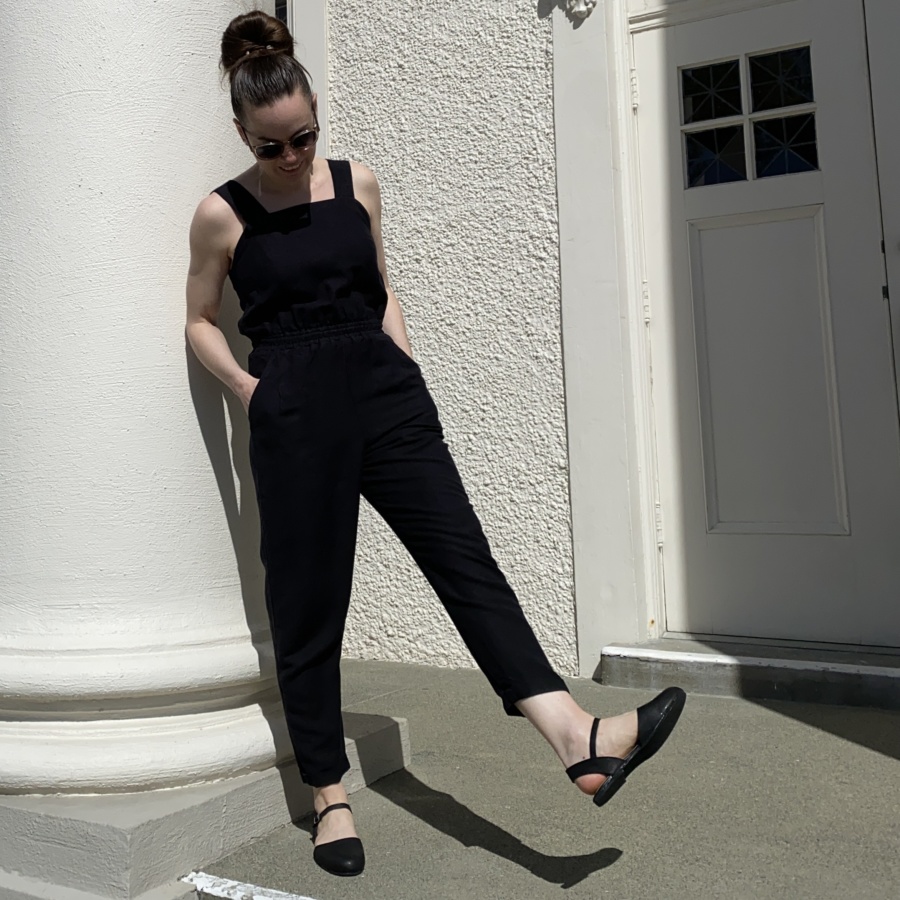
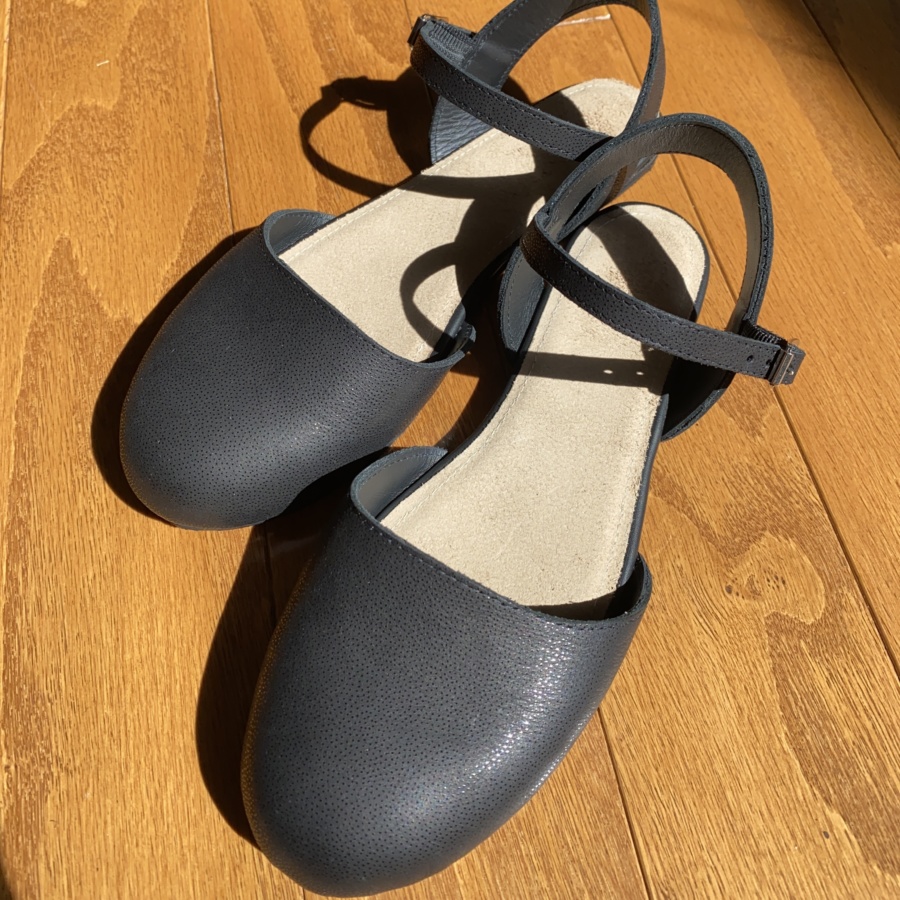
I succeed at two of these goals and maybe all three if you count slightly-too-small as a “better” fit. They turned out super cute but are just a bit too short and a bit too narrow in the heel for my liking. But also, they’re sparkly black leather and fit my wardrobe incredibly well so I’m going to wear them a bunch regardless of some small issues with the fit.
I think I know how I went from too big on my last pair to a bit too small on this pair. For these ones, I took a sliver off the outside edge of the insole pattern all the way around. Given that my previous pair was a bit too large, I deduced that this approach, in combination with tighter lasting, would work. In hindsight, length wasn’t the issue on my first pair and tighter lasting would probably have been enough to get a better fit.
A key learning for me on this project is that sandals and fully enclosed shoes benefit from different insole shapes. Setting aside the length, which I know how to fix if I make this style again, the narrow insole (taken from the bottom of my lasts) works fine in the front of these but feels too narrow in the heel. I think the insole of an enclosed shoe can be narrower in relation to the foot because the upper holds the foot in place on the sole. With these shoes, there is no upper cradling the arch and heel so a little extra width would have helped me not feel as though my foot is in danger of falling off the edge of the shoe.
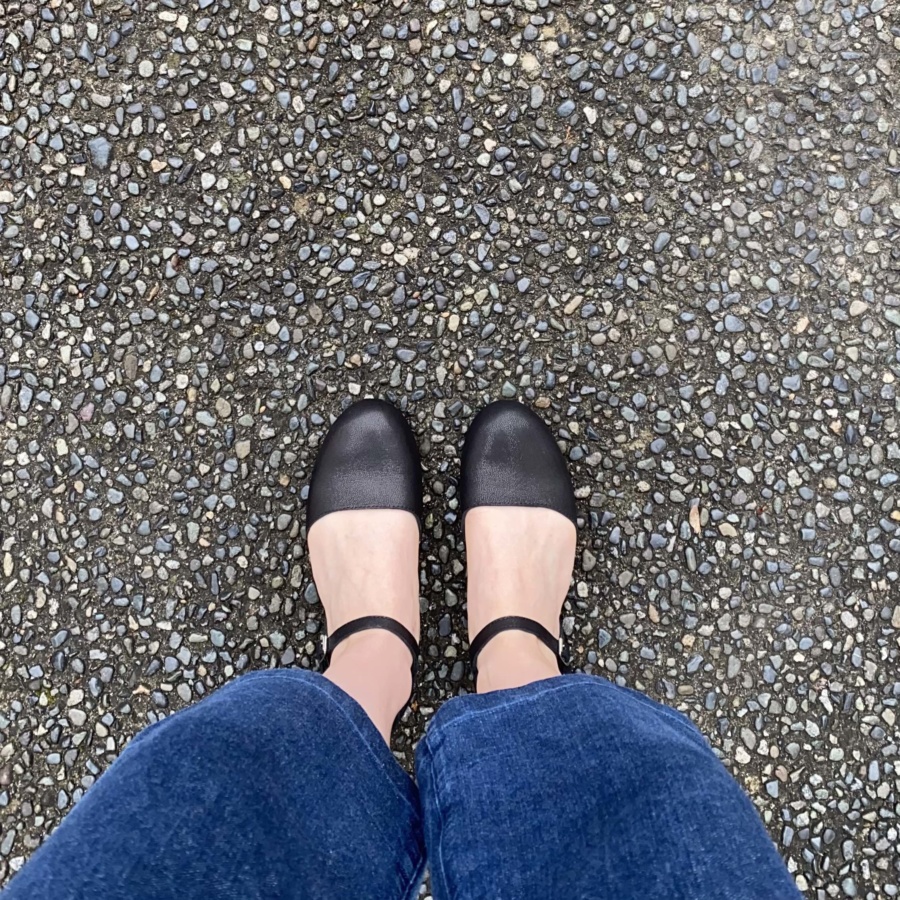
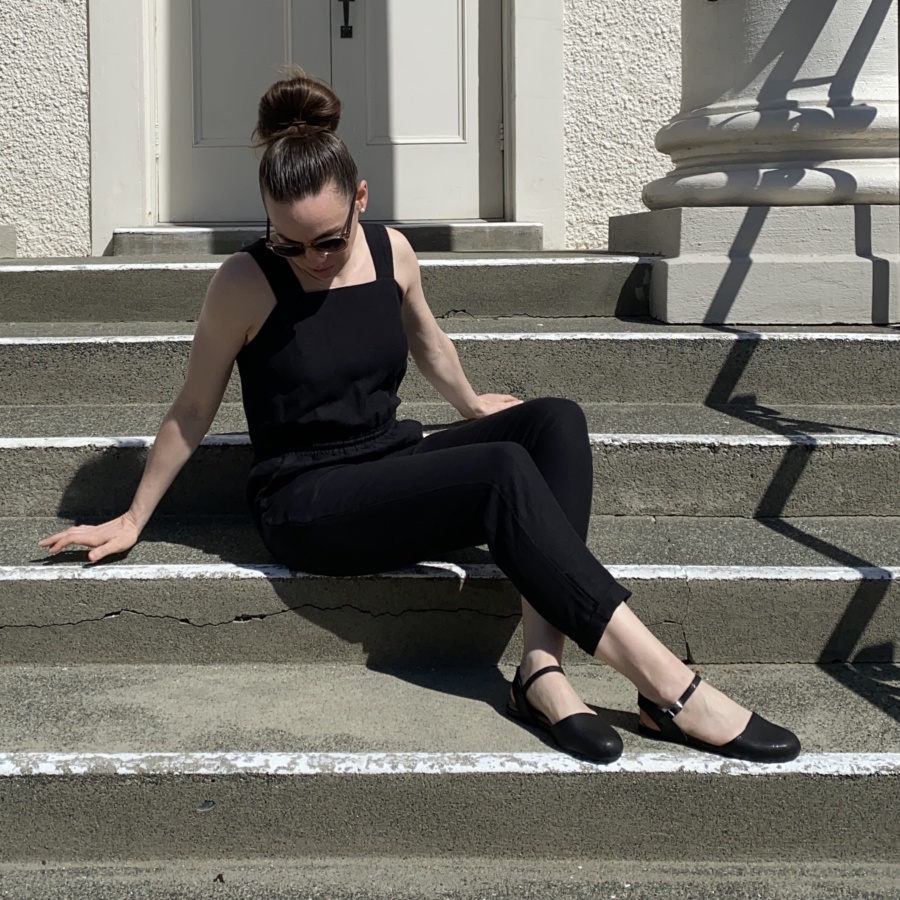
I’ve taken these out a few times already and my foot stays firmly in place – it doesn’t fall off the edge, though it feels more exposed in the heel region than I’d like. I really like the sleek, slim, light look of them though so I think I’ll give this style another try in another colour, or maybe multi-coloured, and will adjust the insole pattern to give me a bit more length and width at the heel.
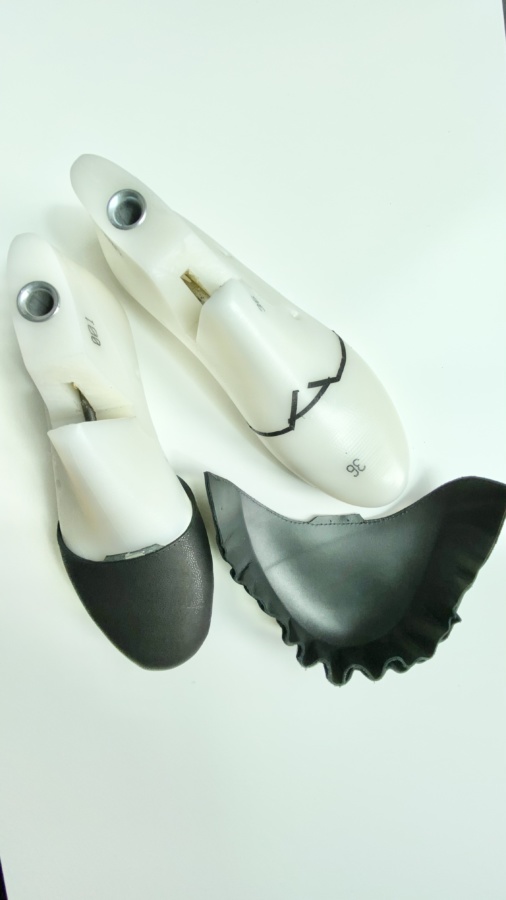
In addition to cutting the insoles down a bit too much on these, I also did MUCH better at lasting this second pair than my first. I pre-lasted them to help the leather get use to the shape and I used some thin nosed pliers rather than my fingers so I could get a really good stretch of the leather over the last. Both tips picked up from Rachel Sees Snail new book. I used the same synthetic toe puff stiffeners as my previous pair, but used a rasp to get rid of any bumps around and under the feather edge. There are far fewer wrinkles over the toe than my previous pair, but I also think tighter lasting might have contributed a bit to them feeling smaller.
Other learnings on this pair:
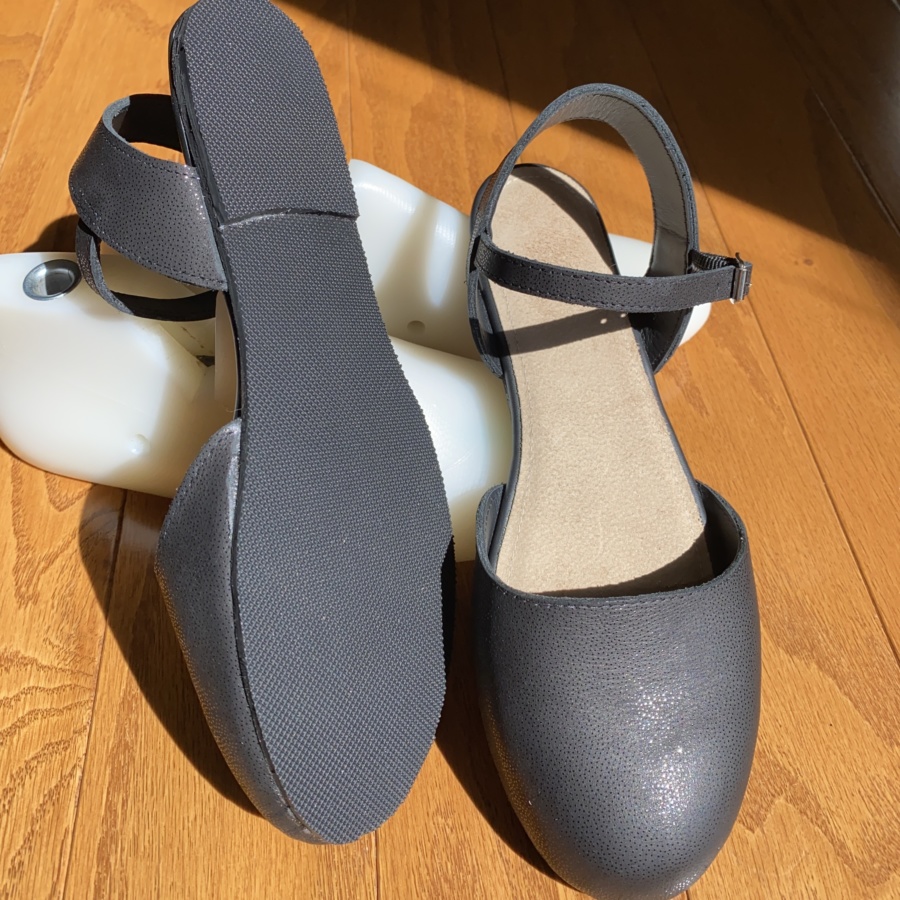
- The rubber soling I used feels nice and sturdy and like it will stand up to wear much better than resin soling, but I really disliked working with it. Trying to sand down the sole so I could attach the heel was not fun at all. It created a powdery, fine black dust that stuck to everything (inside my sanding box, thankfully) including my Dremel, which is impossible to clean. Even after sanding, it doesn’t have a nice finish and there are areas around the edge of the sole that don’t look very good. Luckily, no one is down there looking.
- I need to try leather soling (see above reasons why).
- It’s much easier to get neat edges on straps if you cut your main upper leather to size and glue it to the lining leather before cutting the lining to size.
- My sewing machine is great with two layers of leather but misses stitches when sewing through any more layers than that.
- I want to try working with thinner leathers to see if that helps with smoother lasting and easier sewing. My lining worked great but I think I’m using leather that is too thick for my uppers. It’s much thicker than my RTW pairs and I think a thinner leather would be easier to last. For reference, my lining leather is 2oz (0.8mm) and my main leather is approximately 5 oz (2mm).
- I need to start using nails and learn to last properly. I got part way there with pre-lasting these but I only had staples to hold the leather in place. Staples don’t let you get underneath them with glue. I’ve watched soooo many YouTube videos of shoe making and shoe repair and have ordered some lasting nails… stay tuned!
- Be careful skiving. I over skived these a bit again, or rather, skived outside of where the sole would end up. I might try prepping my soles earlier and drawing a line indicating where (and where not) to skive so I don’t keep making this mistake.
- Keep trying because it’s fun!
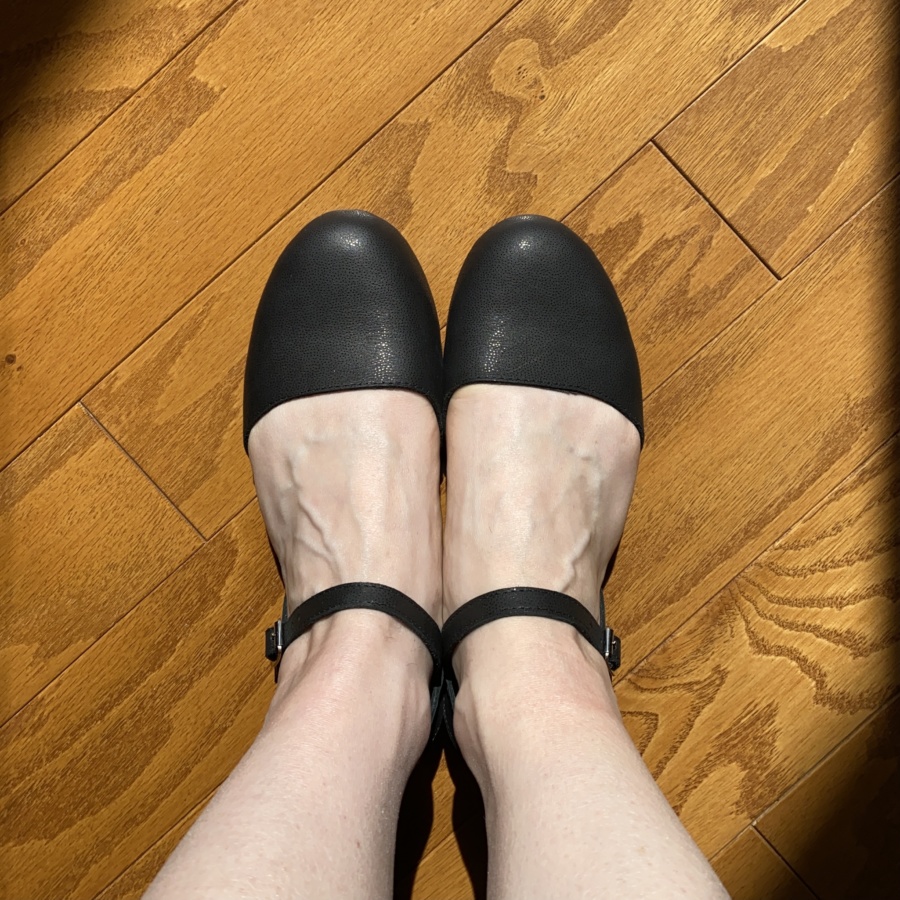
But they’re cute, aren’t they? I love the style. The ankle and heel straps fit really well. They stay in place when I walk and go with almost everything in my wardrobe. They’ll also be wearable year round (if I make a pair that are a little bigger to fit over tights). I’m definitely going to have to iterate on this pattern some more.
When I think back on my sewing journey, I remember my early makes and cringe a bit. I wore them and loved them but the early stuff never fit quite right and was definitely not up to my current standards. I’m at the very beginning of my shoe-making journey and I can’t wait to see what I’m able to make after five years of practice!
Thanks for following along on :)
~ Lindsay