Heads up: long post coming. It includes details of 3 patterns resulting in 1 suit, 1 rash guard, 2 bikini tops and 3 bikini bottoms PLUS my sewing fail and resulting shoulder injury!
(all sizing details and my measurements are included at the end of the post)
I had great intentions of making a Megan Nielsen Rowan bathing suit in 2018. I put it on my Make Nine 2018. I bought pretty aqua and white swim fabric and lining from Blackbird Fabrics. I had the pattern and mods figured out. Then I chickened out.
Jump forward to this year and I decided to give it another try. A year more experienced and having tackled jeans and bras, I had no excuses left. I’d also gotten sucked in by another gorgeous swim fabric (again from Blackbird Fabrics) so I had plenty of material to work with.
I used three patterns for these makes:
- Megan Nielsen Rowan (mentioned previously)
- Megan Nielsen Acacia – a free underwear pattern that I use for all of my PJ undies
- Madalynne Intimates Barrett Bralette – another free pattern that I used previously this year on my first trial at bra making.
I’ve had a lot of experience with the Rowan and there are some standard adjustments that I make to this pattern that I took forward into my swim makes: forward shoulder/high round back adjustment, considerable sleeve narrowing, and raising the front neck (after the forward shoulder).
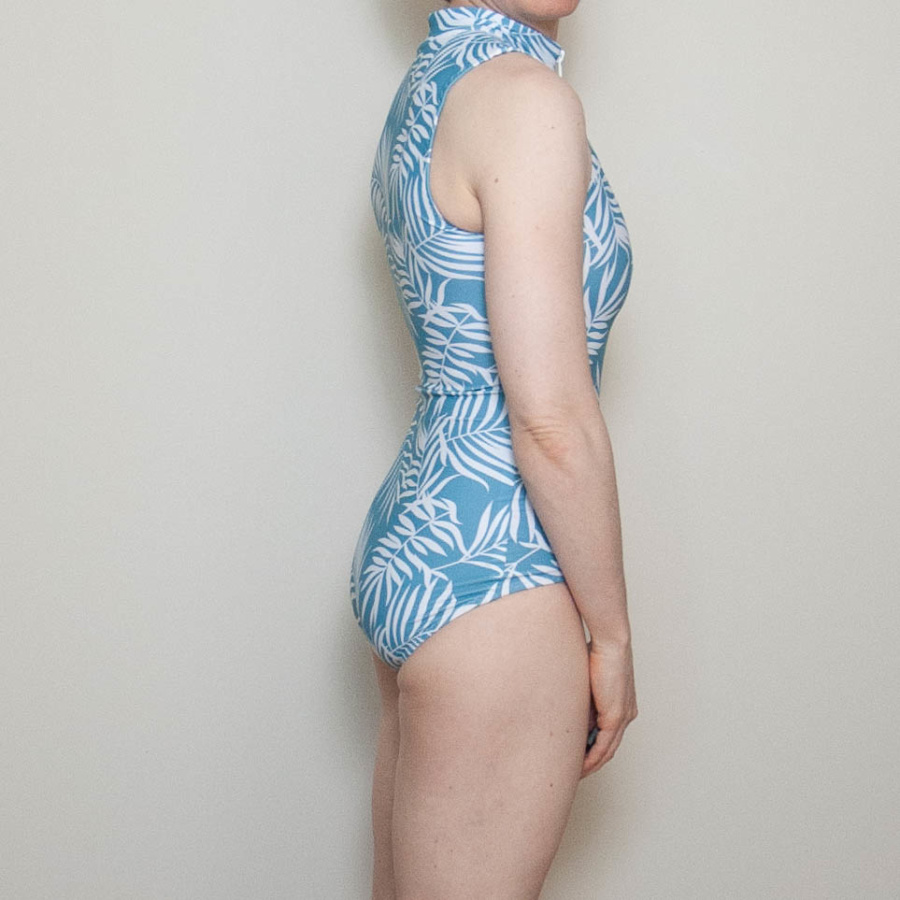
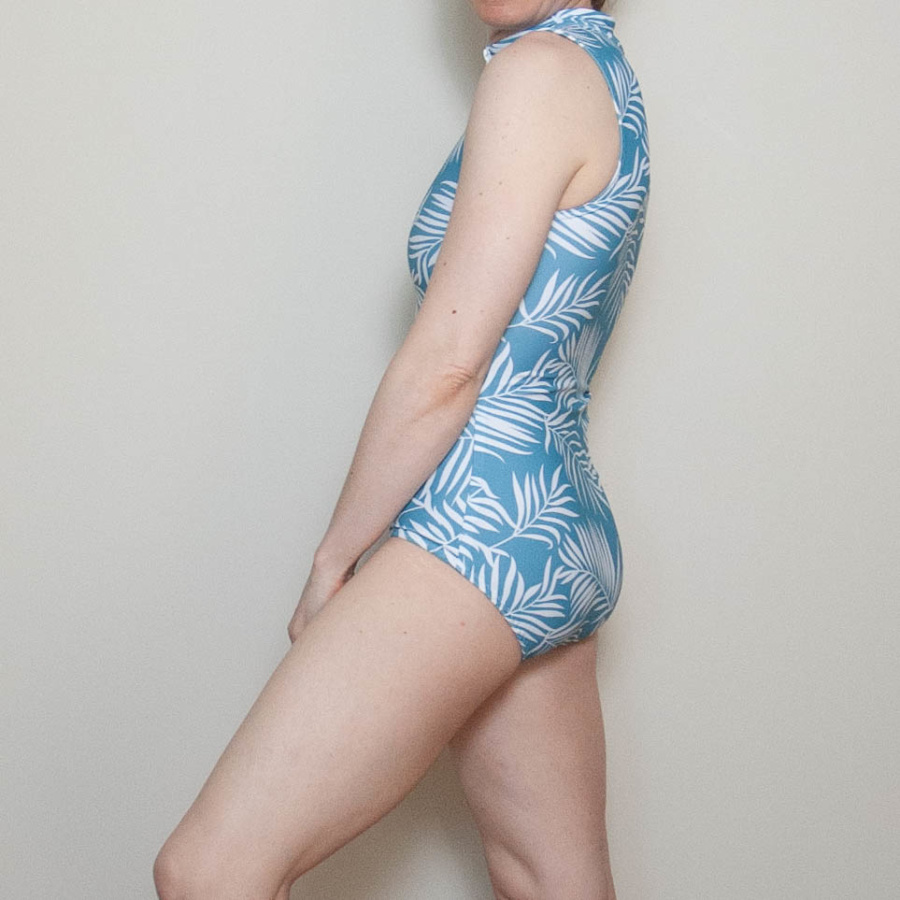
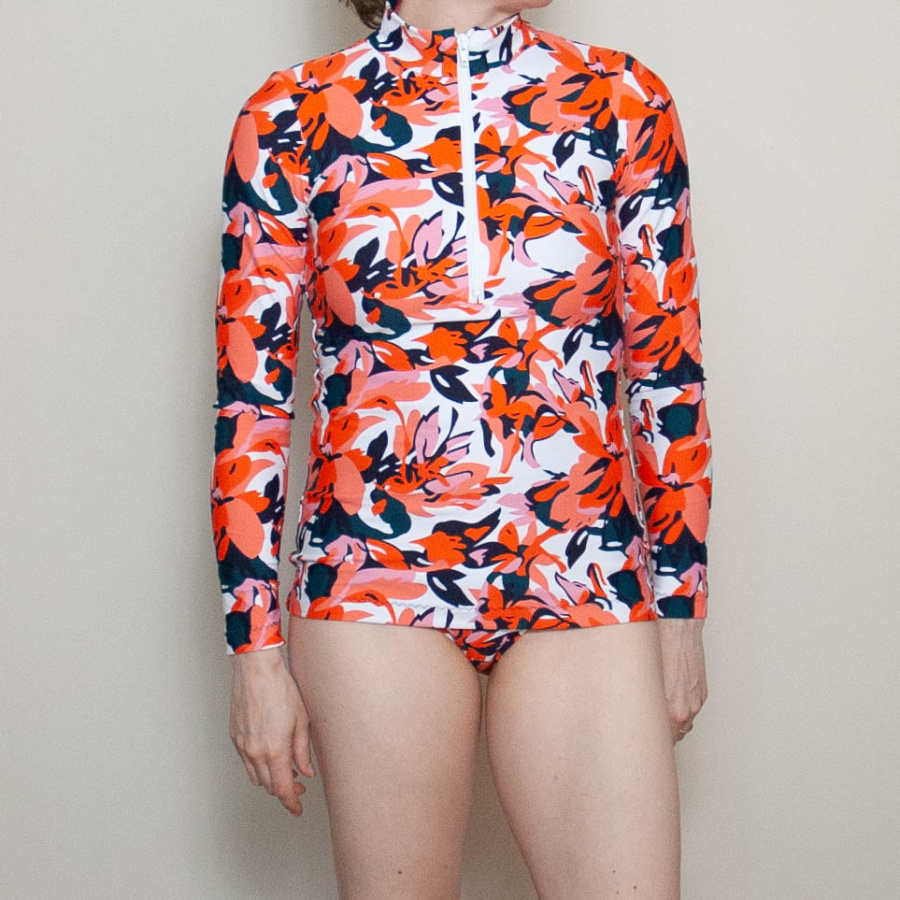
Rowan Bathing Suit
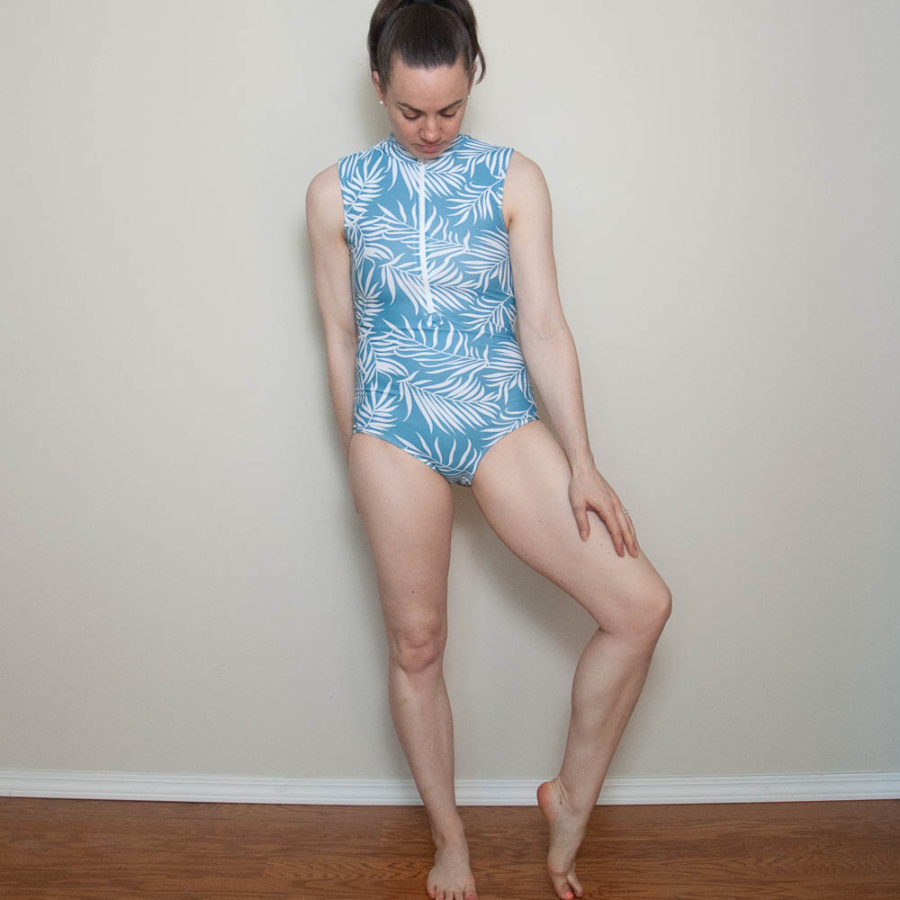
The vision I had in my head for this suit was a lined, zip front Rowan, minus the crotch closure, with long sleeves. Basically a rash guard bathing suit. So I got to work.
Foreshadowing – this plan was not going to work out as intended.
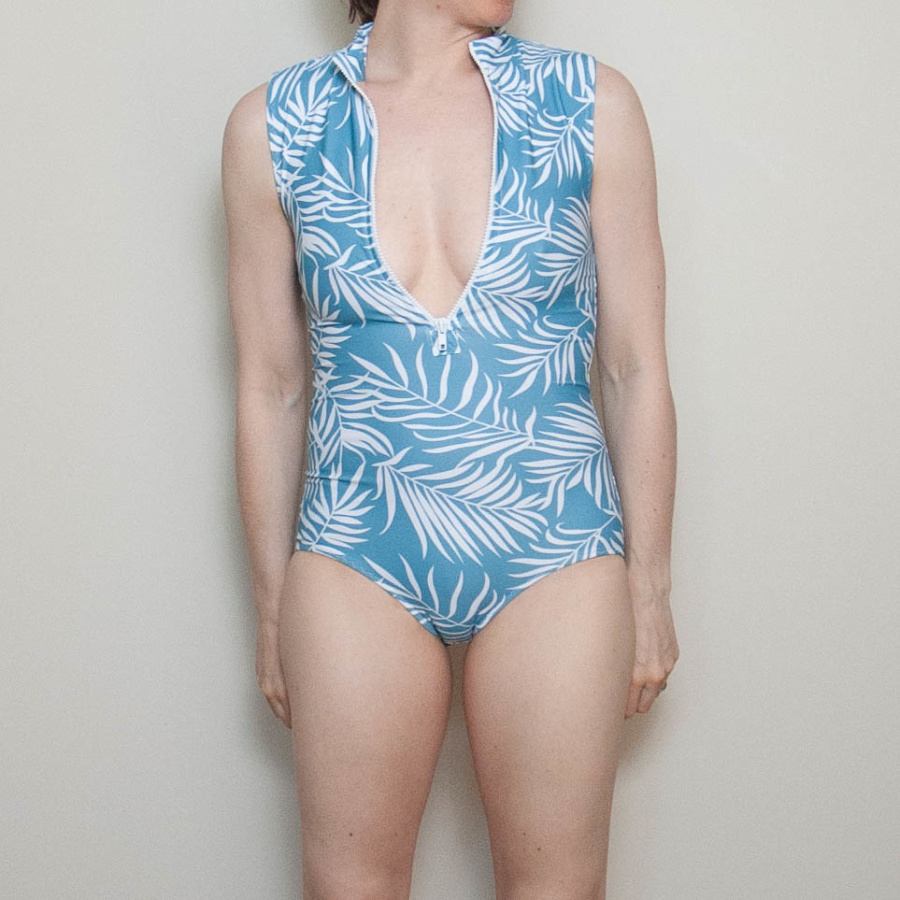
After my aforementioned mods, I got started by removing an inch from the crotch seam allowance on the pattern (because the Rowan body suit has a crotch closure), and cut a zipper opening into the front. To do this, I marked the length of the zipper I wanted to use and cut a slit down the centre front to that point (make sure you add the height of the neck band before you cut!). Then all I had to do was rotate the neck band seam to the centre front. I probably could have also taken .5 – 1 inch from the length but it works fine without.
I cut the front and back pieces out of stretch mesh lining as well. The neckband was cut on fold so it was main fabric on both sides. I installed the zip first, sandwiched between the main and lining to hide all raw edges. It was tricky and there is probably a better way of doing it but I muddled through. Because I forgot to remove some seam allowance at my centre cutout to accommodate the width of the exposed zip, I ended up with excess fabric pooling below the zip. I couldn’t fix it so I just covered it up with a little square of fabric below the zip. You can’t even really see it so no one but you and me will ever know… and I learned my lesson.
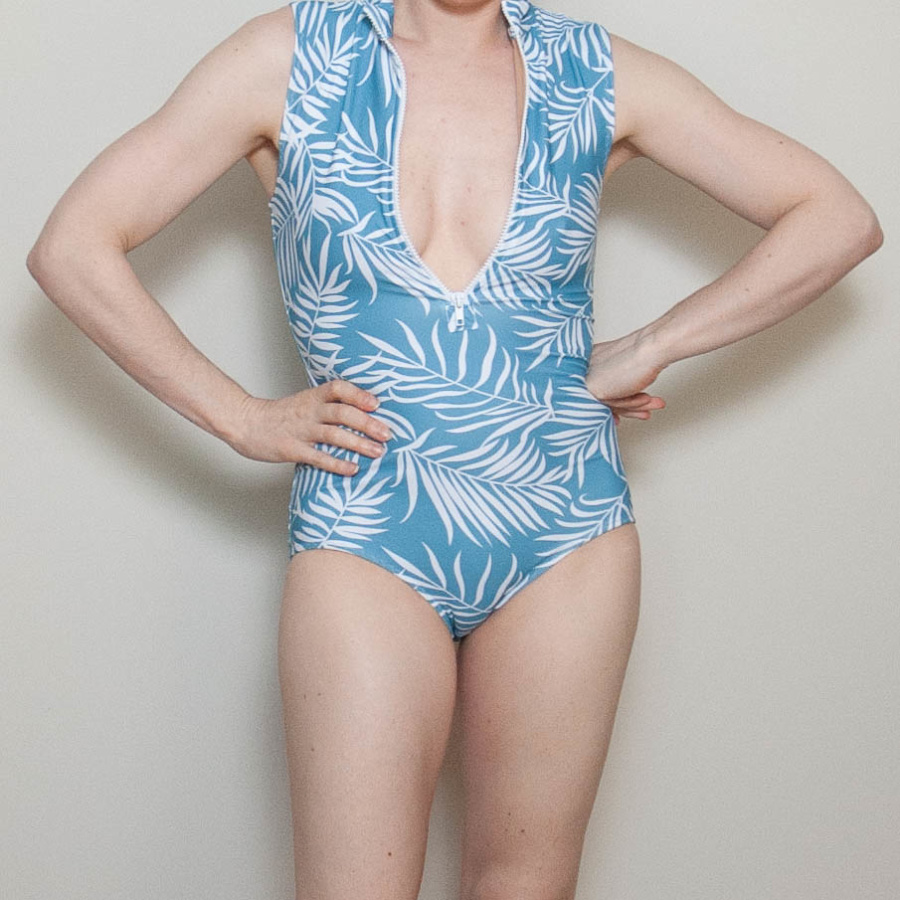
Now for my fail and resulting injury. Luckily I tried the suit on before I sewed the sleeves on. I could barely get it on and I REALLY struggled getting it back off without tearing anything. It was scary. I actually pulled something in my shoulder trying to get out of it. I couldn’t open doors or lift anything with my right arm for two weeks!
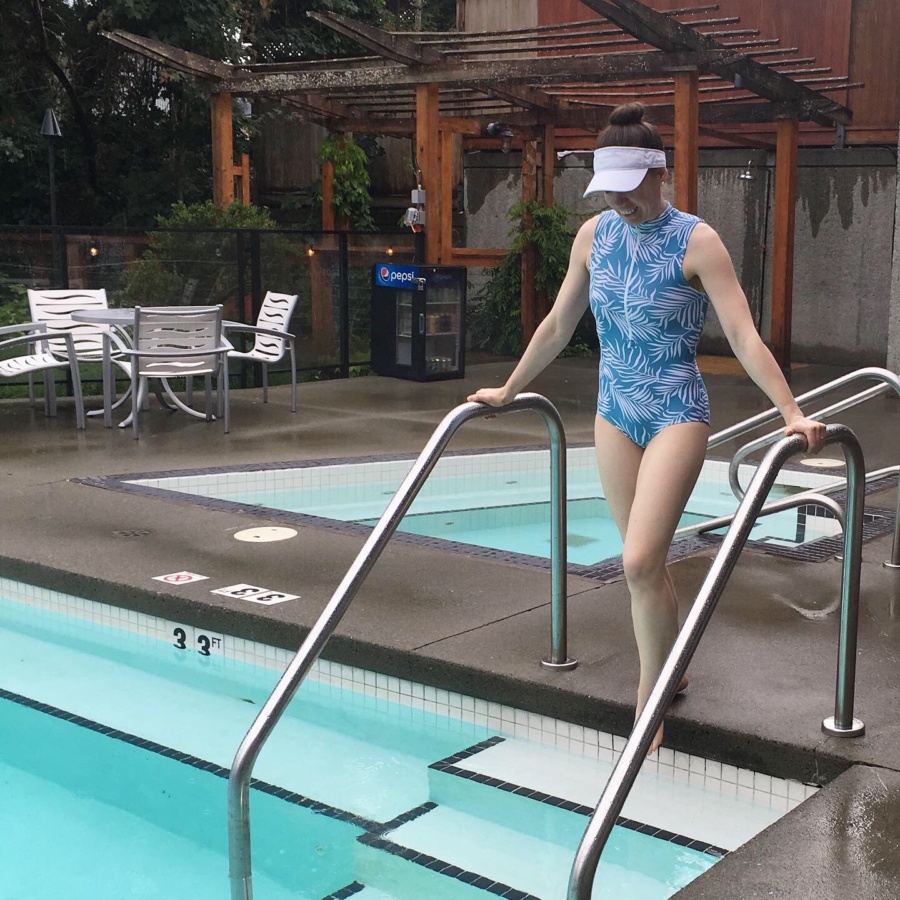
Once I got the suit off and calmed down from my panic, I cradled my right arm and reconsidered the sleeves. Instead of putting them on, I widened the arm holes (for easier on/off, though I still have to contort some to get in and out of it) and finished them with a simple foldover hem and 3-point zig zag. I turned out great and I wore it to our rainy anniversary spa day last month. My shoulder has completely healed but I did take a few weeks off from bathing suit making after that experience!
I think the only way a long sleeved rash guard would work would be to have a much longer, probably back zip with a zip pull like a wet suit.
Rowan Rash Guard
After finishing my Rowan suit, I still wanted a full coverage rash guard so I went back for take two, this time mixing in the free Acacia bottoms to make this a two-piece suit.
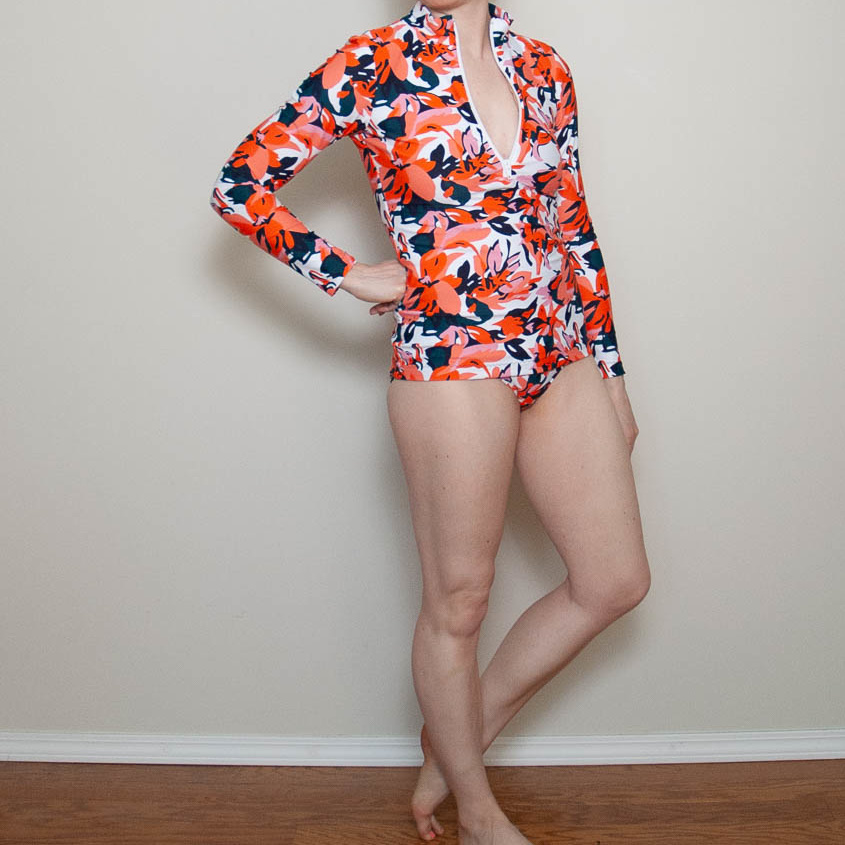
For my second Rowan, I removed an extra strip of fabric from both sides of my centre slit. I didn’t end up having to add the square of fabric this time but zip insertion was still difficult. I think there must be a better way…
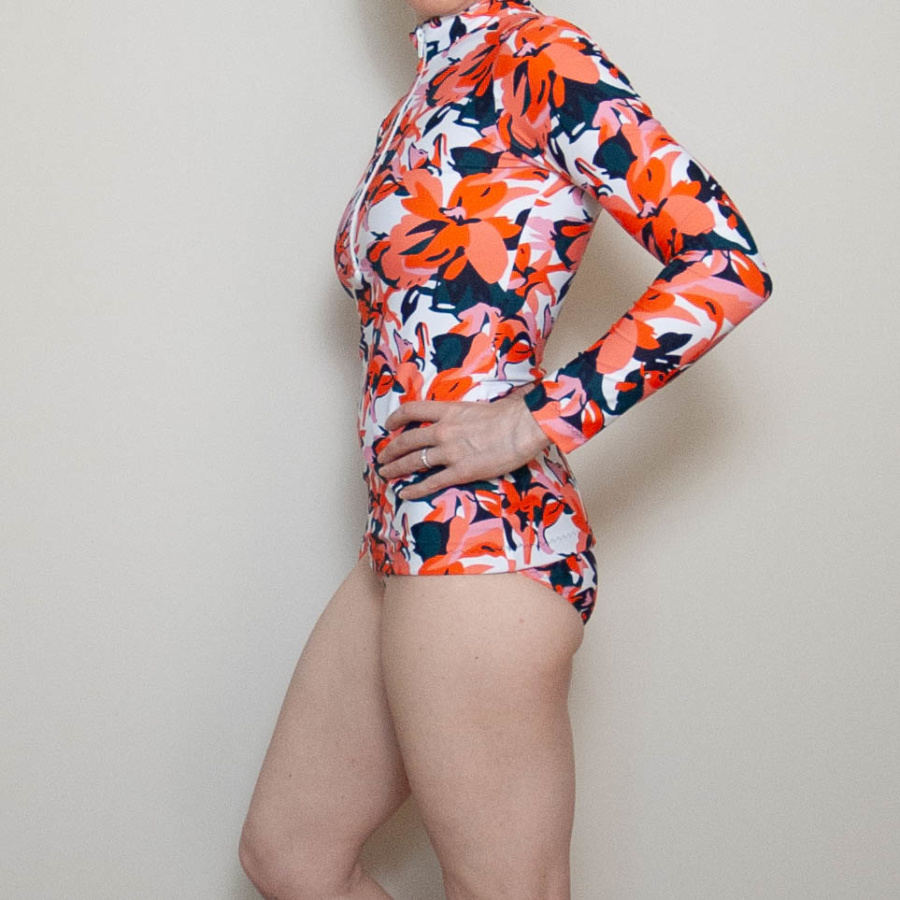
I lined the front and back but not the sleeves. I’m still uncertain of the length of this top but I’ll have to wait until I wear it swimming to know if it works this length.
If I leave it long it could probably also work as a cycling top. I might have to make some navy leggings to go with it…
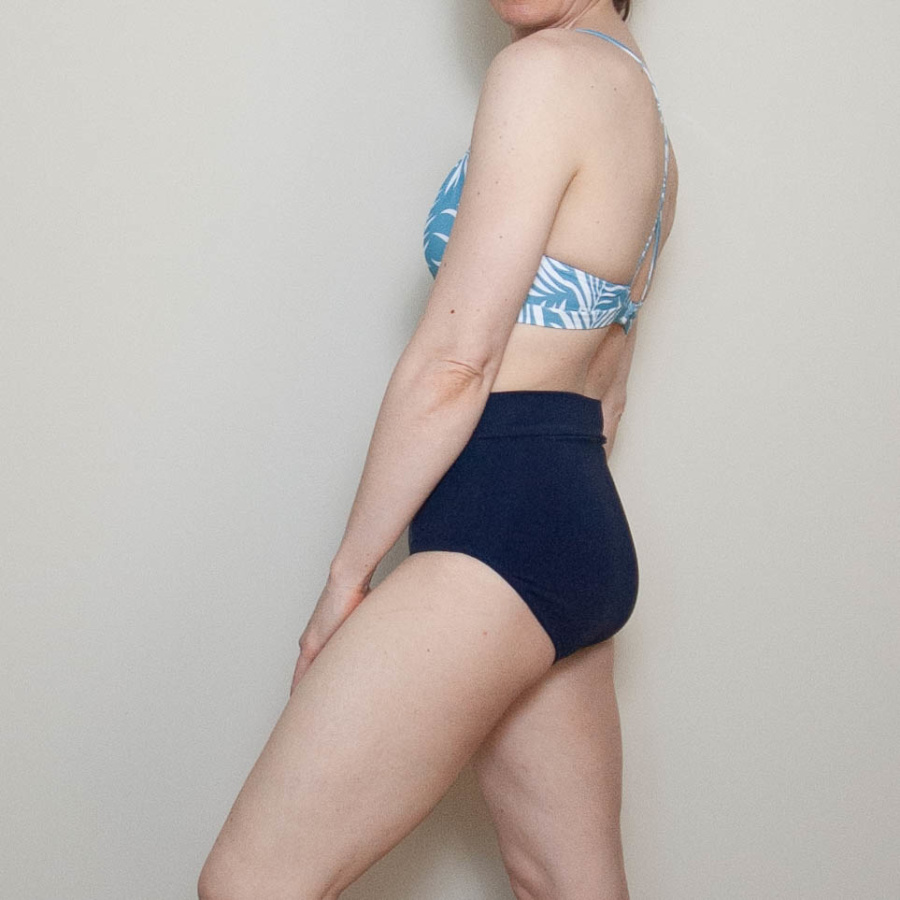
Acacia Bottoms
A rash guard needs bottoms so I went for the Acacia undies, which I’ve made many pairs of in cotton and bamboo jersey. For the first version (navy), I added 2″ to the rise. It turned out to be not nearly enough for the high-waisted look I wanted so I added a band as well. On my second version I added another 2″. Later I made a third version out of the scraps from my Rowan suit and added another 1/2″. I lined all versions with stretch mesh.
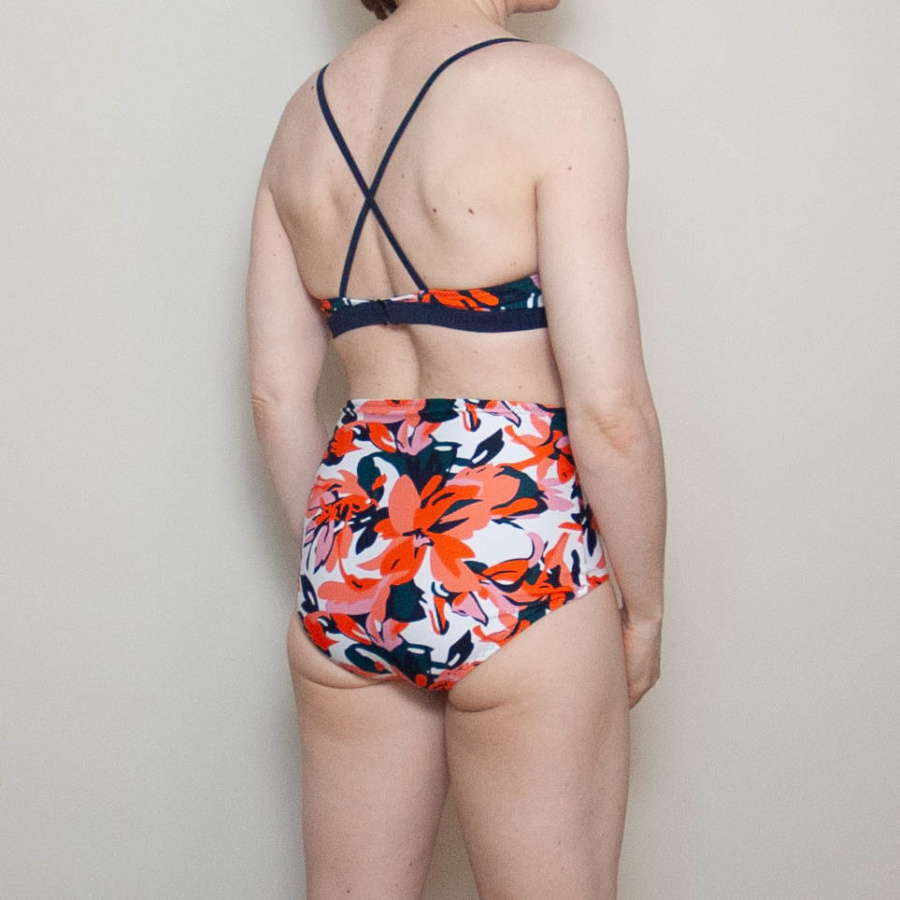
Barrett Bralette Top
To complete my suits, I needed some bra tops. I decided to go with the Barrett because I already had it and knew it fit me well. I found Melly Sews’ great Barrett swim top tutorial and that was the last bit of help I needed. I highly recommend watching Melissa’s tutorial if you want to convert your Barrett pattern to a swim top. I followed the tutorial except for a few areas noted below.
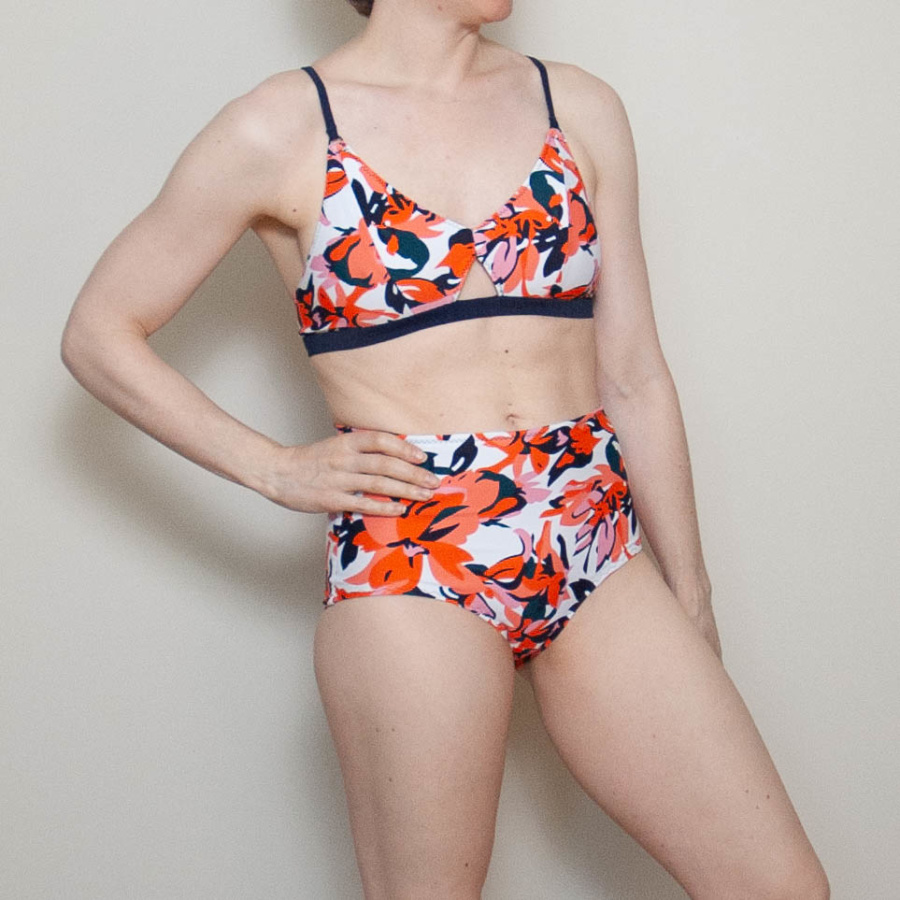
For the straps I used swim elastic covered by main fabric. I used cotton swim elastic in the version above and slightly wider rubber elastic in the version below. The rubber elastic was a bit of a pain to work with but I like the final result better. I also used it in the waist of my third pair of Acacia bottoms, not to hold them up, just to provide reinforcement for the waist seam so the stitches are less likely to pop when I pull them on and off.
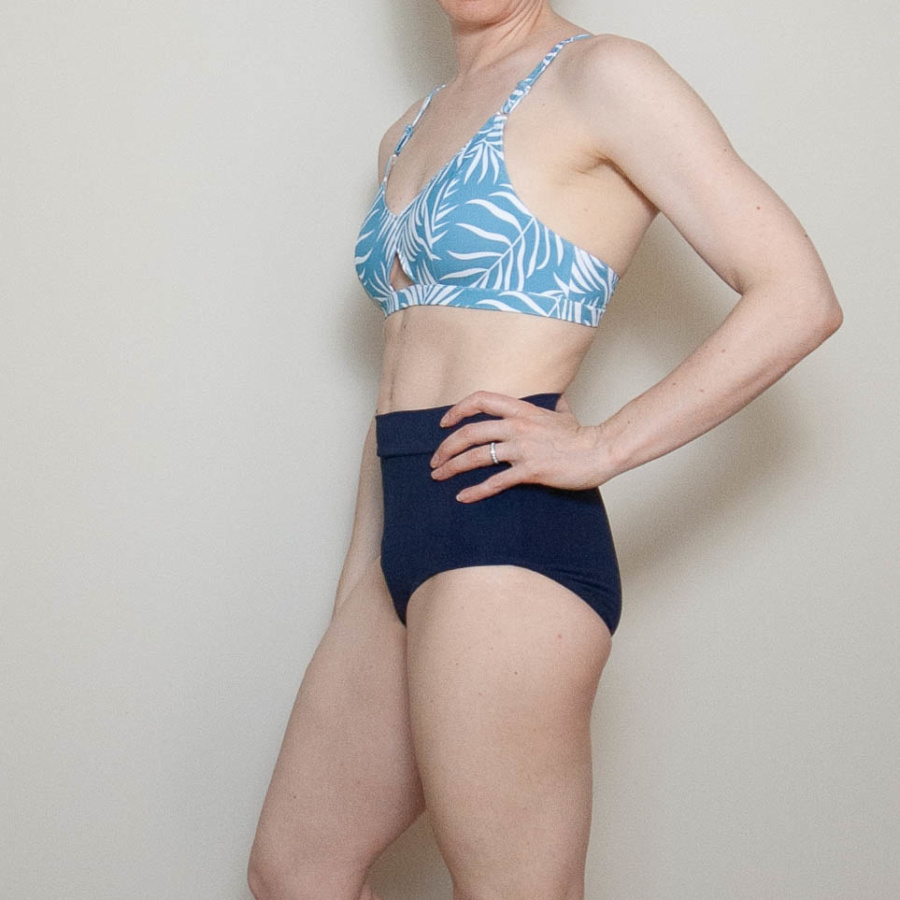
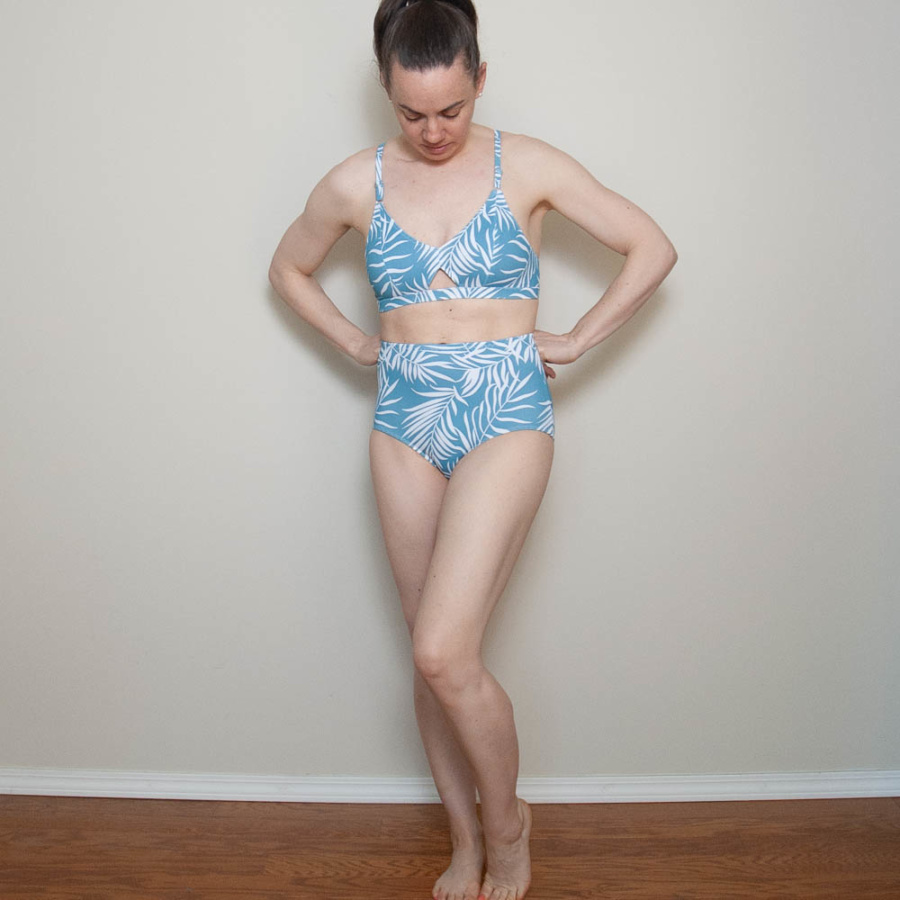
For the bottom band, I sewed two piece of swim elastic together as suggested by Melissa for a thicker band. Instead of making a tube for the band elastic, I sewed the first side of the band fabric on, then sewed the elastic into the suit at the same time as sewing the back side of the band in place. I used a 3-step zig zag that straddled the band/cup seam. This allowed me to get a super tight fit of the elastic in the band and secured the elastic from rolling.
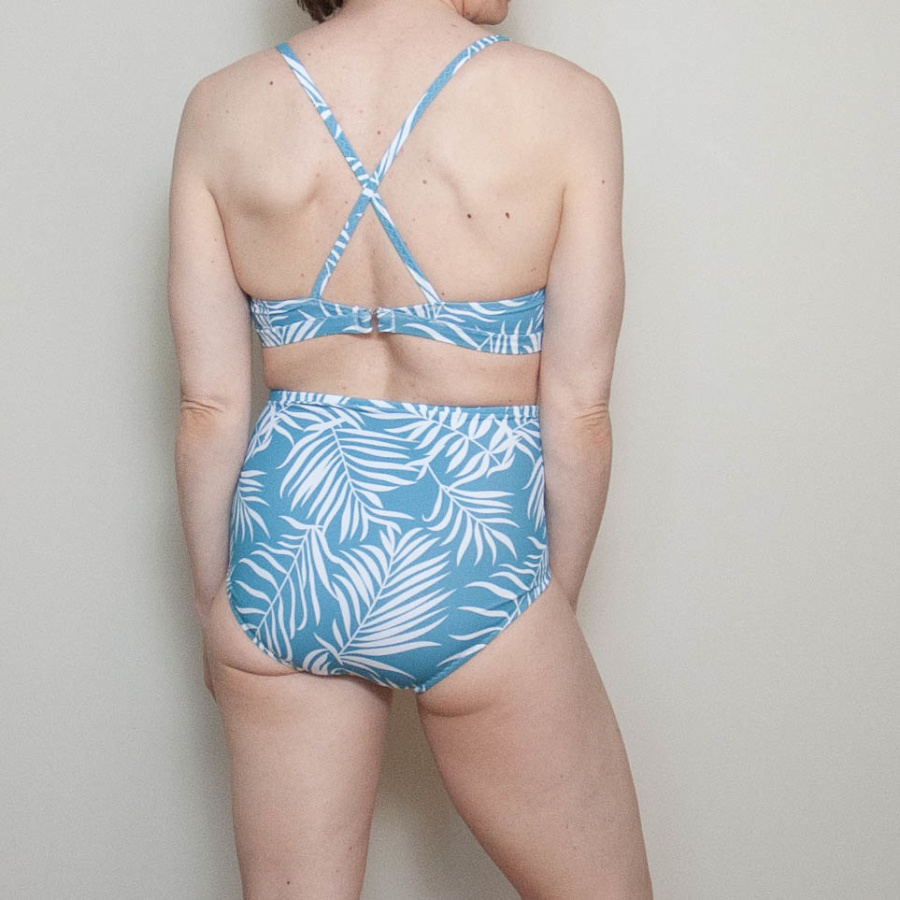
The other change I made was to cross over the straps at the back to make them more secure (and because straps like this fit better running between rather than over top of my shoulder blades).

And that’s it! My swim capsule wardrobe is complete and there is only one more make on my 2019 Make Nine list! I’m so excited to have these bathing suits done wanting to tackle this project for so long. I don’t need this many suits at once, but I will have these for years and I’m really pleased with how they all turned out. I learned a lot and now have the suit styles I wanted for significantly less money than even one would have cost me to buy RTW. I call that a win.
Sizing
- Rowan – XS with reduced sleeve width (tapering from nothing at the arm hole to about 2 inches at the wrist)
- Acacia – XS with 4 inches added to the rise (or 2 inches and a 2 inch band)
- Barrett – M with some of the roundness removed from the upper cup
- My Measurements: 35/29/36 (with forward shoulders, a very short crotch length, small chest, hight round and wide back, and wide shoulders)
Thanks for stopping by!
~ Lindsay