One of my goals this year, and the reason I purchased my cover stitch machine, was to learn to construct skinny jeans the way my favourite ready-to-wear jeans are constructed. I wanted to figure out how to maintain the horizontal stretch of the fabric but still use what appeared to be a straight stitch on the right side.
If you’ve ever examined stretch RTW jeans, you’ve probably seen the horizontal top stitching looks like a straight stitch on the right side, but not on the wrong side. This is the chain stitch. Most cover stitch machines will do this stitch and I think some regular sewing machines can also do a modified version of it. I decided to learn to use it, in combination with the lightning bolt stitch on my regular machine, to make the stretchiest pair of jeans ever. And it worked!
… too well
The glorious stretch denim I used for this make was from Blackbird Fabrics. I picked it up in one of their famous denim drops in 2019. It’s an 8oz. Italian stretch denim that is 97% cotton and 3% spandex. It is VERY stretchy. I thought this would be great for the waistband. My last/first pair of Ginger Jeans in Cone Mills S-Gene denim have basically no-give in the waistband and it prevents me from wearing them if I have to sit for any length of time. I thought more stretch would be ideal.
Before I get started, here are the mods and sizing details. I fall into the size 6 range on the Ginger Jeans chart but am short, and short waisted and this fabric is ridiculously stretchy so I:
- Sized down and cut a size 4 this time (because of the aforementioned stretchy, stretchy denim) but maintained the width of the size 6 at the back calves
- Slashed and overlapped to reduce the yoke height at the centre back by one inch, tapering to a half inch at the side seam
- Folded out a half inch from the front rise at the lengthen/shorten line and adjusted the fly pieces to match
- Reduced the leg length by two inches at the lengthen shorten line and by another 1.25 inches at the hem
- Did not use the full width pocket stays and instead drafted regular pocket bags like the ones on the mid-rise version of this pattern
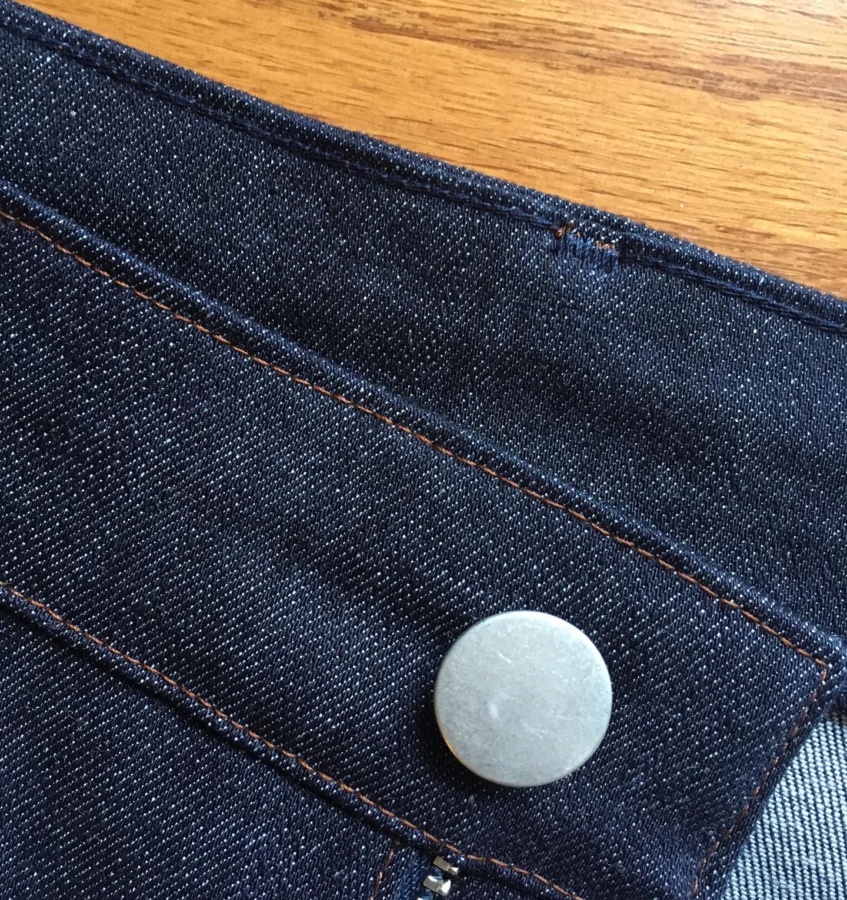
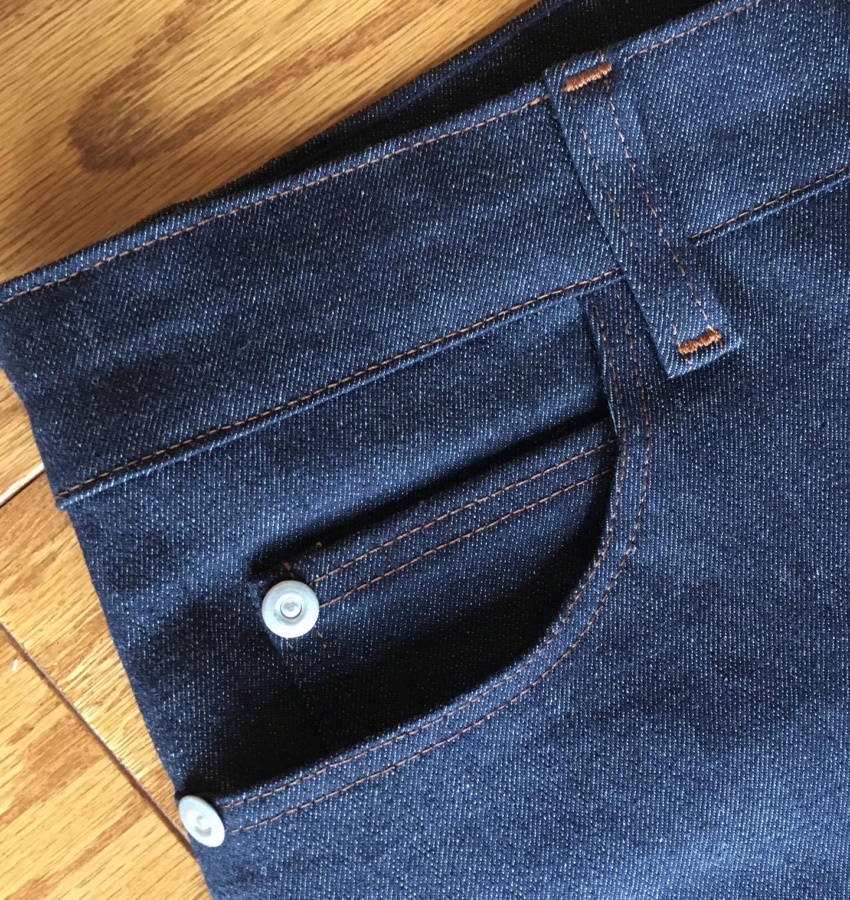
- Sewed every internal horizontal seam with the lightning bolt stitch and every horizontal top stitch seam with a chain stitch. This includes the horizontal yoke seams and top stitching, the back pocket upper edge topstitching, and the first version of the waistband.
- VERSION 1:
- Used the Closet Case Patterns alternative waistband construction method but did not stay stitch the upper edge of the waistband pieces, just measured and pressed to 5/8 inch.
- Did not interface either side of the waistband
- Attached the waistband with the lightning bolt stitch and top stitched with a chain stitch.
- VERSION 2:
- Removed the waistband and re-cut in size 2
- Interfaced both waistband pieces with a stretch tricot fusible
- Again used the Closet Case Patterns alternative waistband method but did stay stitch the upper edges of the waistband pieces this time
- Attached the waistband with a regular straight stitch, easing the pants in to the reduced waistband circumference, and top stitched with a regular straight stitch (no stretch stitches in the waistband on version 2)
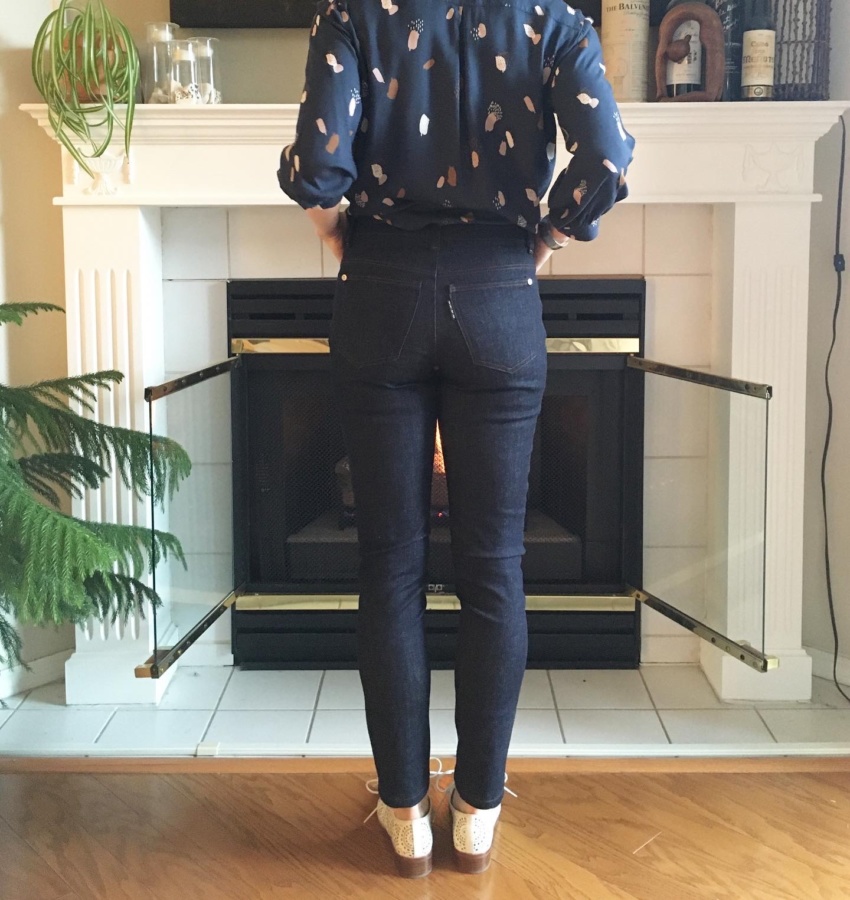
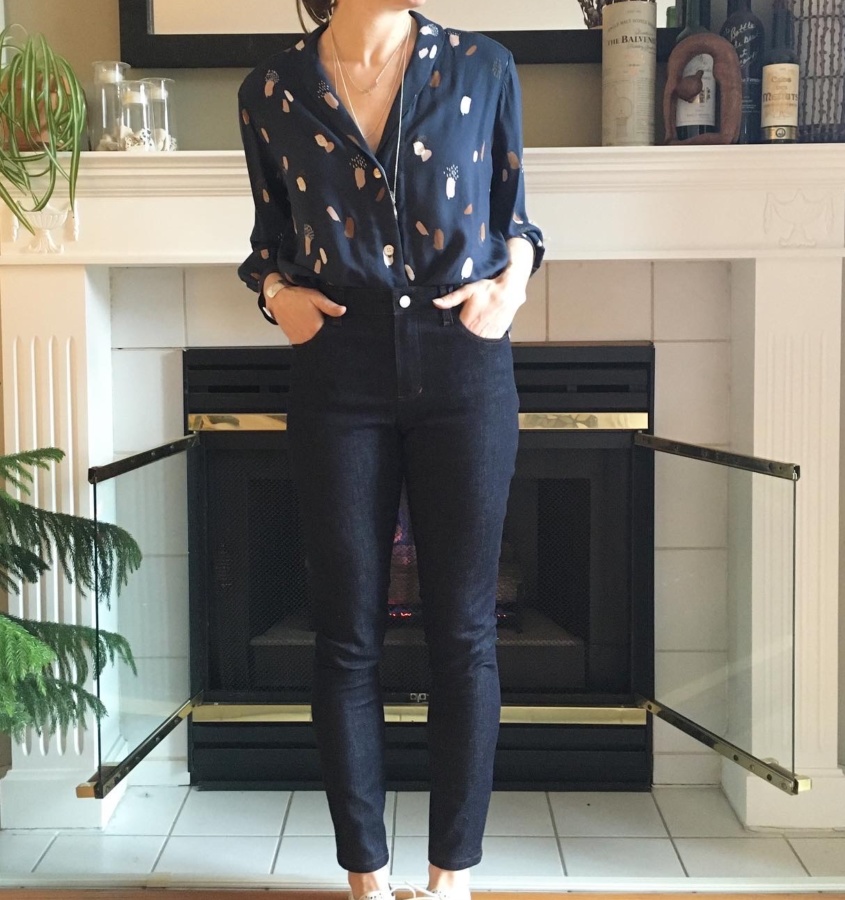
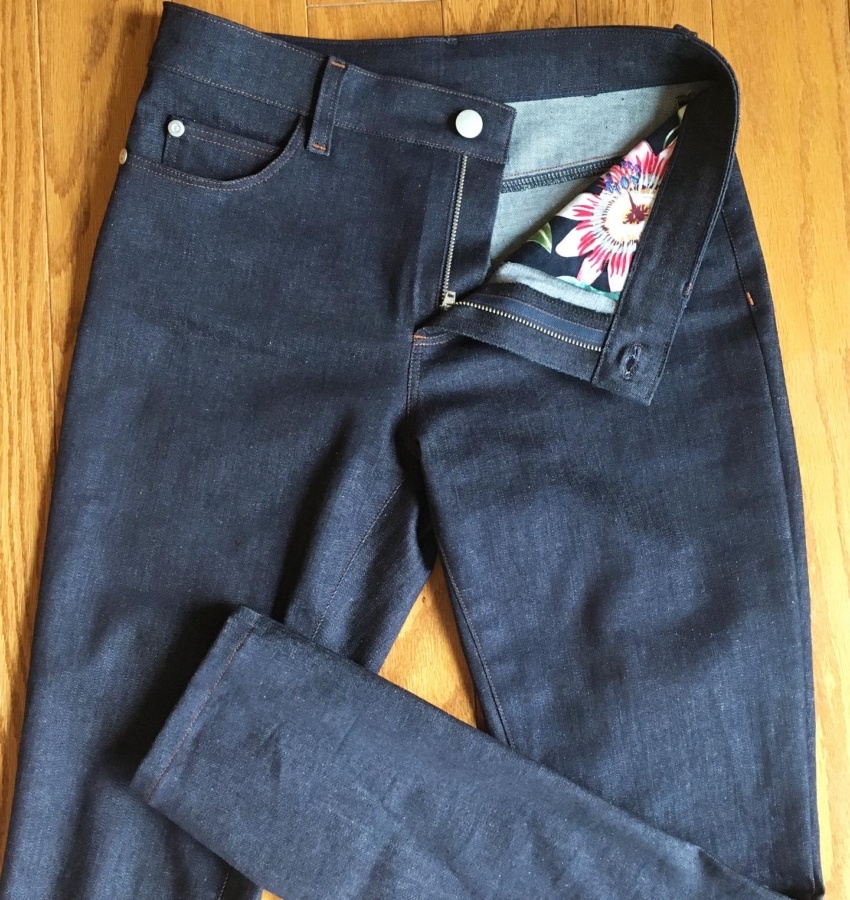
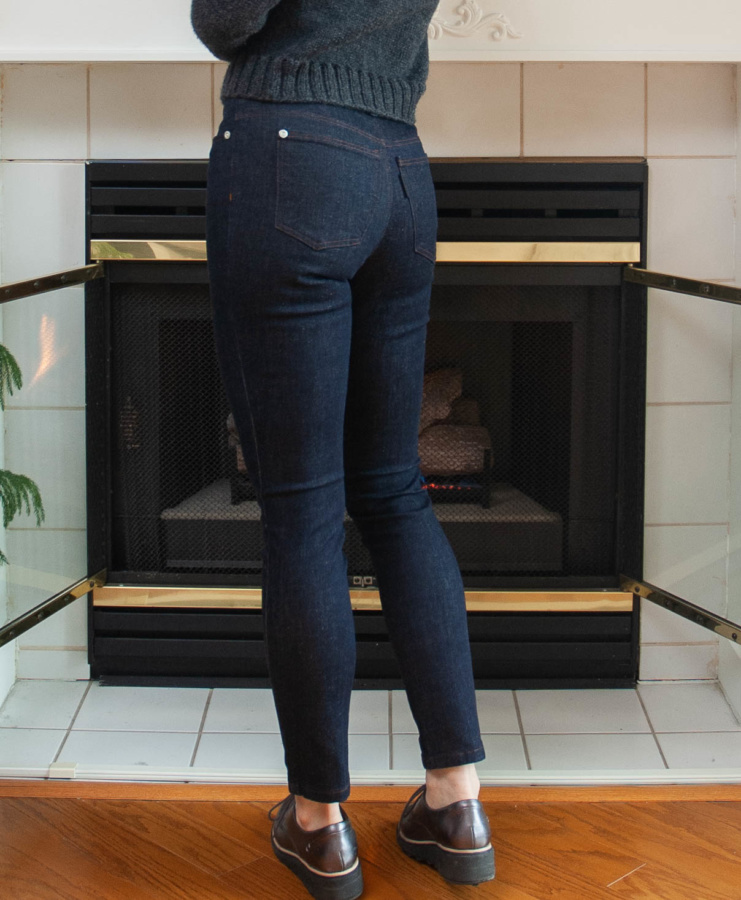
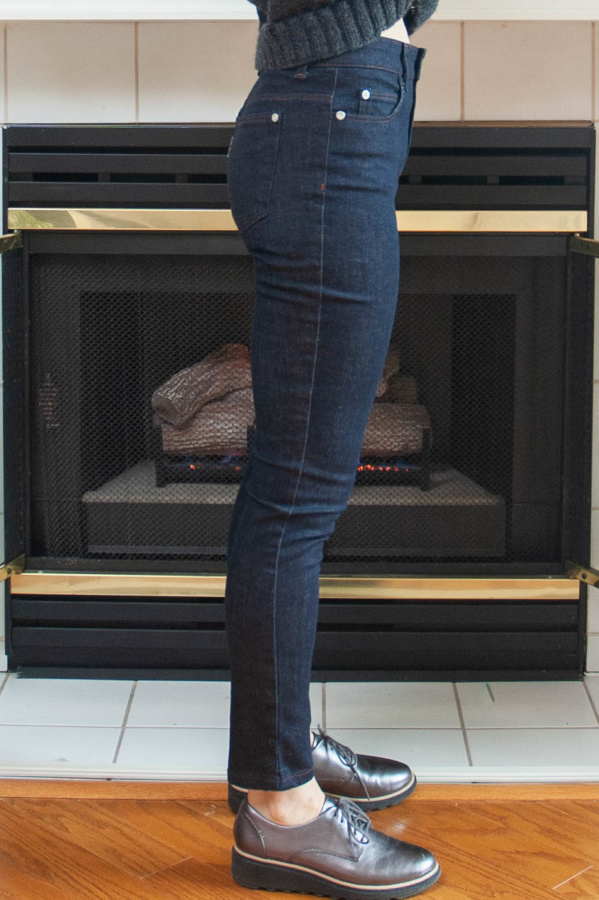
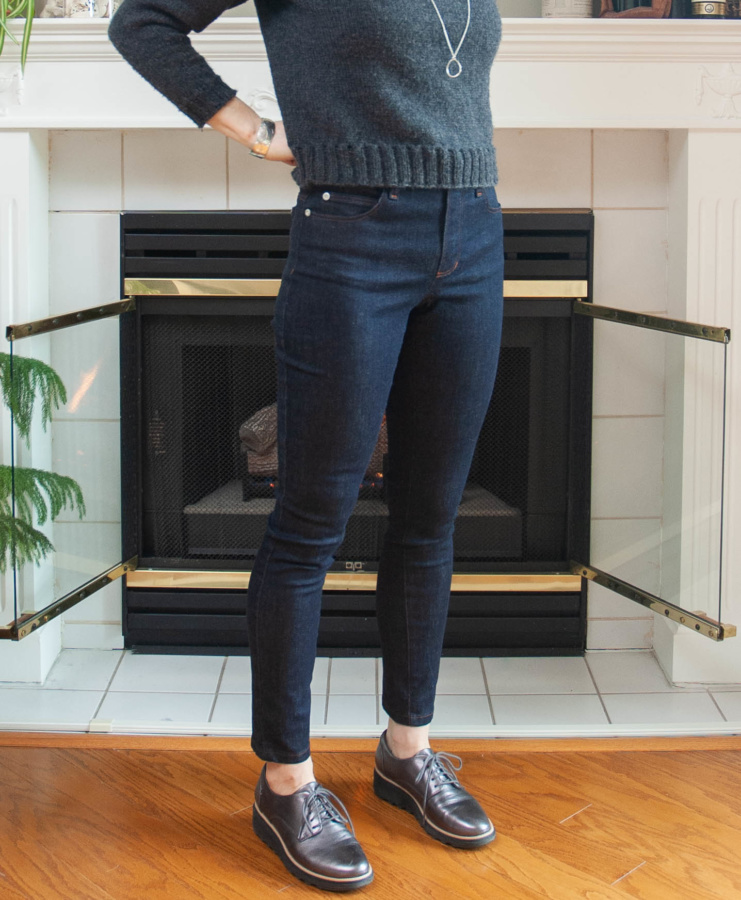
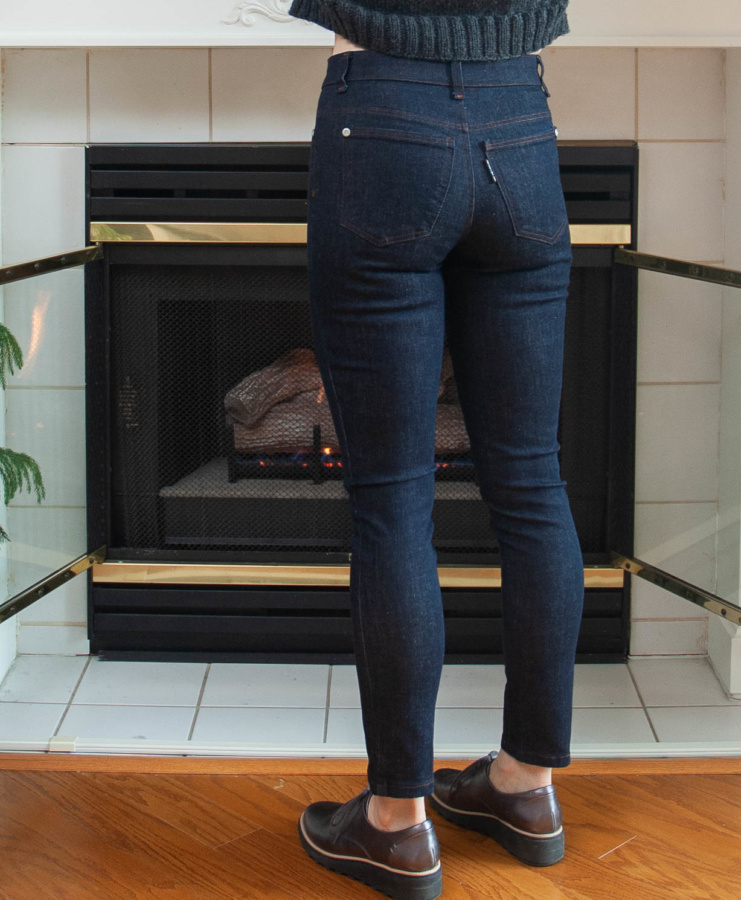
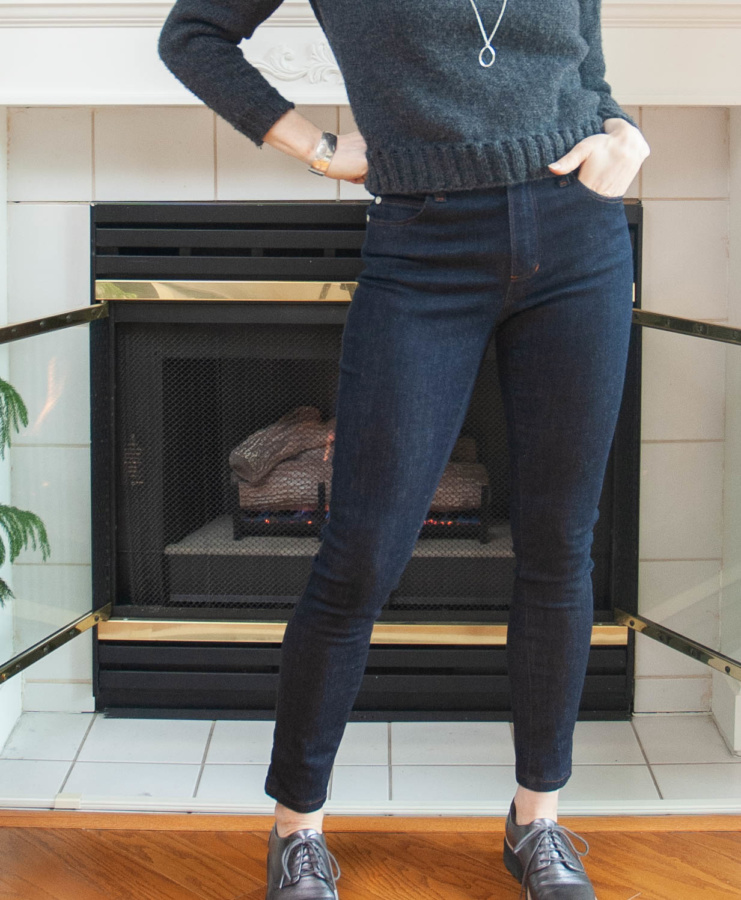
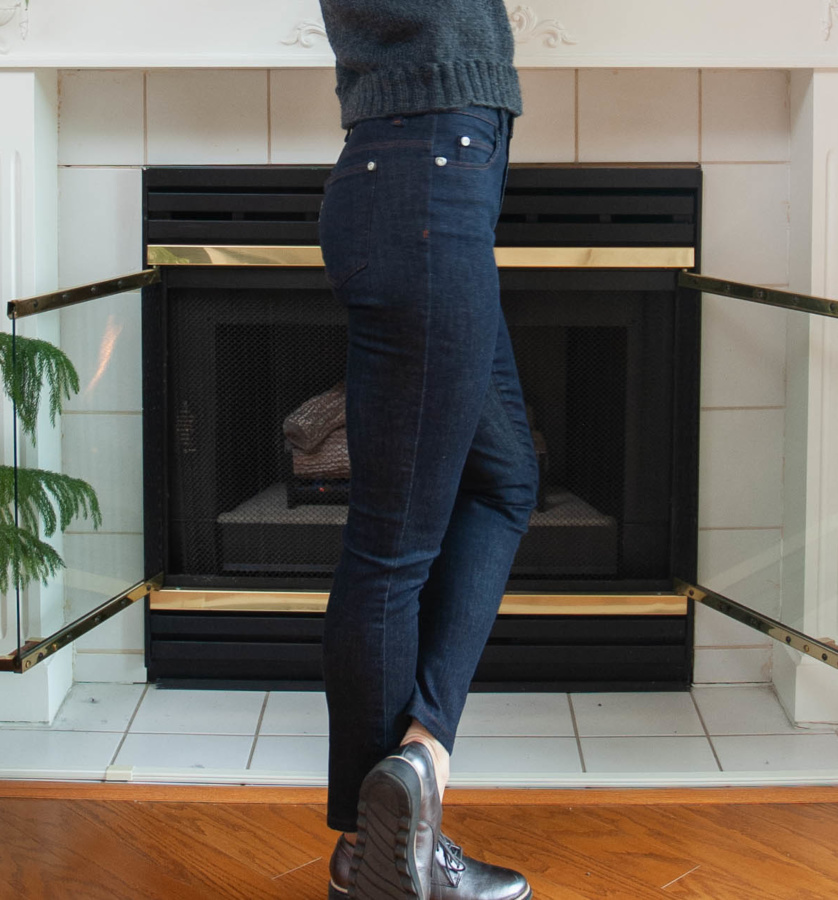
Note: all the flat lay photos in this post are from version 1. As are the first two standing photos above. The rest of the photos are post-waistband-redo.
And wow! I sure succeeded in giving this waistband more stretch! It ended up being so stretchy hugged my waist when I was standing still and looked like it fit great if I didn’t move… but I could pull my jeans off without undoing the zip and button and they didn’t stay up when I walked or sat down. Not ideal.
It was then that I realized this crazy stretchy denim didn’t need a crazy stretchy waistband. The stretch actually needed to be controlled. Unfortunately, I’d raced ahead and already installed the belt loops, button and rivets. Luckily I had another button (thanks to the Blackbird Fabrics hardware packs that always include an extra button and rivets) and I had a bit more denim so I was able to cut two new waistband pieces and give it another try. Chain stitching is at least remarkably and wonderfully easy to unpick. Just pull on the lower looper thread from the end of your stitching and watch it unravel (it won’t work if you pull from the start).
I could have left the waistband as it was and worn a belt. But I wanted versatility and this was an experiment about fit… I wanted my jeans to stay up on their own.
The result of persevering and of not giving up is honestly perfection, or so close to perfection that it doesn’t even matter. I went completely the other direction with the second waistband (see my modification notes at the beginning of this post) and these jeans now fit me better than any pair I’ve ever owned. The chain stitch on the yoke seams and back pockets helps those seams stretch with the fabric so that they don’t make my upper butt look lumpy. The interfaced and straight-stitched waistband still has a bit of stretch, enough to make them comfortable but still keep them up where they belong without a belt.
With this project I learned that what causes the waistband of my first Ginger Jeans to bind is likely a combination of a rise that is too high for my body and a lack of stretch. They would probably really benefit from a waistband sewn like I did in version 1. For this crazy stretchy denim though, the chain stitch made them too stretchy. So it’s not as simple as just choosing one waistband technique or the other. It depends on the fabric you’re using and the fit you’re after. Now that I know that, I am much better equipped for my next jeans project, which is good because it’s coming soon.

I loved this project. I got to try a new technique and I learned so much throughout the process. I wasn’t even upset when I realized I’d have to remake the waistband, which is not a normal way of feeling for me. I’m so glad that I took the time to do it again because now I’m better equipped for my next pair or stretchy Ginger Jeans – the other half of this 2020 Make Nine project. I just have to decide if I want to make them skinny like these ones, or wide leg…
For those who are interested, my cover stitch machine is a Janome CoverPro2000CPX. It chain stitches like a dream. I was really impressed with how well it handled the thick seams and found it really easy to work with. It is also incredibly easy to thread. This wasn’t the thickest denim though, at only 8oz. so I can’t speak for how it would do with a heavier weight. I’ll report back if I ever use it for something heavier.
Thanks for stopping by!
~ Lindsay
February 26, 2020 at 7:32 pm
Your Gingers fit the best of any I have seen, so congrats on your accomplishment. This is the year I make my Gingers. Question what needle position did you use for your chain stitch? Thanks for sharing, you are very inspiring.
February 26, 2020 at 9:28 pm
Hi Sherri. Thank you! I actually switched the needle back and forth between far left and far right, depending on what side of the seam I was stitching on (left for stitching to the right of the seem and needle on the right for stitching to the left of the seam – if that makes sense).
March 14, 2020 at 6:26 am
Wow, they are *perfect* and suit you so well!
Congratulations!