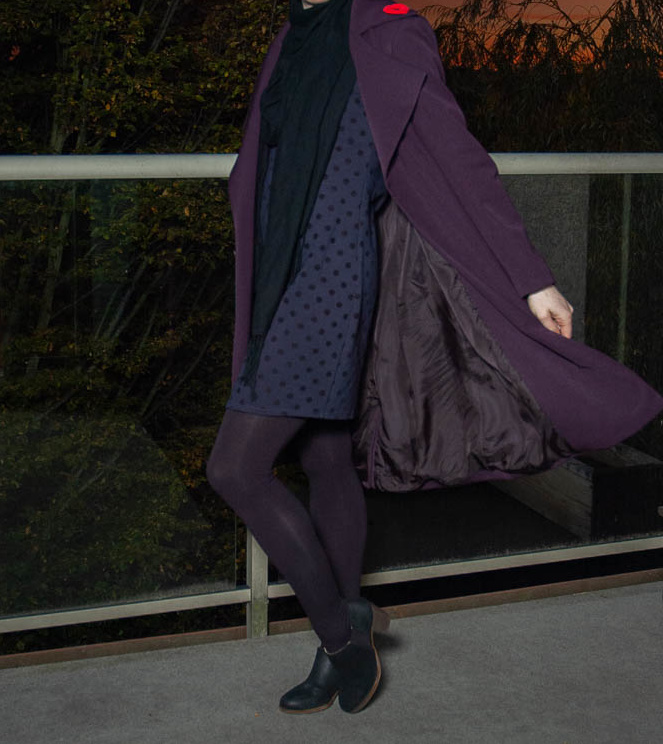
I’ve had a vision in my mind of a very specific coat for over two years: Grey wool, knee length or a little longer, double breasted, fitted, with polka dot silk lining. I bought the lining two years ago from Gala Fabrics in Victoria and the grey wool from Blackbird Fabrics last season but I had procrastinated on finding a pattern or getting started. I decided enough was enough at the beginning of this year and forced myself to decided on a pattern – By Hand London Rumana. I also put this coat on my 2019 Make Nine list so that I couldn’t procrastinate any longer!
The Rumana isn’t the perfect pattern for my vision but it has key design elements like the right kind of collar, princess seams, back vent and those lovely pockets. The rest I knew I’d have to make myself, so I decided to started with what I hoped would be a wearable toile rather than cutting into my stashed fabrics right away. Spoiler alert – it ended up being lovely and completely wearable!
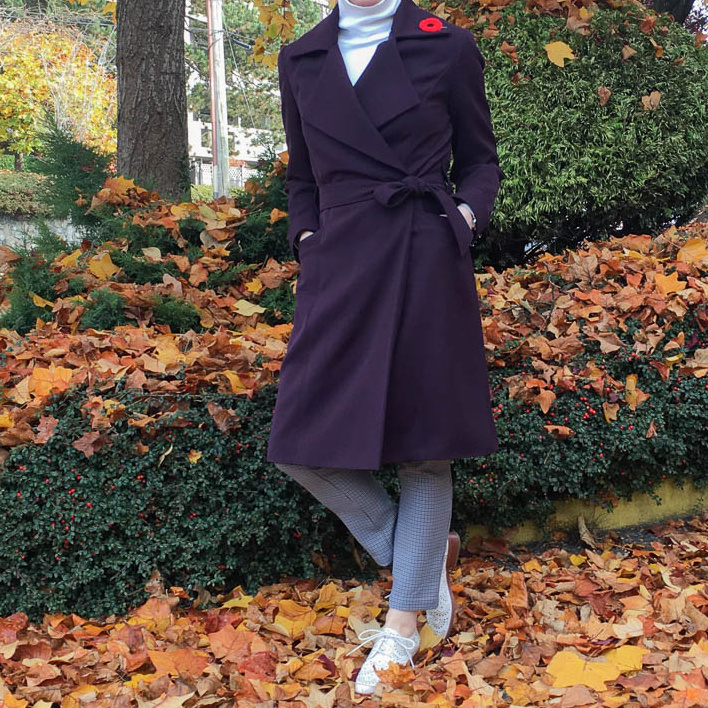
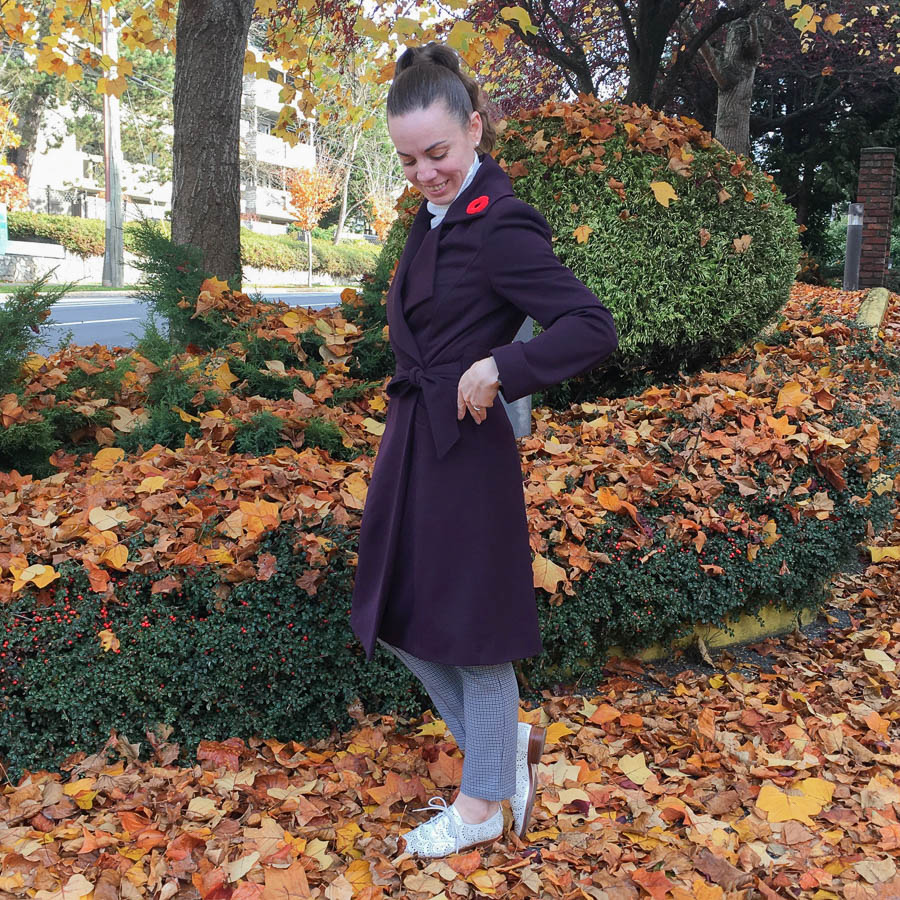
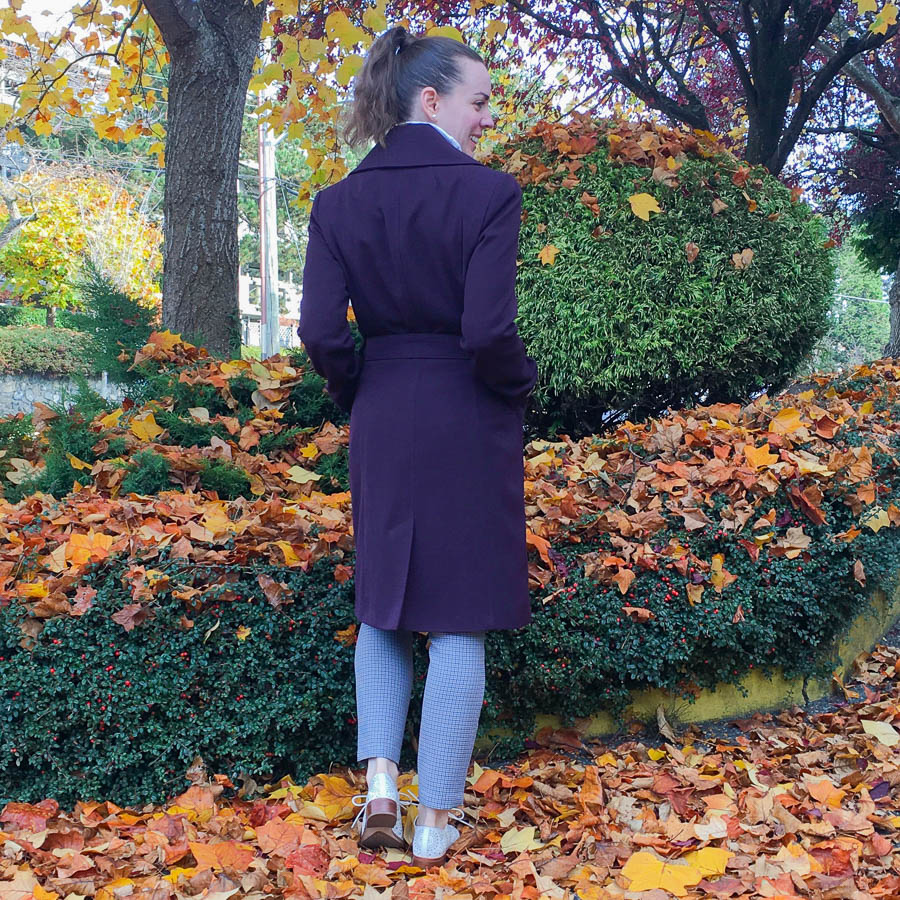
For my first go at the Rumana I chose a heavy weight suiting wool-blend melton from the $10/yard section at Gala Fabrics. The options are limited in that section of the store so I ended up with this egg-planty purple, an unusual colour for me but one that I’ve since begun to absolutely love for both day and evening wear!
I thought about the adjustments I wanted to make for a while (about 9 months) before finally tackling them. I knew I wanted to extend the front and front facings and that wasn’t too hard. I extended them both by 3.5 inches. The thing that perplexed me was how to extend the collar to balance the wider lapels. Eventually I decided to sit down with my pattern pieces, a pencil, a ruler and some extra paper and this is what I came up with.
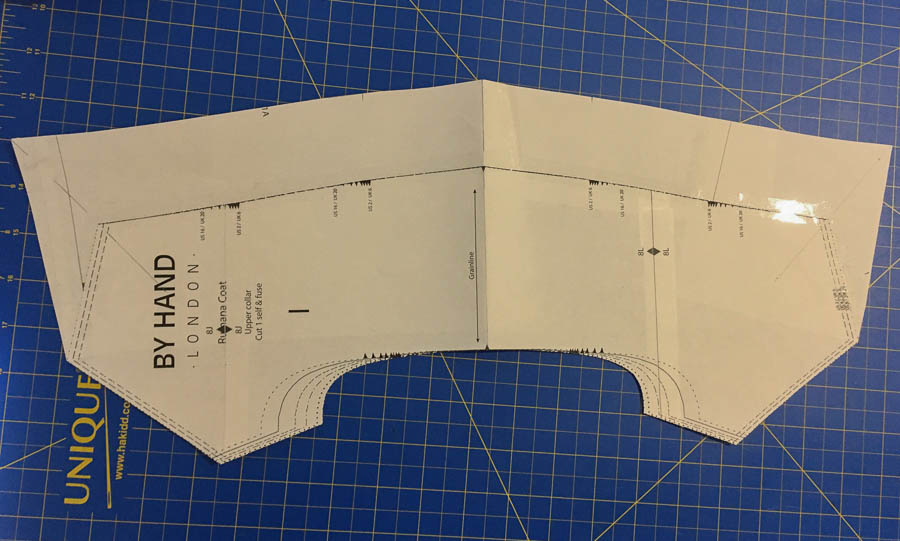
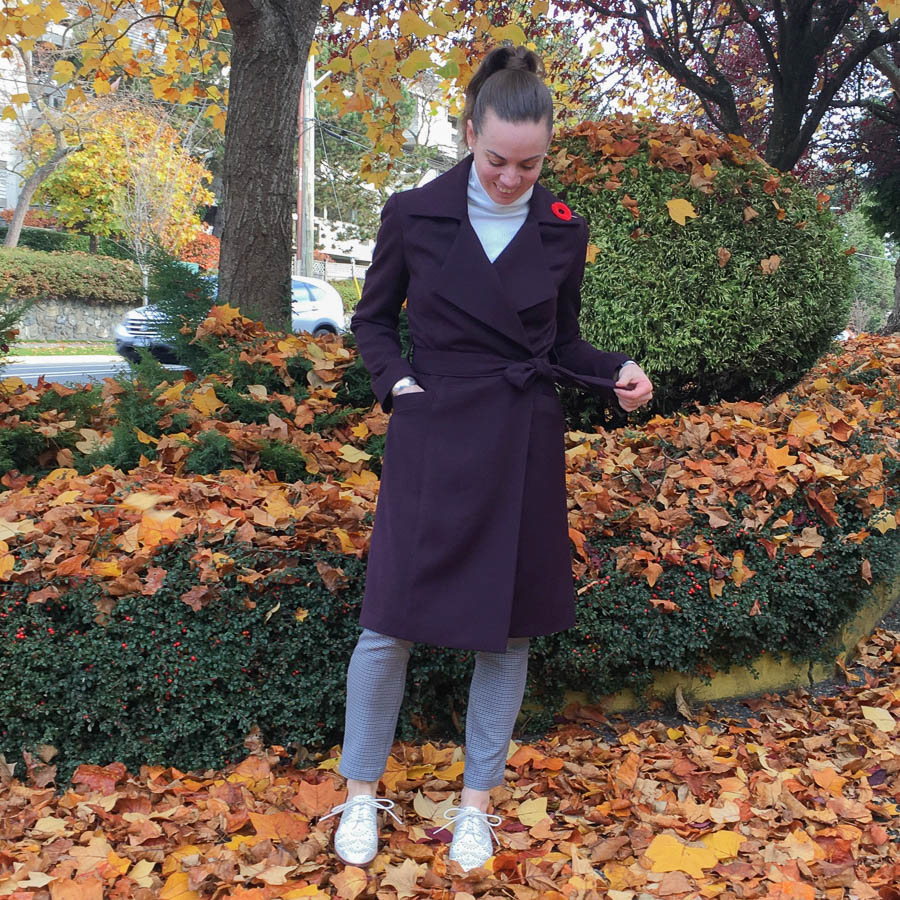
I extended the collar but also change the angle. Just extending the collar and keeping the same angle would have made the collar points sit on or behind my shoulders and I wanted the points to be in front. It worked, the points of the collar sit about an inch and a half in front of the shoulder seam.
Collar drafted, facings extended and coat pattern pieces shortened by 24 cm (arbitrarily and entirely based on the amount of fabric I had but it ended up being the perfect length), I proceeded with the laborious process of cutting all the pieces, including lining, though I wasn’t sure I was going to line it at the beginning. I decided I’d put the whole shell together first and line it only if it looked like it was going to be wearable. I used Bemberg Rayon, also from Gala Fabrics, for the lining. I also cut some 3 inch wide pieces for a belt and belt loops.
Construction of the coat shell was easy. I used the Rumana sew-along and once I had the shell together, aside from a few small issues that I will correct on the next version, I decided it was a keeper so I added sleeve heads and shoulder pads and proceeded with the lining. That’s where I got tripped up.
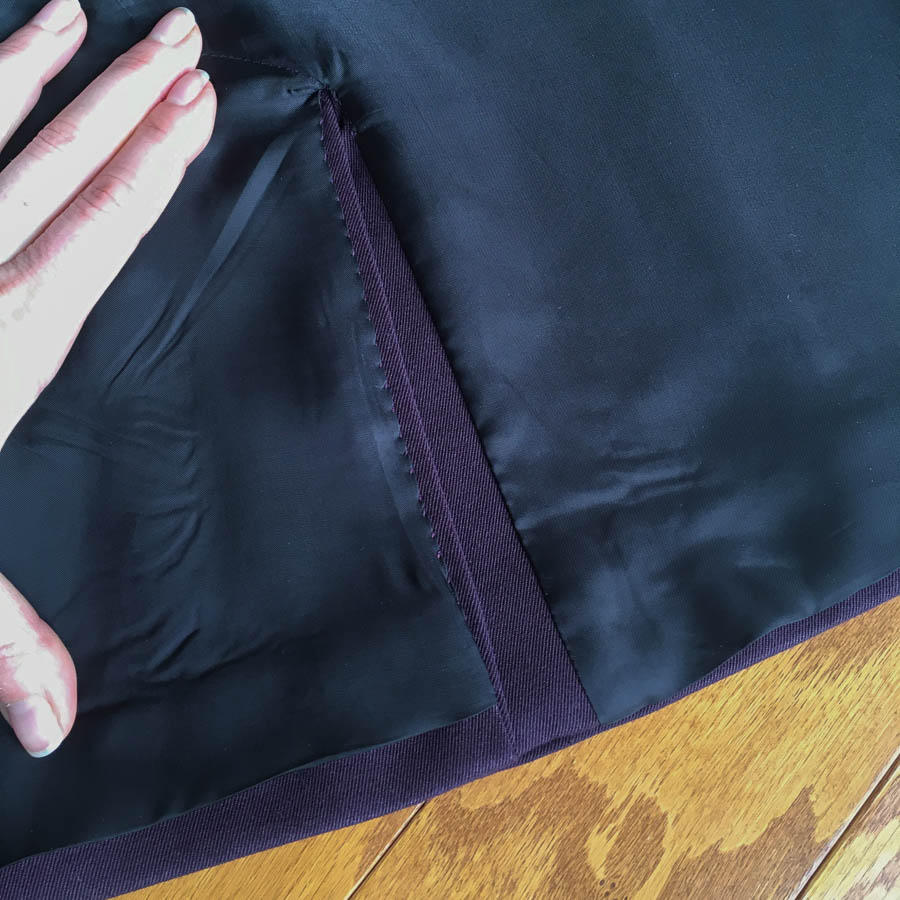
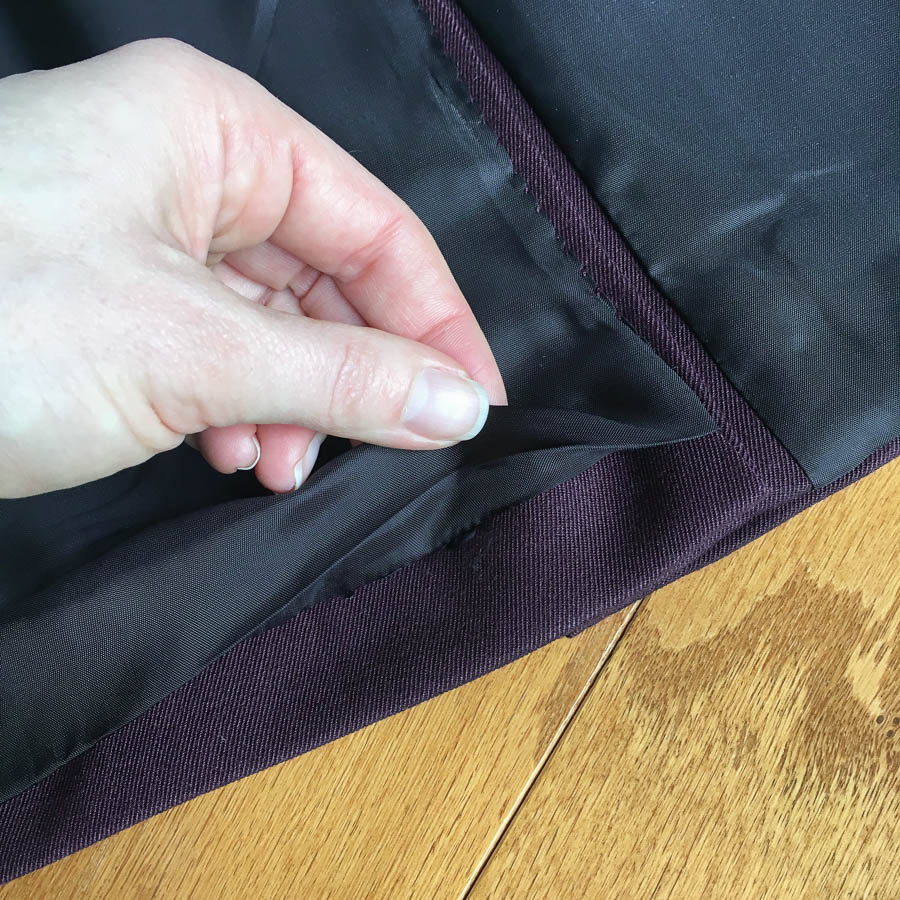
The instructions have you sew the lining down along the entire vent extension before sewing the hem. For me, this caused the vent to distort. The rest of the hem has the lining bagged out with the extra length of lining folded over the hem that is required for the coat to hang correctly. The way you are instructed to sew the lining to the vent does not allow for this bagging and, I think, this is why the vent lies awkwardly when sewn as instructed. I didn’t take any photos of mine when it looked bad unfortunately. I was too intent on finding a way to fix it.
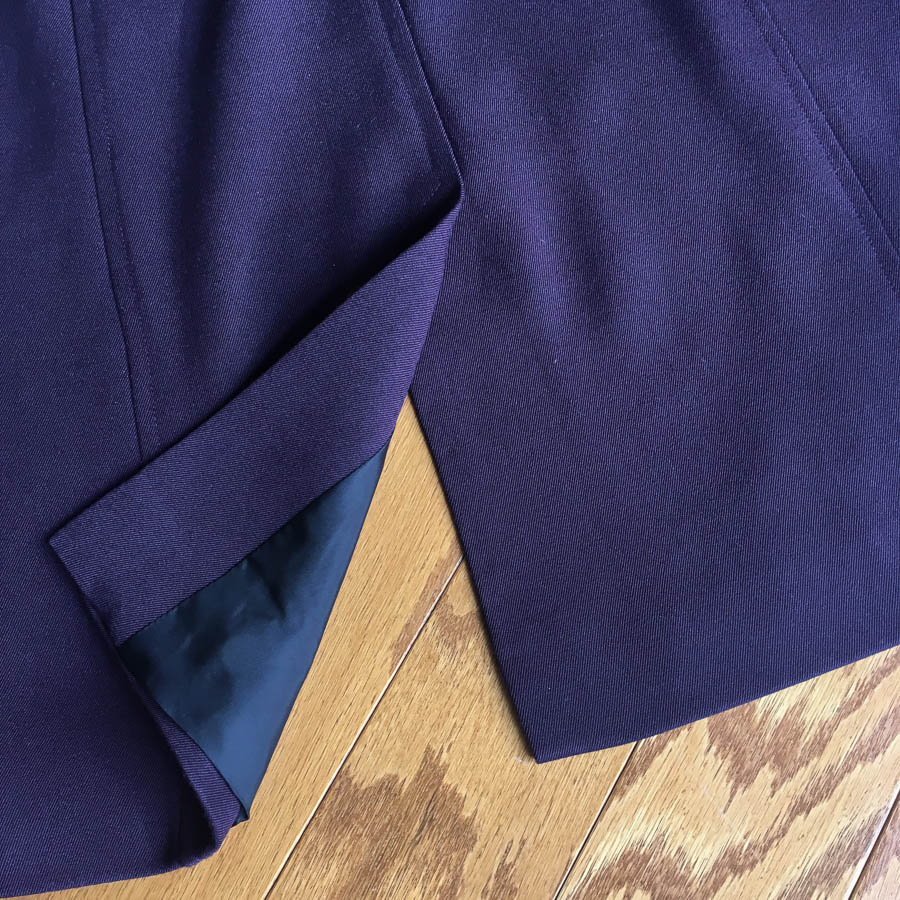
I ended up unstitching the lining from the vent extension and re-sewing it with the same bagged ease as the rest of the hem. It’s hard to tell what I did in these photos but the lining on the right side of the vent in the photo below does not tuck around all the way to the hem. I’ve only just caught it around the corner under the folded back vent piece. The vent on the left I bagged out and handsewed in place to match the rest of the hem. It’s a bit of a janky job – you can see the uneven lining on the inside of the coat in the photo below – but the vent falls beautifully so I’ll take the slightly messy insides. For my next version, I’m going to look up some alternative methods for sewing lining to a vent and see if I can find a cleaner way to do it. I’ll report back on how I end up doing it.
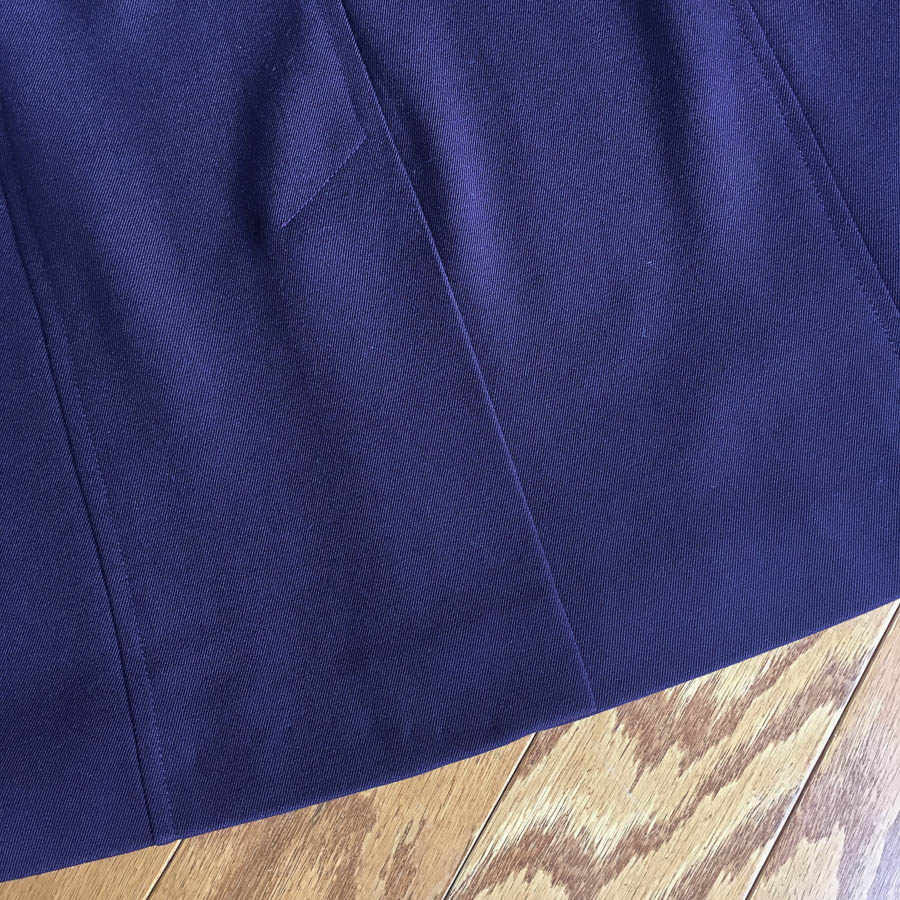
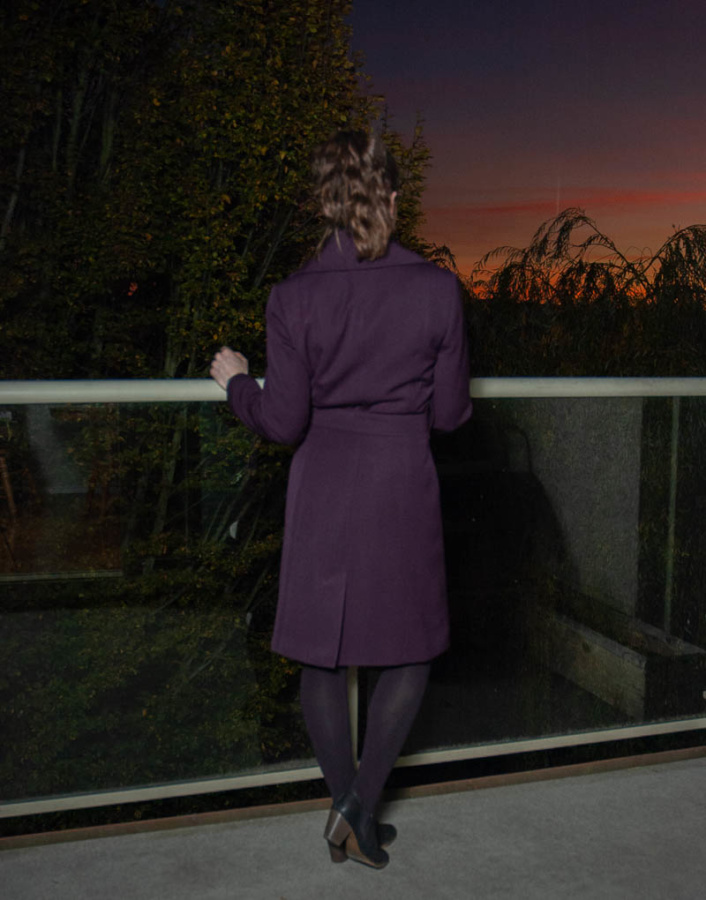
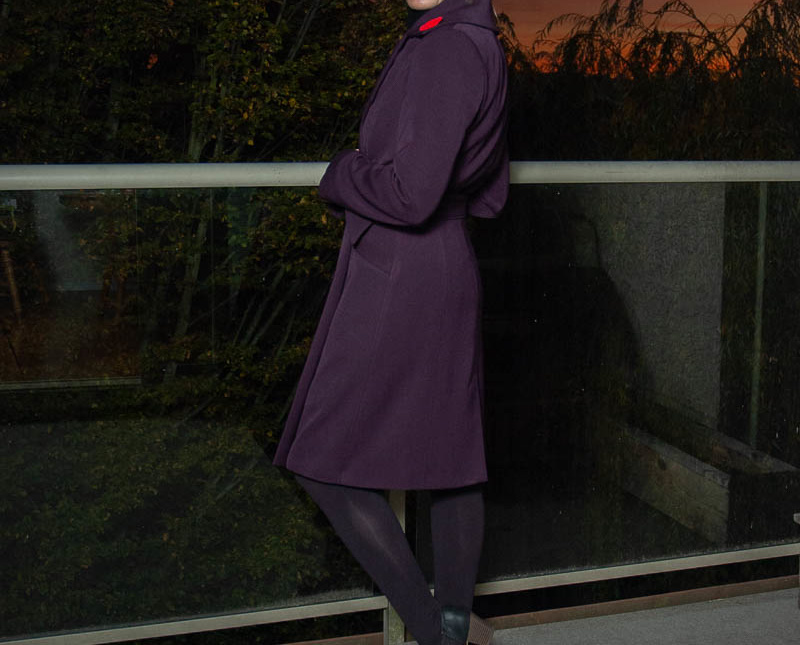
After I sorted out the vent, the rest of the construction was easy. I finish it up and have worn it literally every day since. I finished it on Wednesday evening and wore is Thursday, Friday, Saturday, Sunday, Monday and today (Tuesday). I never knew I needed a purple coat in my wardrobe but I love it and am so glad I decided to make my toile wearable. The high back collar, shoulder darts, and top stitched princess seams on this coat are just divine.
I have a number of minor changes I plan to make for my wool and silk version of this coat. I was so excited to get started that I’ve already got the lining stitched up and the sides and pockets of the shell sewn and top stitched. Stay tuned for the coat from my vision coming very soon.
Thanks for stopping by!
~ Lindsay
November 12, 2019 at 10:55 pm
Lindsay – your purple frock coat wearable toile is amazing and fits you really well. I like the addition of the higher collar. I have done vent linings a couple of different ways and I went wading through my handmades to find the example I was thinking of but I seemed to have gifted it onwards. Most of my recent coats seem to to be more swing style and of course with no vents. If I come across what I am thinking of I will sent it along. Somehow I think you will be three or four steps ahead anyway. I am looking forward to the grey wool & silk version. ;)
November 14, 2019 at 7:51 pm
Thanks Kat! I have not yet decided how I will attach the vent lining to my next version so if you find something, please do share. I suspect I may end up hand sewing it if I don’t come up with a better option.