I wasn’t going to make a swimsuit this year. I still haven’t worn all the pieces of my capsule swim collection that I made at the end of last summer and in the current pandemic and whatever the new normal looks like, I don’t know how many chances I will have to get in the water this summer. Then Sitka Fabrics offered me some of their new ribbed swim fabric to try and the colours were so gorgeous, I just couldn’t say no.
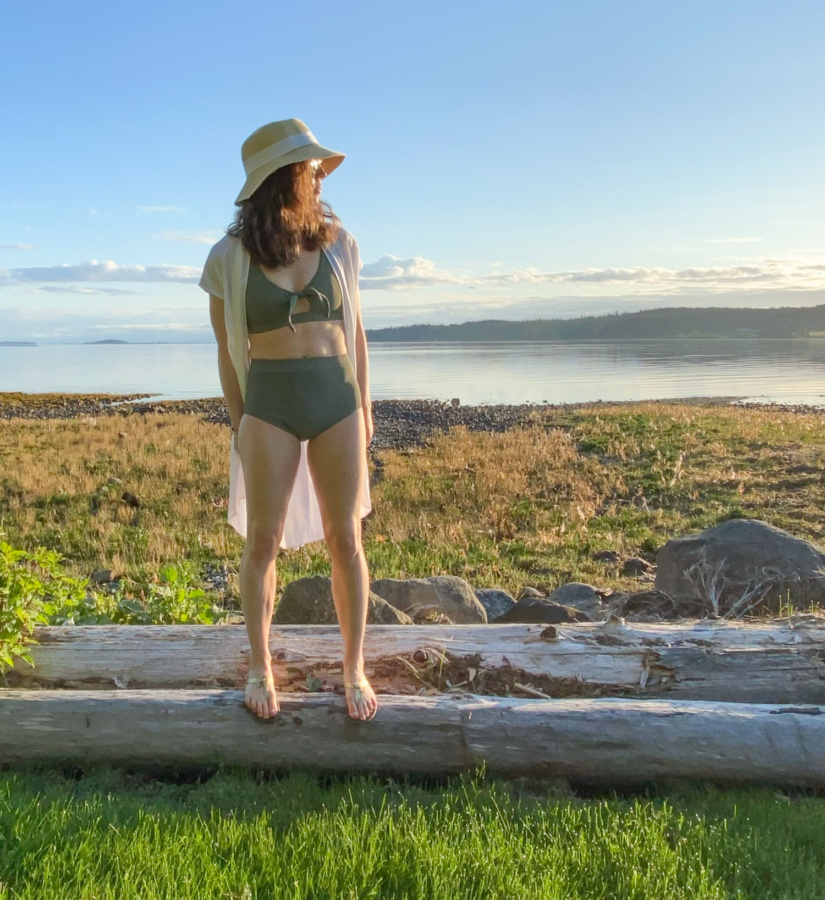
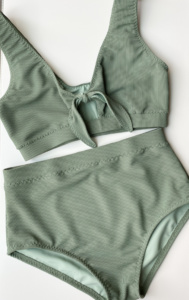
I went with the Friday Pattern Company Vernazza Two Piece for this make. I chose it for its supportive coverage and popularity online. Lots of people have made it so that meant I had lots of photos to look through to tease out fit issues. Oddly, until this project, I’d never made a swim suit from a dedicated swimwear pattern. I’d only made self-drafted suits or modified regular clothing patterns. Because of this, I found that I have developed my own set of preferred construction techniques, which I didn’t know how much I really liked until I started this make and was instructed to do things a different way.
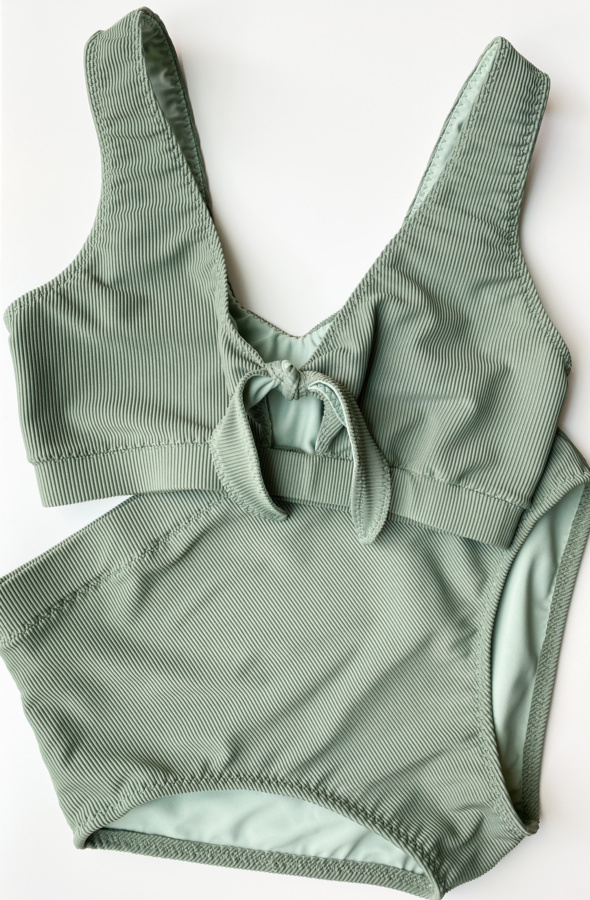
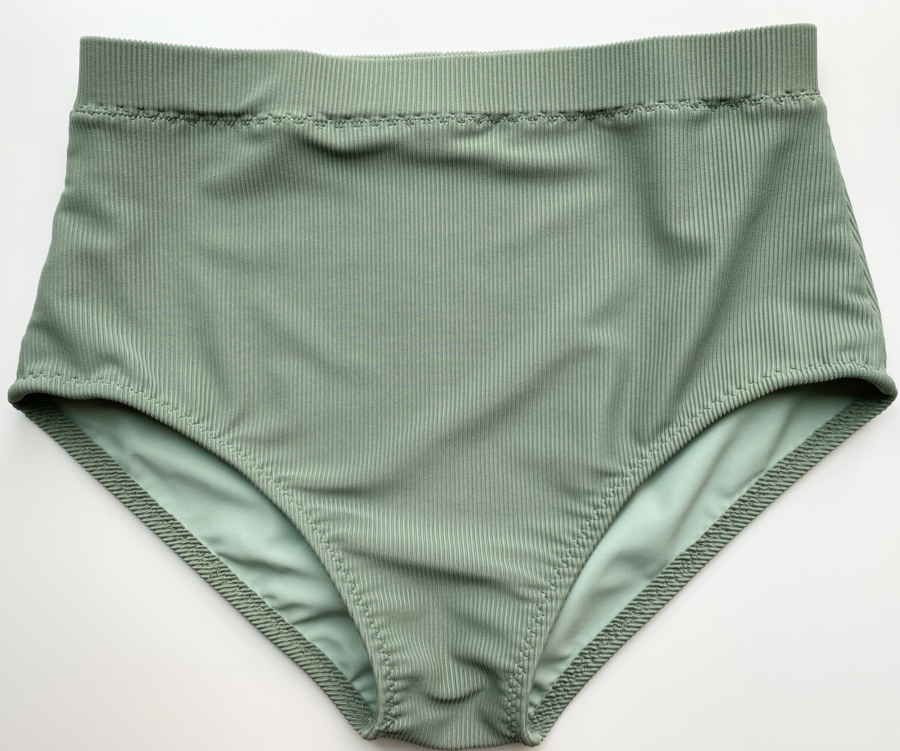
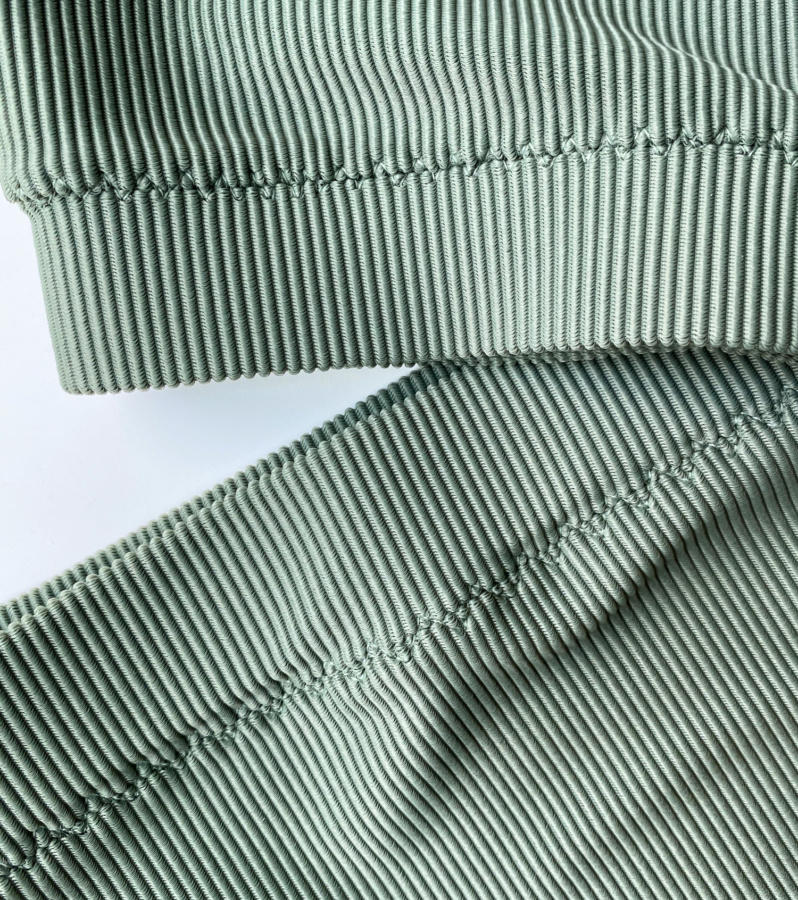
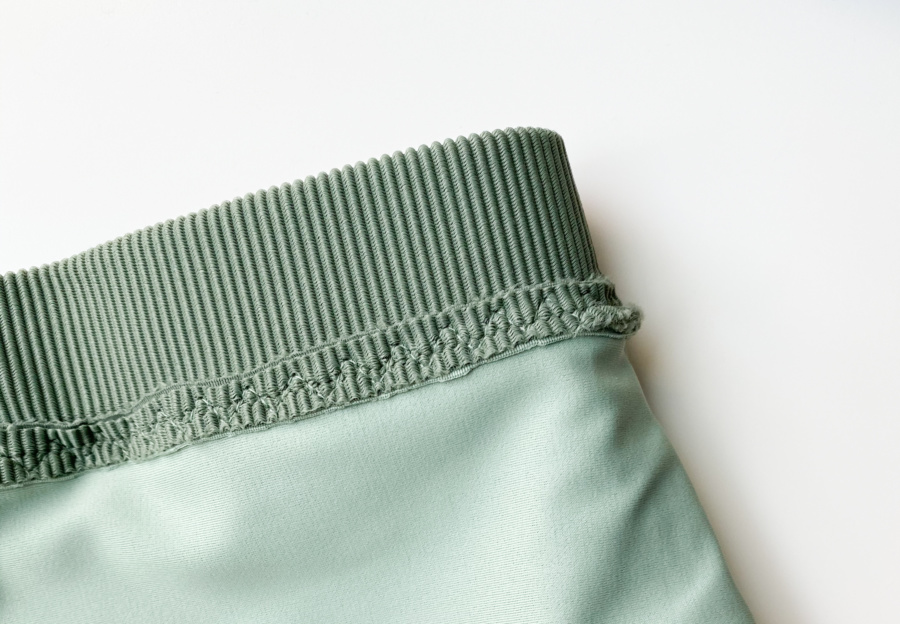
Before I get into my mods and the alternative construction methods I used, I’ve got to tell you about this gorgeous fabric! It was provided to me for free, but all opinions are my own. This was my first time ever touching or using ribbed swim fabric. It’s lovely and thick – you could probably get away without a lining if you wanted to. The Vernazza is a lined pattern though, and I like the added structure, so I chose to line mine. I chose the colour “Sage” for my main fabric and lined it the Sitka Fabrics solid matte swim in the colour “Garden Party” (also provided to me). Both are lovely, cool and soft against your skin, have a good 4-way stretch and are easy to cut and sew (they don’t curl up). They are excellent quality and feel like they’ll stand up really well to wear.
On first touch, after I got over how cool it felt, I was surprised to learn that, like corduroy or velvet, ribbed swim fabric has a nap. I don’t know how I thought the rib would be made… but I did not anticipate that it would have a nap. This isn’t an issue – but it is something to keep in mind if you want the nap all running in the same direction on your finished garment. I did, so I was careful when cutting my pieces and also when attaching the top and bottom bands to make sure the nap was running all the same way. It’s easy to tell by feel but you have to pay attention to it.
Because of the thickness of the rib, I decided to line both the top and bottoms in the solid fabric. I was worried about the top being too bulky if I’d used the ribbed fabric for main and lining as instructed in the pattern. It probably would have worked but I didn’t want to struggle.
The only other things to note about the ribbed fabric is that the nap makes it extra slippery in the direction of the nap. I struggled holding it in place to begin with, then I remembered that pins were my friends. I pinned everything then sewed slowly and carefully to make sure that the edges stayed lined up. It added slightly to the challenge of this make but is totally worth it for the final look with this fabric, I think.
My last note before I get to my mods is about the elastic. Sitka Fabrics also provided me with 9mm Filpar Rubber Swimwear Elastic and it is AWESOME. I’ve never use elastic like this and I’m converted for all future swimwear. It is thin but still strong and so easy to sew. I freaking love it. There’s a picture of it later in this post and I highly recommend it if you can get some.
Now about those mods. Here is the full list and I’ll go into some of them in more detail to follow.
- I cut a size small for the top and size small graded to medium at the waist for the bottoms (for reference, my current measurements are 34/28.5/35).
- Before cutting out the top front pieces, I moved the strap inward by one inch and re-drew the neck and arm curves (sorry, I didn’t take photo of this).
- After cutting out the pieces and sewing them up, I took additional seam allowances at the shoulder and cut the arm hole 1/2″ lower (more detail below).
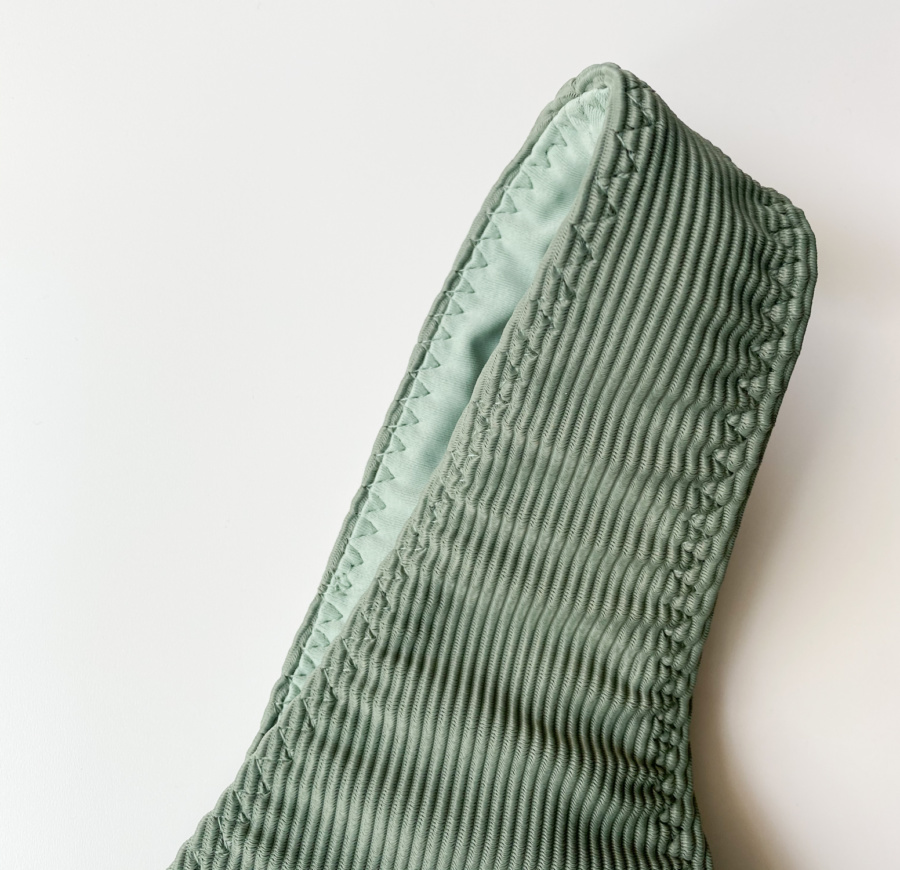
- Used a three-step zig zag to finish both the neck edge and arm hole edges to stop the lining peaking out at the front.
- Used a totally different neck line elastic application (more on that below).
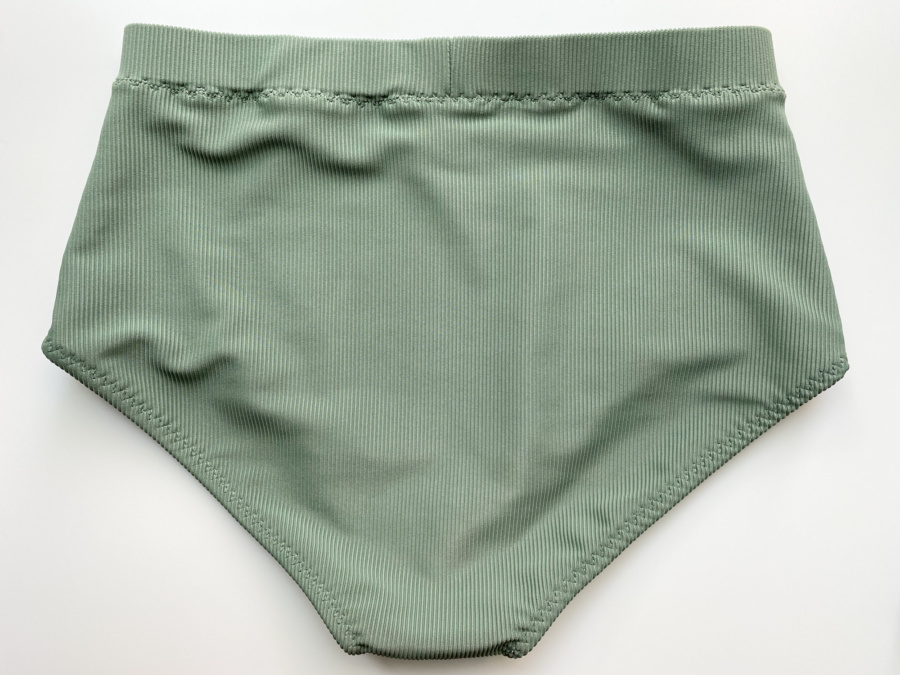
- Used a totally different construction method for the bottoms so that the side and crotch seams would be attached and enclosed. Let’s start with that one…
Bottom Mods
I don’t know where I picked up this technique. It was probably from the myriad of garment construction YouTube videos I watched prior to making my first swim suits without a pattern. Regardless, it’s my favourite technique and really easy. I wanted my seam allowances all sewn together with the excess tucked forward at the crotch. You can have the seam allowances go toward the back if you prefer – just make your sandwich with the back pieces as the bread and the fronts as the filling. I like the seam allowances to go forward, so I stacked all four of my pieces together in this order:
- Main front (right side up)
- Main back (right side down)
- Lining back (right side up)
- Lining front (right side down)
Then I pinned them all together and sewed the side seams and crotch seam. I graded these seams to reduce the bulk, making sure to grade the lining seams the most and leave the main front piece un graded. After that, I flipped the two front pieces out so that the lining sat inside the main and all the seam allowances were tucked between the lining and the main, facing the front of the suit.
I like this method because it stops the lining from shifting in relation to the main when you’re wearing it. It also means these seams are firmly attached together when you go to apply your elastic. Just make sure to grade or they might be a bit bulky.
Shoulder Mod
Next let’s talk about the alteration I made to the shoulder seam allowance. I had suspected the depth of the top might be an issue for me based on images I’d seen online, so I basted the main pieces together to check the fit – and it’s good that I did because the top was way too long for me. There was a lot of baggy fabric around the upper arm both front and back. I pinned this out and ended up taking an additional 3/4″ seam allowance at the neck edge and 1.25″ at the shoulder edge (in addition to the pattern’s 5/8″ seam allowance). This brought the under arm up too much so I cut it down by an additional 1/2″. I also took a bit out from the front arm curve that I’d already redrafted when I moved the strap forward. I made these changes to both the lining and main pieces.
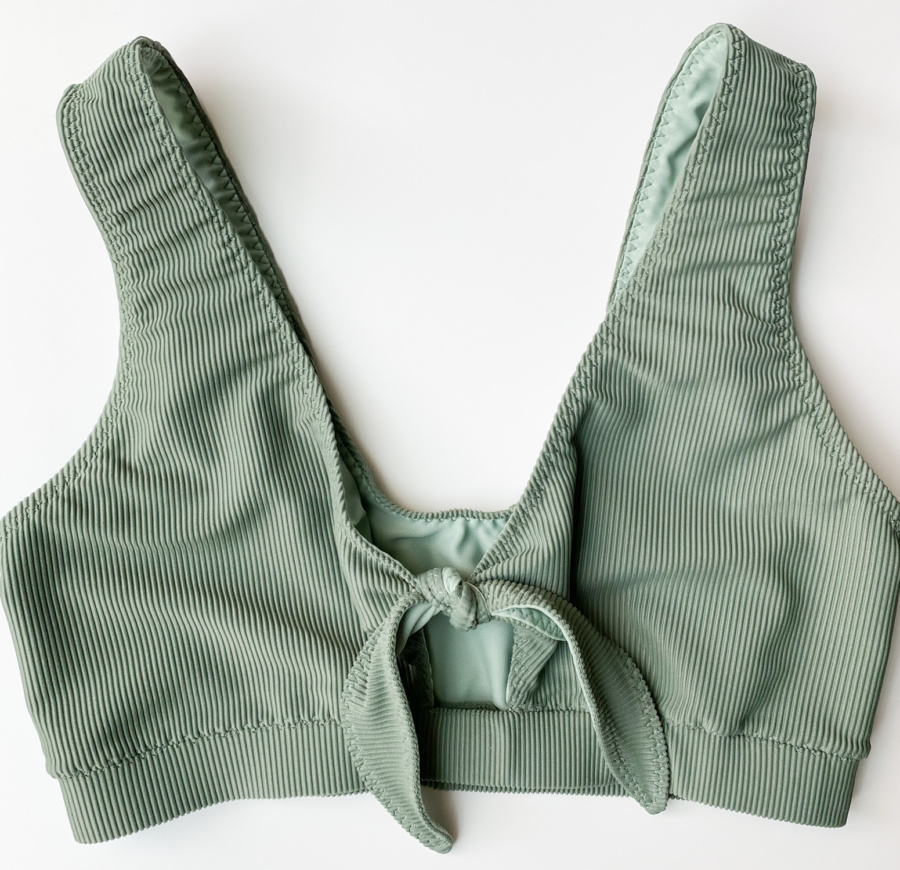
Neck Elastic Insertion – Alternative Method
Once I had improved the shoulder fit, I read ahead on the construction notes for neckline elastic and decided they were not for me. Many of the examples of this swim top on Instagram show the lining peaking out at the neck edge of the top. I decided this might have something to do with the construction of the top (along with the excess depth noted already), so I went about it a different way. Again, I have no idea where I picked this technique up but I really like it!
To start with, I basted the front and back pieces wrong sides together at 1/4″ along the entire neckline. Next, I stretched and sewed the elastic on the wrong side of the MAIN fabric so the inside edge of the elastic was 1/2″ from the edge (Note: my elastic lengths were shorter than recommended because I’d shortened the neck edge, but I forgot to document how much shorter. Sorry about that!)
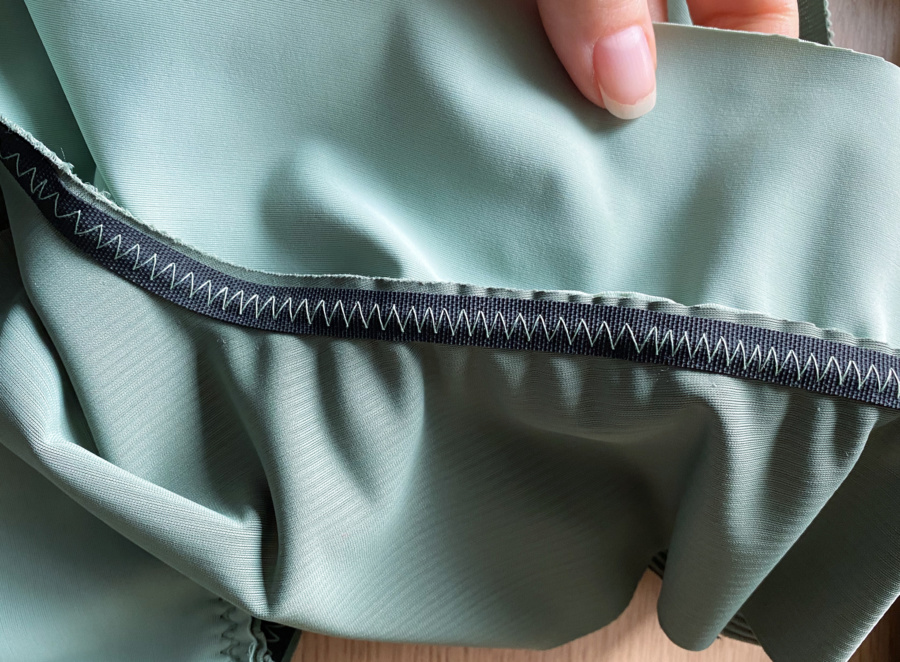
Anyway, back to the elastic insertion. It is super important when sewing the elastic on that your zig zag does not go over the inside edge of the elastic. The amount of elastic left on the inside edge, inside the zig zag, is the amount the lining will be set back from the main fabric when you turn it right side out. That little bit of unsewn elastic pushes the main fabric out past the lining, kind of like under stitching.
I’m not sure how well I explained that but hopefully the pictures help. Once I had the elastic sewn in, I switched to the lightning bolt stitch and stitched the ties at 1/2″. Then I removed the basting and turned everything right side out.
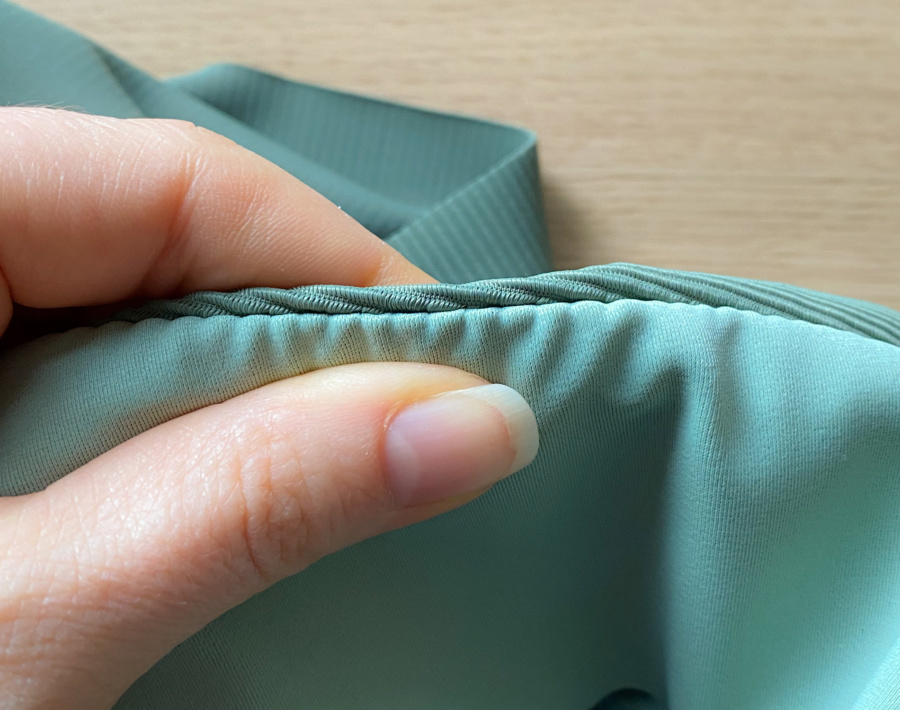
Note: this technique will not fully hold the lining inside the main, but it helps. I knew I was going to top stitch the neck edge the same as instructed for the arm holes anyway, because I didn’t like that the pattern had them finished differently. I top stitched from the right side while pulling the main tightly against the elastic. I used a three-step zig zag for the top stitch throughout this project set at 5.0 width and 2.0 length.
This technique automatically makes the lining longer than the main fabric, making the lining protrude at the bottom and the arm holes. I just smoothed everything out and basted the main and lining in place along the bottom and arm holes before snipping off the excess lining and applying the arm hole and bottom band elastic as instructed in the pattern.
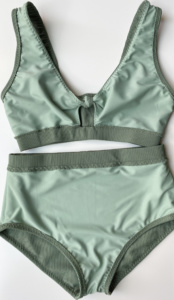
From there, I pretty much did everything as instructed. The only additional small changes I made were to use a 1 inch wide elastic in the top and bottom bands (the pattern calls for a narrower width but 1 inch fit nice and tight, which I like). To reduce bulk around the bands, I top stitched the banding seam allowance on the swim top upwards and the seam allowance on the bottoms open. For both, I top stitched with the zig zag running on top of the seam line. This has the added benefit of tacking the elastic in place so that it doesn’t roll.
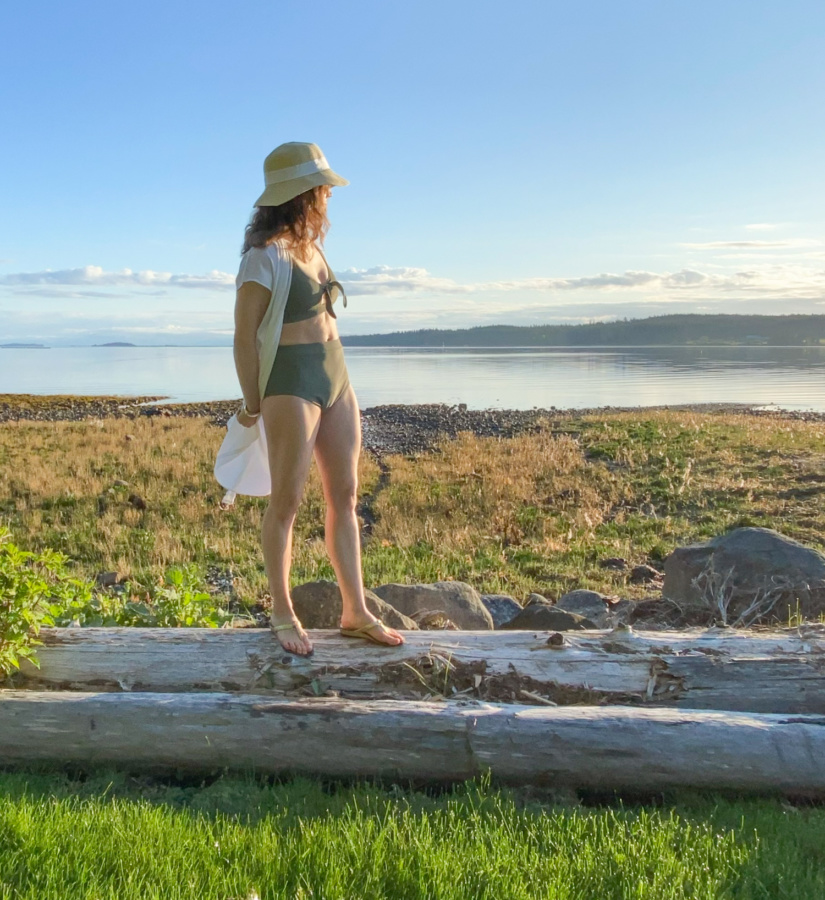
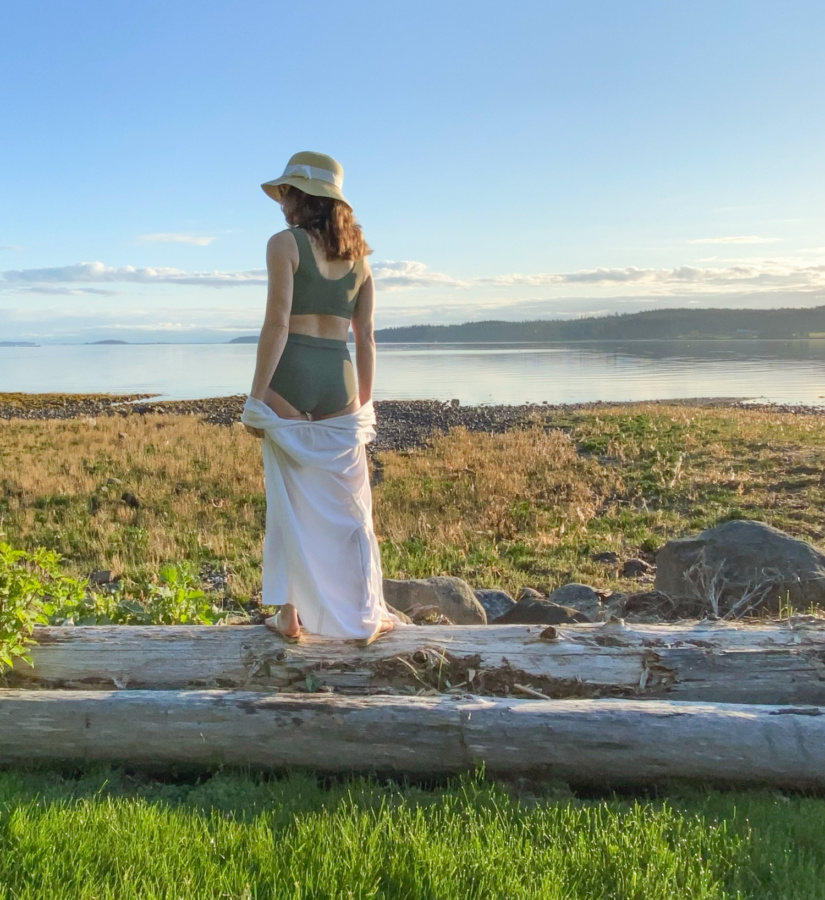
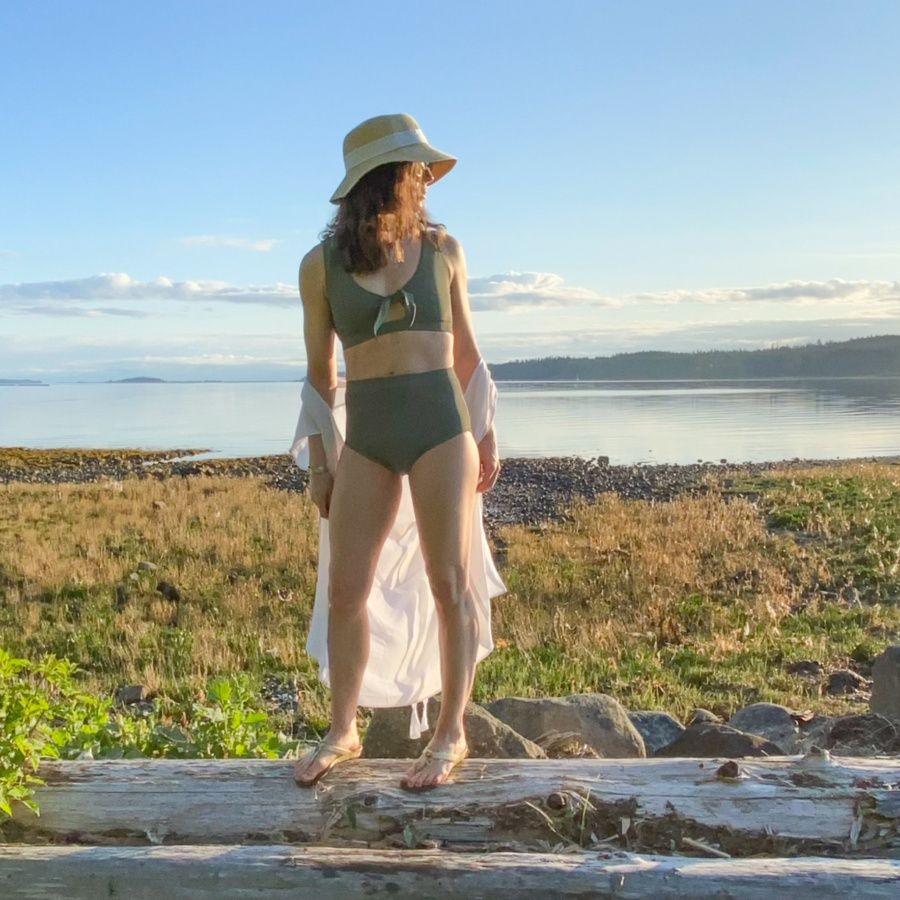
And that’s it. I’ve got another swim suit in my collection! The fit turned out great and I feel nice and secure in it, which has become pretty important to me with swimwear as I’ve gotten older. I also get to wear it for real this week, which I’m incredibly thankful for. My husband and I are very lucky to have booked ourselves a holiday for this year that we are still able to do in the pandemic. Last fall, we planned a retreat for the two of us close to home. A sewing retreat for me and a game-development retreat for him to work on his side project. We’ve rented an ocean-front house, brought all of our project supplies and groceries so we don’t have to leave and are currently self isolating and following all the rules of physical distancing here for a week. My photo shoot was serenaded by sea lions and I went straight into the hot tub after taking these photos. We’ve only been here a day and it is already such a welcome escape after almost three months living and working from home together in our condo.
I hope you are staying safe and finding joy in your projects. Thanks for stopping by!
~ Lindsay
May 20, 2020 at 4:15 am
Thanks for sharing techniques for your cute suit. Very helpful. What a lovely vacation spot, too! I hope it was relaxing.
May 20, 2020 at 9:39 am
You’re very welcome Heather. It’s been a lovely break. I’m a convert to the sewing retreat holiday!
June 10, 2021 at 2:57 am
The technique for elastic insertion has gorgeous final results! I’m wondering if I’ve missed something, though, but I’m also Sewing While Tired.
“I basted the front and back pieces wrong sides together at 1/4″ along the entire neckline. Next, I stretched and sewed the elastic on the wrong side of the MAIN fabric so the inside edge of the elastic was 1/2″ from the edge”
I’m sitting here with wrong sides of lining and main fabric pinned together about to baste and wonder if I’m confusing something. I’m thinking *right* sides get basted together, they get sort of separated again and elastic is applied to wrong side of main then they get flipped back out, and the elastic is encased?
Thanks for sharing your techniques. Your suit looks amazing!
July 14, 2021 at 9:11 am
Thanks so much for all this info about your mods! I’m preparing to copy your alternate neckline elastic insertion method, just one question: Did you remove the basting stitches, and was this difficult after the elastic was sewn over top?
September 14, 2021 at 7:06 pm
Hi Amy. So sorry! I have been getting so many spam comments that I turned off all notifications and I missed your question. You are correct. I have a typo. It should be right sides together. I’m sorry! I’ve fixed it now. Thank you :)
September 14, 2021 at 7:08 pm
Hi Becka. So sorry! I have been getting so many spam comments that I turned off all notifications and I missed your question. I recall that I removed the basting stitches but I don’t think you have too. Just stretch it out a bit and see if the stitches pull. If they don’t, you’re probably ok to leave them in. Again, sorry for such a late reply, you’re likely well done by now. I hope your suit turned out!