If you’ve been here before or you’ve seen my instagram, you know that the Seamwork Mesa dress is a staple for me, which makes it the perfect thing to hack.
I recently became curious about trying a cross over shoulder. I’m not sure why. Likely I saw it somewhere and it wormed its way into my brain. However it got there, I decided to try it out on the Mesa pattern.
For my first try I used some scuba from my stash that bought online and was never that impressed with. The hack turned out remarkably well though.
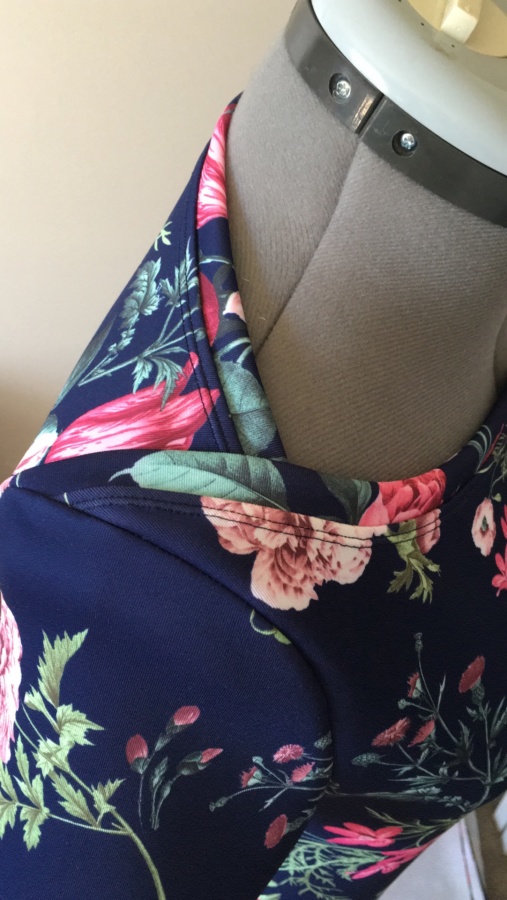
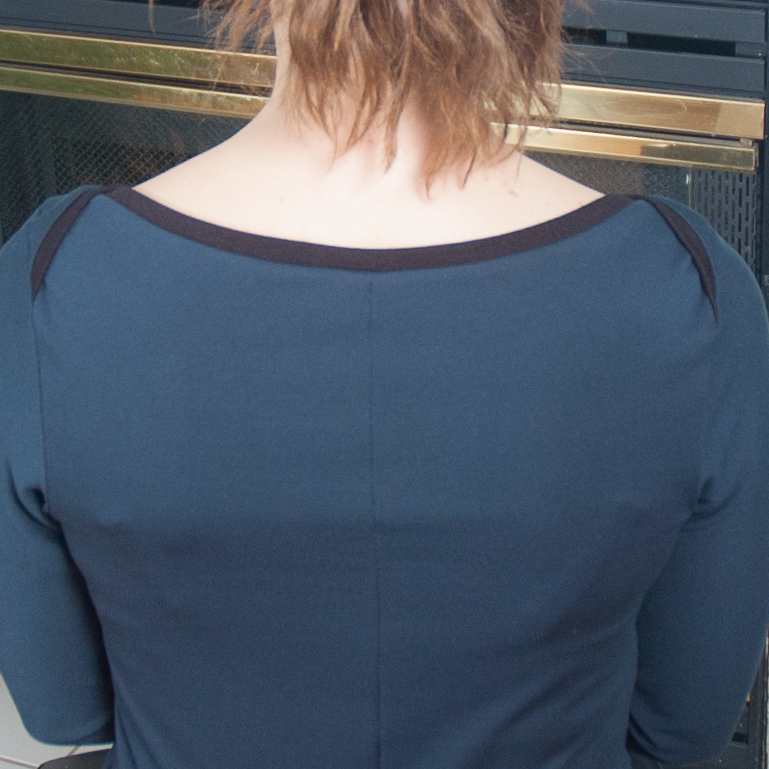
Pattern Modification: First I redrew the Mesa neckline into more of a boat neck shape. Then I attached the front and back pieces of the pattern together at one shoulder and marked two notches on the arm holes, each about two inches on either side of the should seam. Then I extended the neck edge of the front and back body pieces diagonally so they ended in a point at each notch (so the front bodice neckline extended to the spot on the back arm hole and visa versa).

Sewing: I attached the neck binding to the front neckline and the back neckline separately, before sewing the shoulder seam. Then I overlapped the shoulder seams, matching the front shoulder points to the notches on the back armhole and the back shoulder points to the notches on the front armhole. I overlapped mine with the front piece on top but you could do it either way.

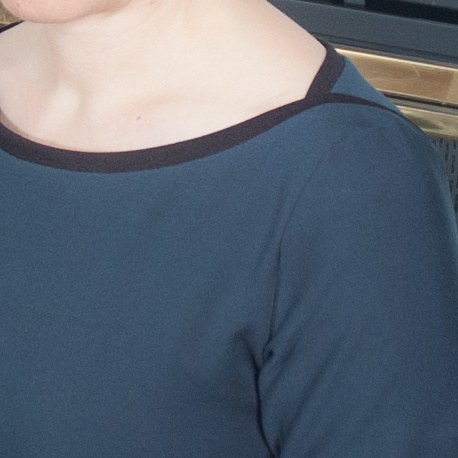
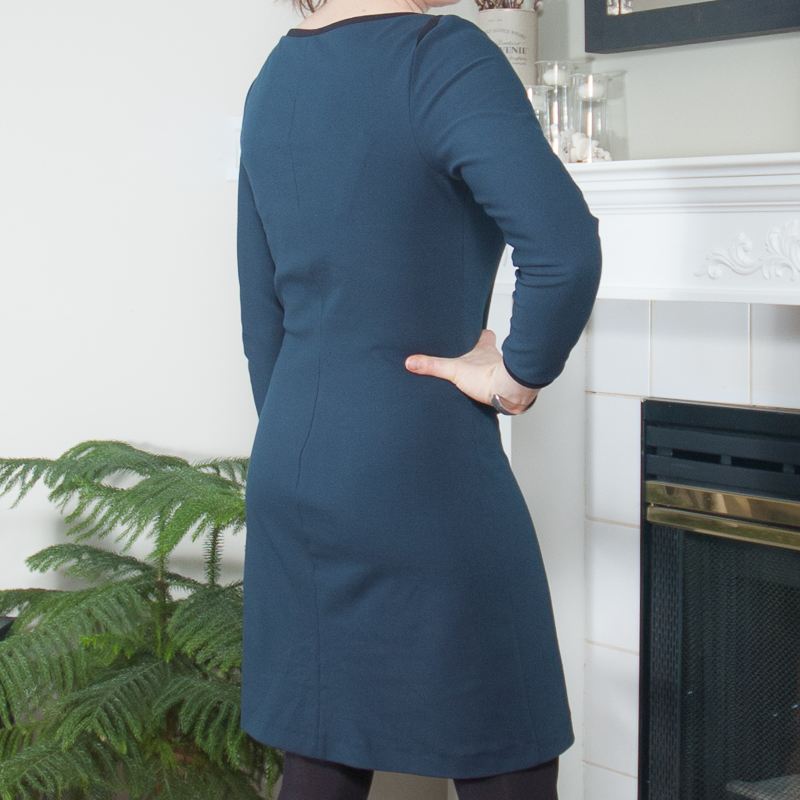
I basted the overlap in place along the armhole edge then attached the sleeves as normal before sewing up the side seams. After my test version, I made up a long sleeved version in green ponte using black ponte for the binding. It’s a subtle accent but it goes well with black tights. I also added a centre back seam to help with shaping over my lower back.


Thanks for stopping by!
~ Lindsay