I didn’t have a trench coat on my list when I started this year, though I’ve been looking for the perfect trench for almost two decades so it’s probably been in the back of my mind since I started sewing. Then three things happened this year. Well, make that four things:
- Matchpoint Fabrics dropped some gorgeous, deadstock, tencel satin that I could not resist buying for future coat lining (though at the time, I knew not what coat it would be for)
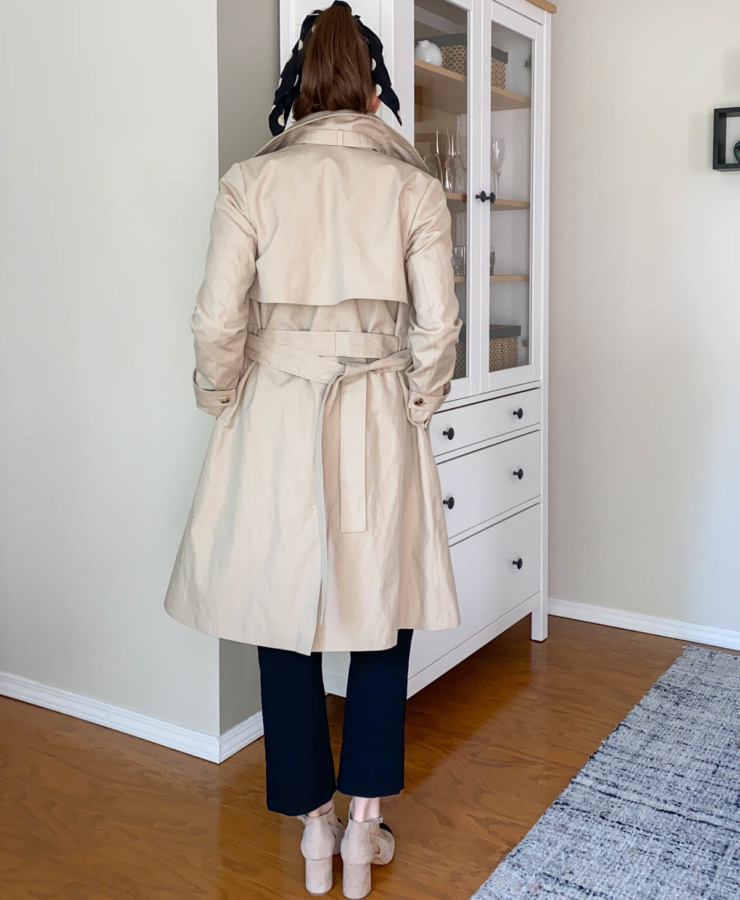
- I made my modified, wide leg, black Ginger Jeans and immediately felt the need for a trench coat to pair with them (I do not know why, it was just a feeling I had)
- I happened to walk to Gala Fabrics at lunch one day, pre-pandemic, while they were having a 25% off sale and saw the most perfect-for-a-trench coat coloured light weight cotton canvas and just enough of the exact right buttons. So I bought them and set aside for use in 2021 because I’d already made two coats this year and why would I want to make more?
Then the COVID-19 pandemic started and I found myself with a little more time at home than I could have predicted… and I had all the supplies… and I couldn’t get this project out of my mind… and so… the Named Clothing Isla Trench Coat moved way up on my list and arrived earlier than scheduled.
As always, let’s start with the mods I made:
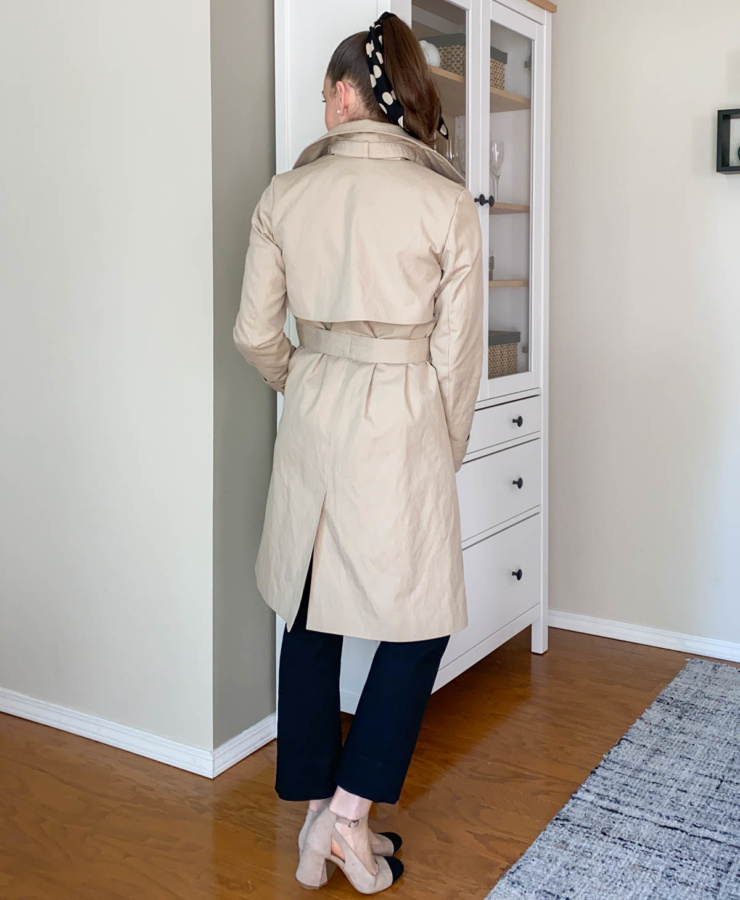
Length: Obviously it’s shorter than the pattern. I reduced the length 28 cm in total. This was spread out as follows: 8 cm between the bust darts and pockets, 10 cm between the pockets and vent, and 10 cm in the vent. I spread out the length reductions because this pattern is drafted for someone 172 cm (5′ 8″). If I’d only taken length from the bottom, the pockets would have sat far too low for my 161 cm (5′ 3.5″) self. I also reduced the sleeve length by 1″ for the same reason. After I’d folded out the reductions on the front and back main and lining pieces, I traced the new side seams using the angle from above my first fold. This reduced the hem width considerably from what it would be if I’d blended the side seam.
Sizing: I made a blended size, which is actually becoming pretty common practice for me. I cut a size 36 (US 4) in the back, back lining and back facing and a size 34 (US 2) everywhere else. I used the finished garment measurements to come up with this sizing. The sizing recommended for my measurements is a size 38. I raised the bottom of the back arm hole by 1cm but otherwise did nothing else to accommodate this blended sizing. It ended up just wide enough in the shoulders. The fit of the armscye is actually too perfect – I didn’t end up having room for the shoulder pads that the pattern is drafted for.
For reference, my current measurements are 34/28/25 and I’m 5’3.5″ (161 cm).
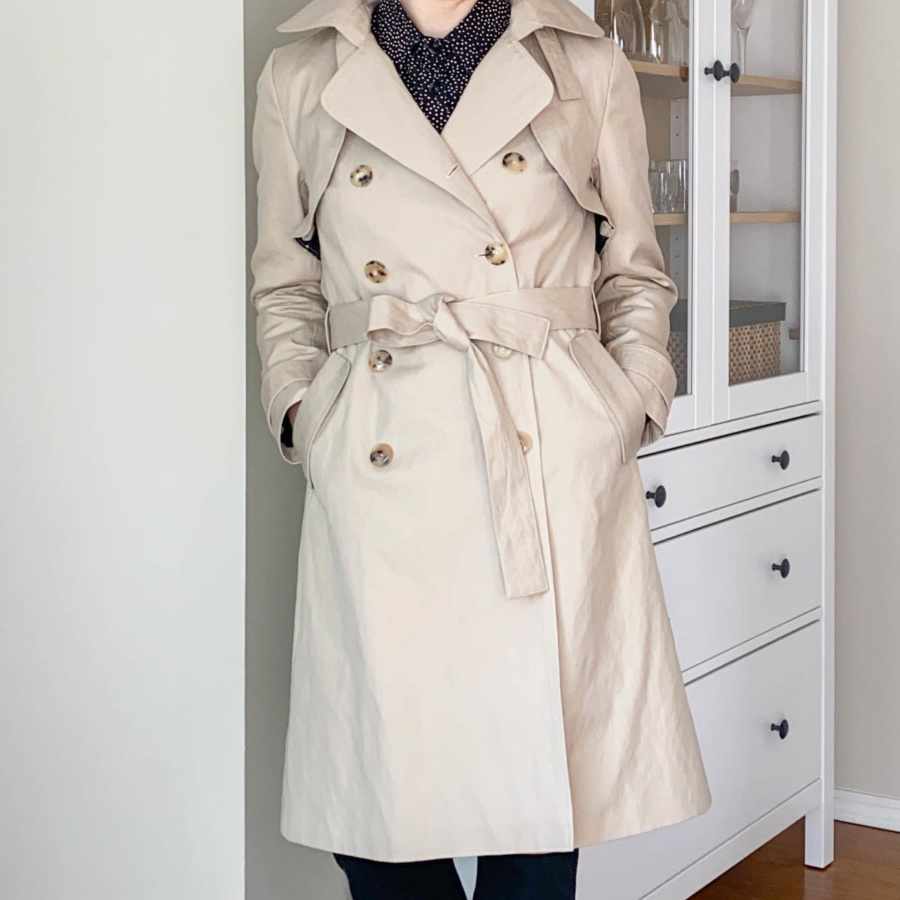
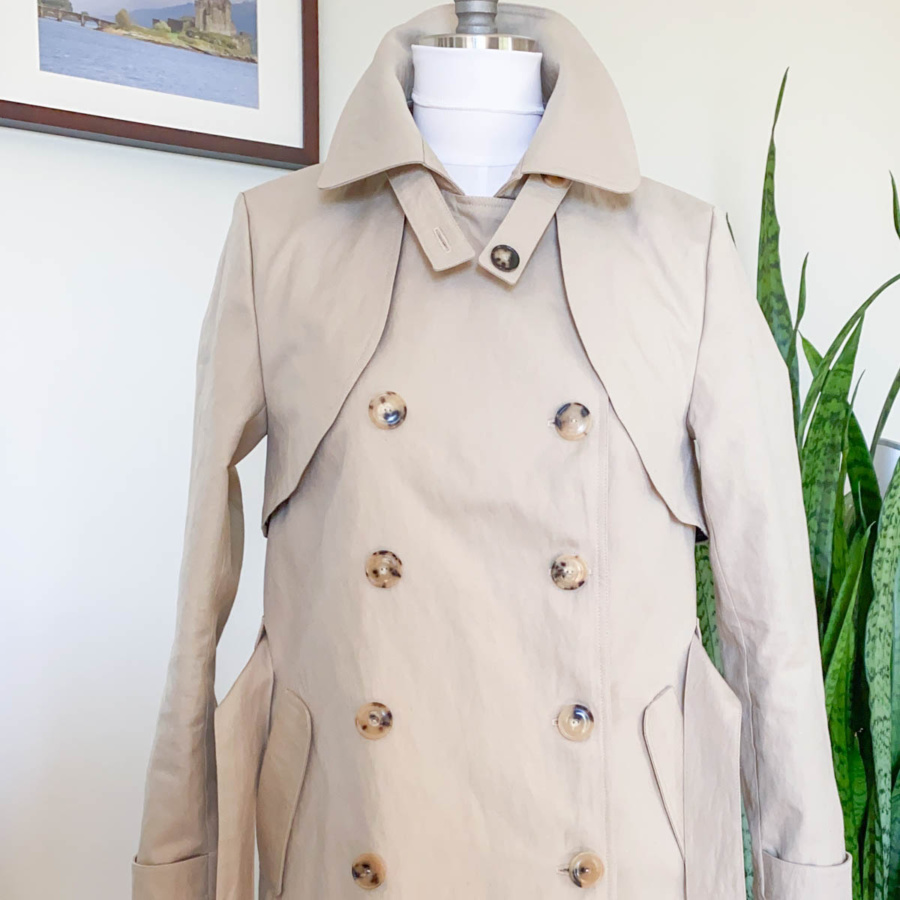
Originally I’d planned another mod to the front storm flaps to square them off more and have them button to the upper set of buttons, like a traditional trench. I drafted them this way, cut everything out and had the trench fully assembled, with button holes before I realized I didn’t like it.
The squared corners with the addition of buttons put too much emphasis on my bust and I just didn’t like how it looked.
So I took a 3.5 hour detour on Sunday morning and deconstructed the flaps. I did this while they were still attached the the almost finished coat and then reassembled them, mostly by hand, into a shape that ended up resembling the original pattern. I guess they had it right all along!

The only other mods I made on this project were to process. I didn’t mark the button placement until the coat was basically finished because I wanted to make sure the buttons lined up above and below the belt. I had to cut the belt in two pieces so it had a seam, which I tacked down to the back of the coat before I put the lining in. I chose my own sizing the the belt loops. I also modified some of the finishing order/instructions and did not press all the seams open as instructed – the way you are instructed to do it in the pattern was just too much serging for me!
I wanted to under stitch the lining to the facing so made my access hole in the side seam of the lining, rather than the connection to the facing as was instructed in the pattern. I don’t think there were any other mods that I made. Overall, I found the pattern very well drafted. I especially like the way the front facings/lining were constructed and bagged out. I found the instructions and illustration for finishing the lining on one side of the vent very confusing (a sew along would definitely help), but I muddled through as best I could and came out with a fairly decent vent.
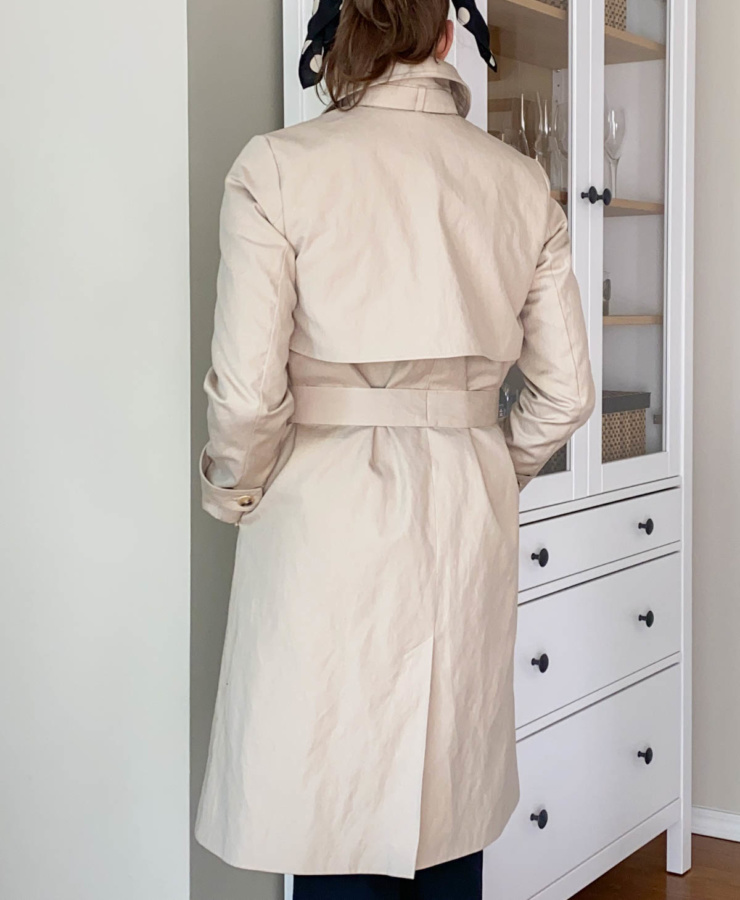
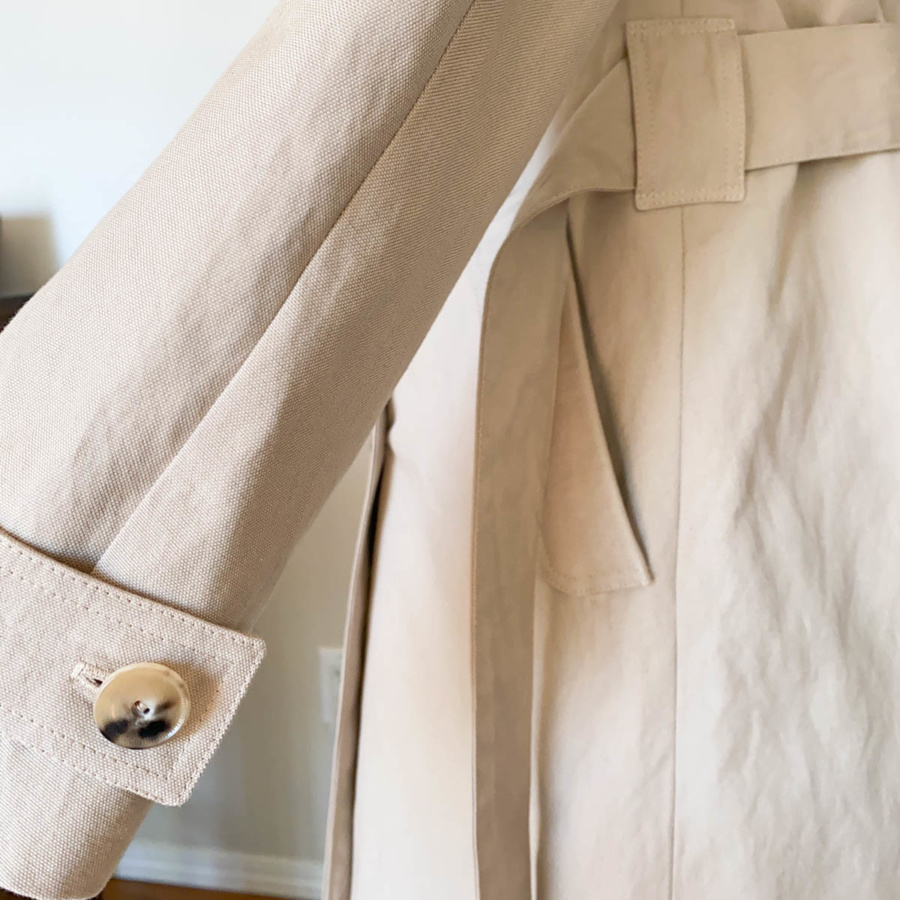
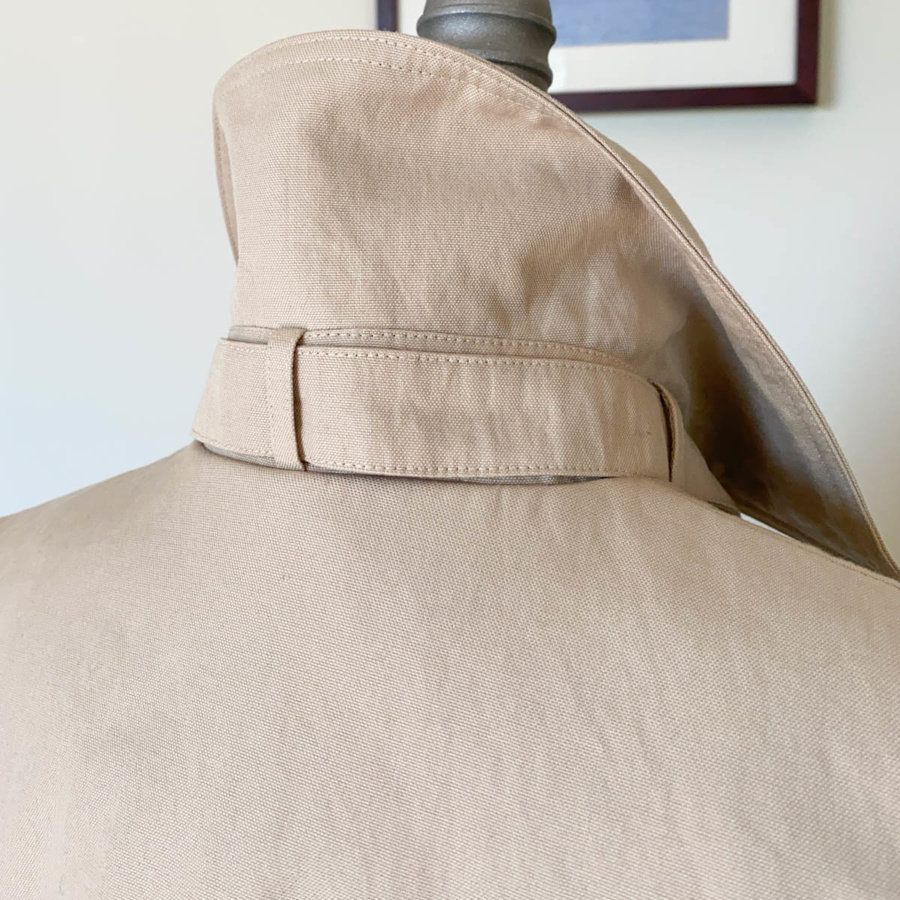
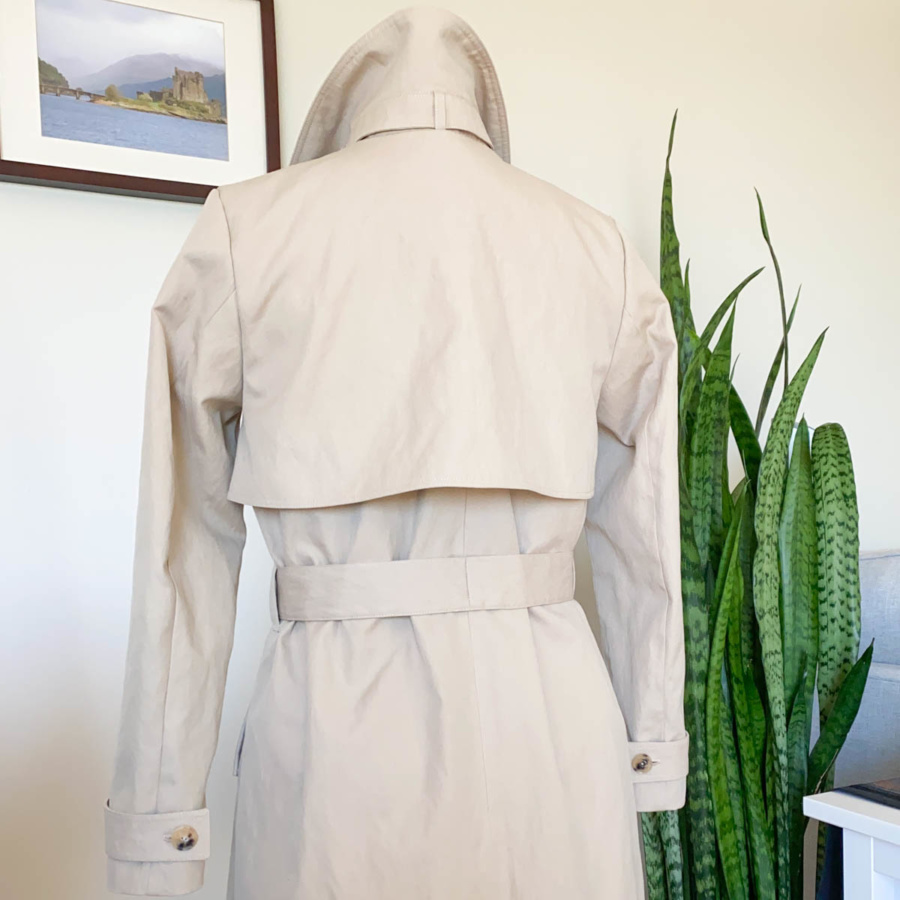
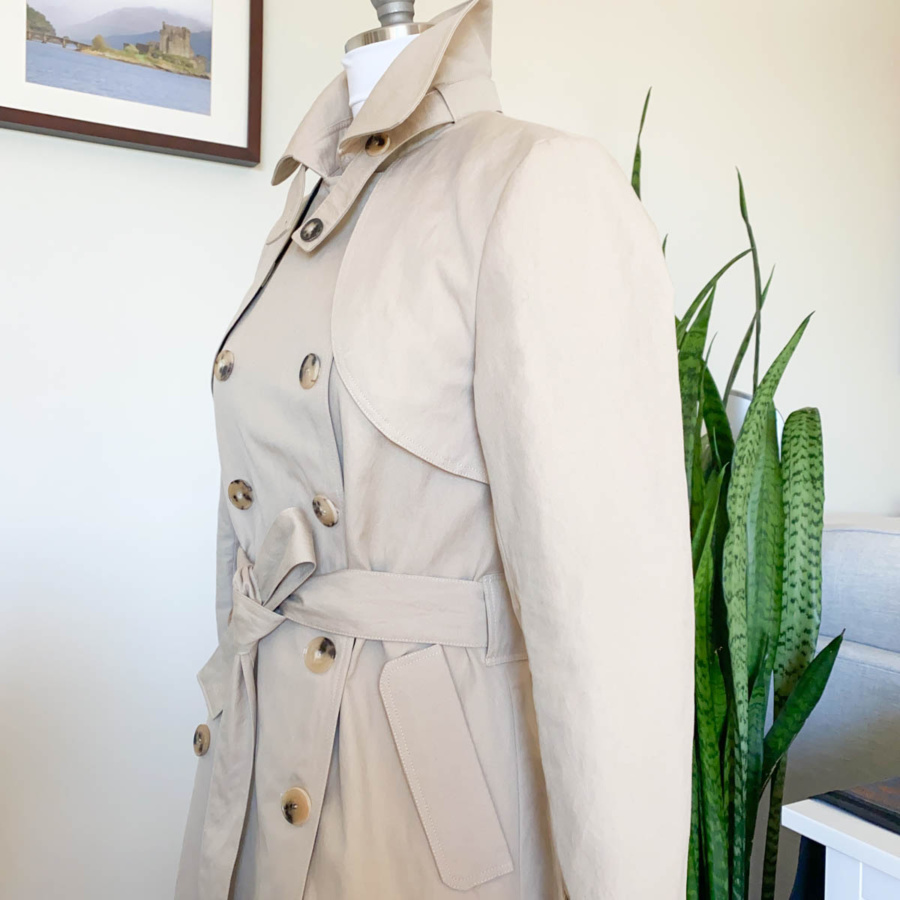
It’s the details that make this pattern really fantastic. Not only is it the only lined trench PDF pattern I could find, but it’s just jammed full of great features. From the neck belt (though I doubt I’ll ever use it), to the sleeve cuffs, fold-over welt pockets, front and back storm flaps and perfect collar (that I double interfaced to make sure it would stand right up), it’s really a fantastic pattern.
Now can we take a moment for the lining that inspired this whole project? I’d never heard of Tencel satin when I saw this up on the Matchpoint Fabrics site. I was intrigued and it does not disappoint. It’s fully satin – nice and slippery with a lovely matte finish. I found it easier to work with than my usual lining of choice (Bemberg rayon). Plus it’s Tencel and it’s deadstock and it’s polka dotted. Need I say more? I wish I knew where to find lining like this on an ongoing basis.
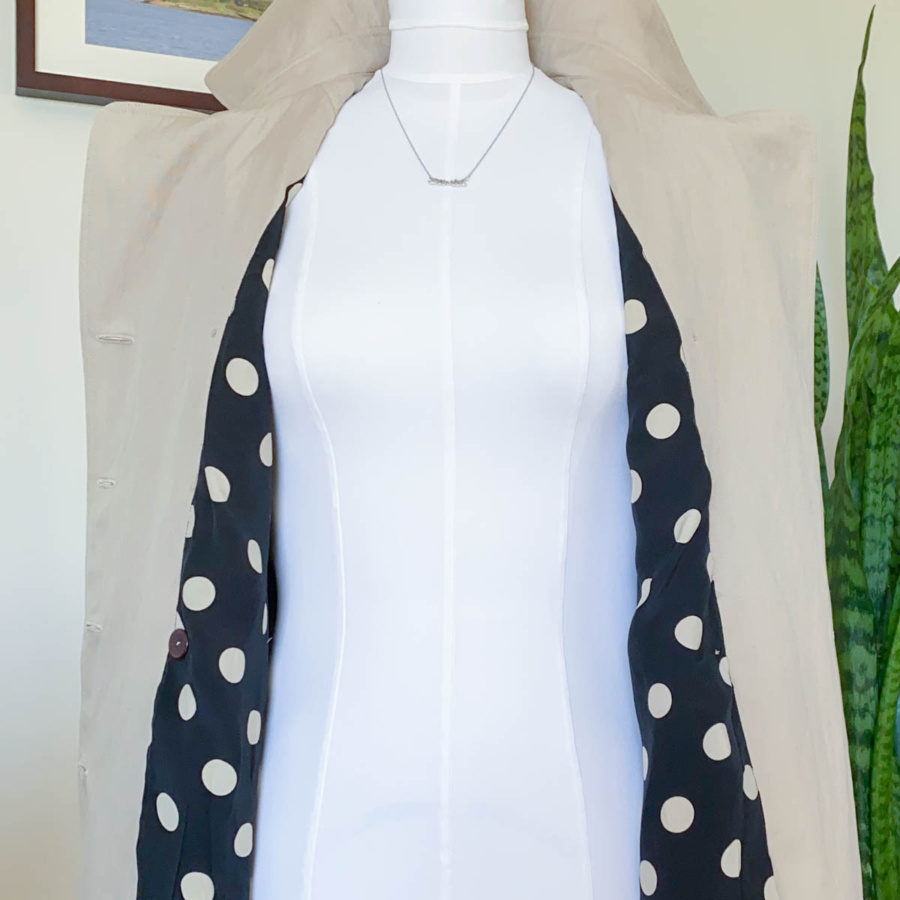
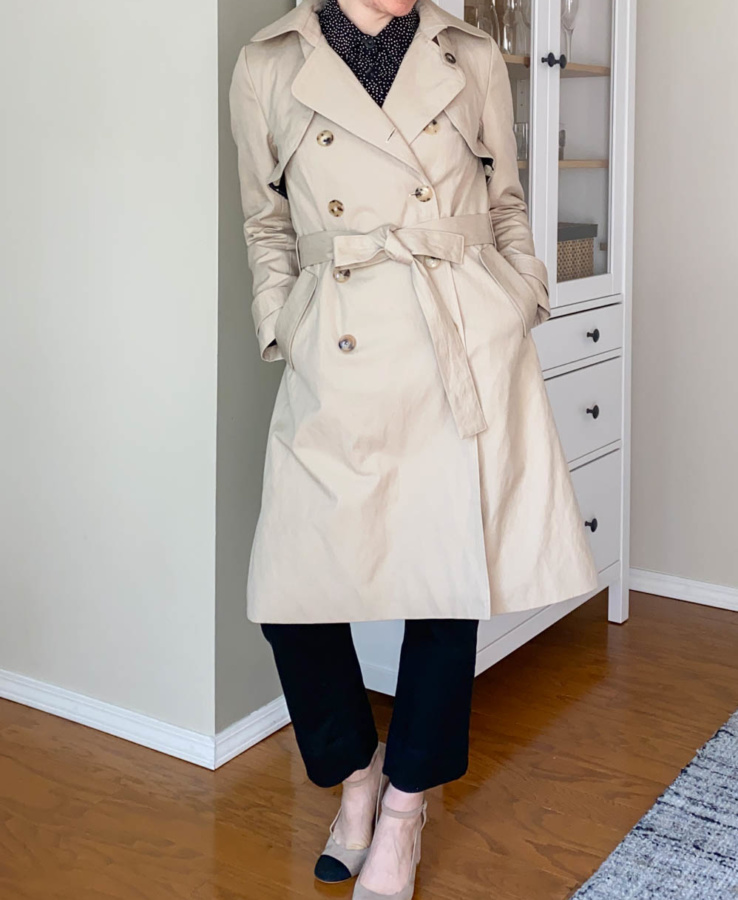
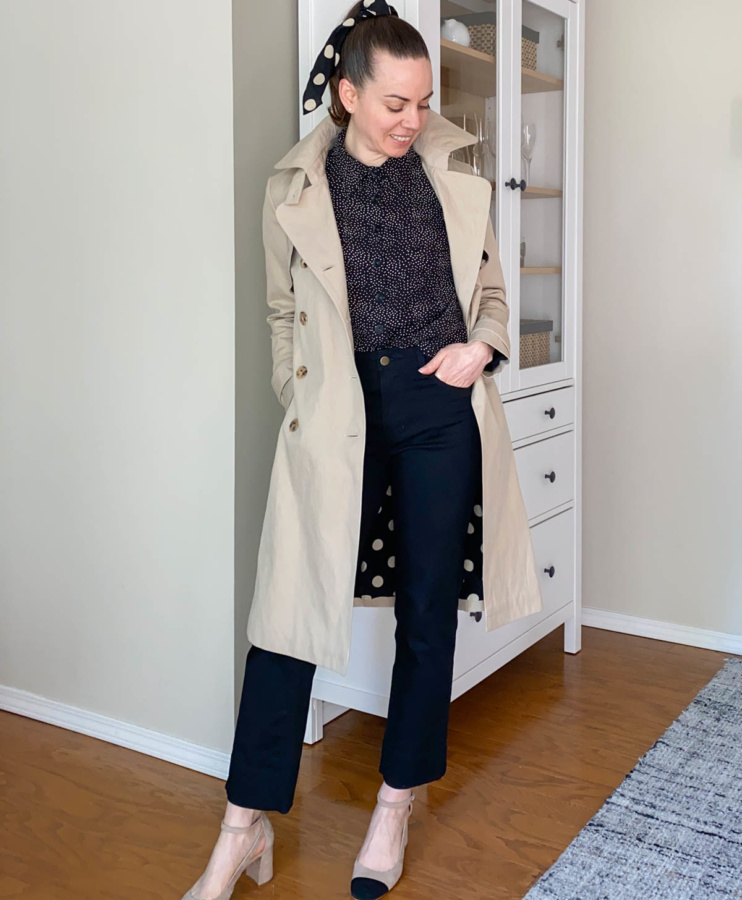
It was only after I purchased this fabric for coat lining that I remembered my other recent Rumana project with silk polka dotted lining. I guess I have a thing for polka dots? (She says while wearing a polka dotted Kalle shirt under her trench coat with polka dot lining, with a polka dotted scarf in her hair).
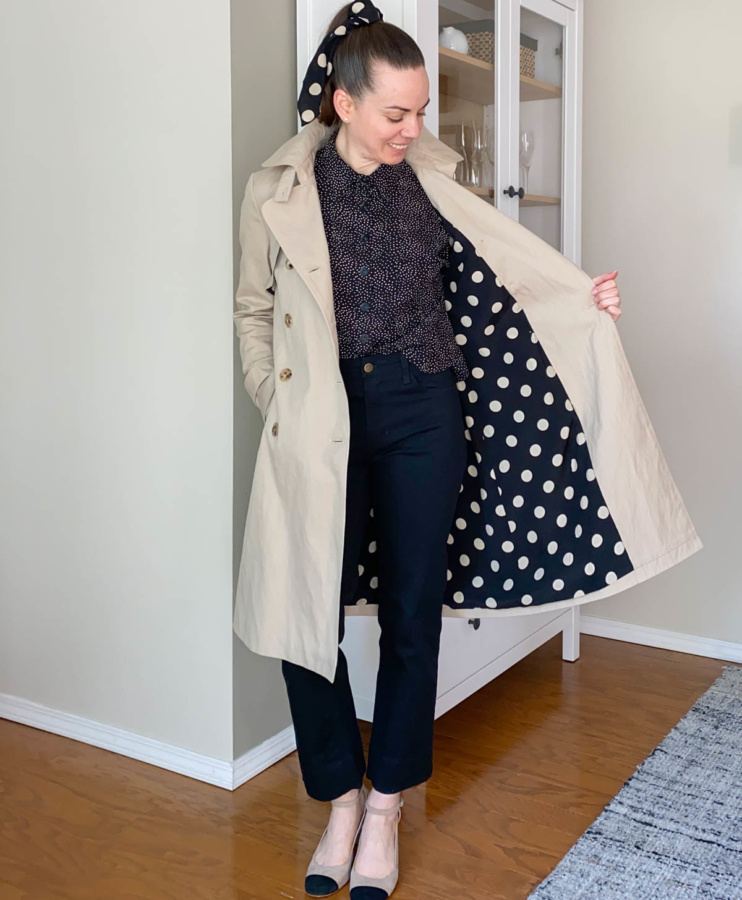
Also worn with my aforementioned wide-ish leg Ginger Jeans because I had to make sure all my inspiration was in one photo. Actually, not all, the shortened Isla from Sarah_Naomi_ on instagram was a huge inspiration for this make and I have to thank her for answering some sizing questions I had when I was starting out with this project.
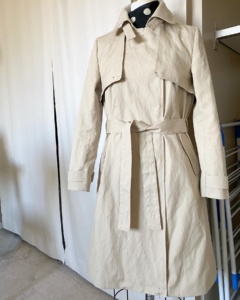
Enough trench coat photos yet? I didn’t think so. Here are a few more
If you made it this far, thanks for stopping by. Now that I’ve got this bee out of my bonnet (as my mother would say), I’ve got a couple of gifts to sew and then I think I’ll begin working on my second boiler suit project. I hope you are all staying safe out there!
~ Lindsay
April 21, 2020 at 7:58 pm
Wow! Another beautiful creation! Thanks for sharing.
April 21, 2020 at 8:52 pm
Thanks Heather :)
April 22, 2020 at 5:48 am
Oh my goodness, you have amazing sewing skills! Love this trench, great job!
March 19, 2021 at 7:29 am
Outmost beautiful work! You look very cool in it. I’m preparing myself mentally that I may not look that cool shall I finish my first coat in a few weeks from now.
March 19, 2021 at 8:35 pm
Thanks Rose. Good luck. I’m sure yours will be great!