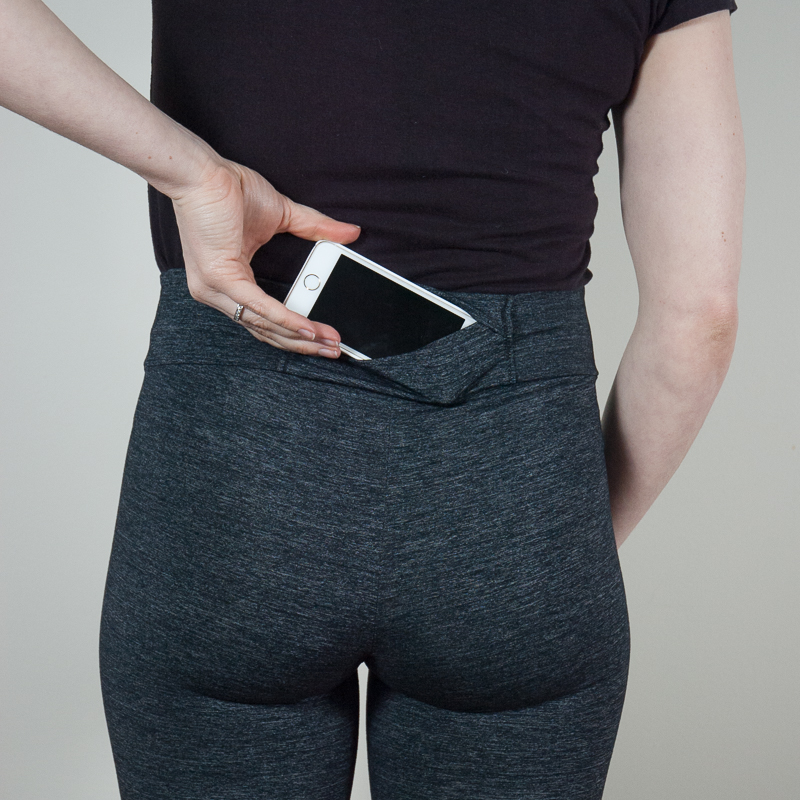
I’ve been wanting to make my own leggings for a while. I tried the Seamwork Aries as part of my Make Nine 2018 but I was unimpressed with the fit. Looking at a bunch of photos and reading review online, I chose the Helen’s Closet Avery Leggings for my second try. I also decided to hack them right away by adding a back pocket to the waist band.
I didn’t follow any instructions to do this so here are the steps I came up with to add a semi-secure back pocket to my Avery Leggings.
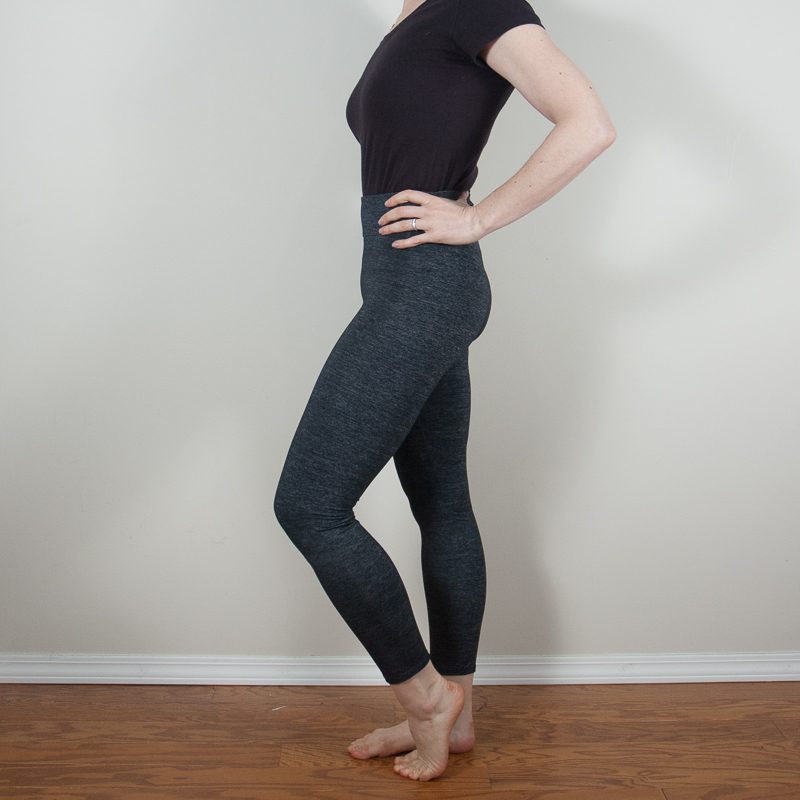
- Choose a pattern – I chose the Avery leggings, mid-rise version and decreased the height of the waist band by one inch (I am very short waisted).
- Figure out how big you want your pocket – I wanted mine to fit my iPhone SE.
- Draft a lower piece that is the desired length and about 3/4 of the height of the waist band – be sure to add seam allowance to ends and the top of this piece (the bottom will include the same seam allowance that is included in the waistband piece)
- Draft an upper pocket piece that is the same length as the lower piece but only about half the total height of the waistband – add seam allowances as above.
- Finished the lower edge of the upper pocket piece and the upper edge of the lower pocket piece – I fold them under with a zig zag stitch.
- Place the lower piece in the centre of the outer back waistband piece, lining up the bottom of the pocket piece with the bottom of the waistband – zig zag stitch the pocket piece down at the sides.
- Repeat with the upper pocket piece lining it up with the top of the outer waist band piece – it should over lap the lower pocket piece creating a covered opening.
- Finish the leggings according the pattern instructions treating the back waist band piece with the pocket pieces as one piece.
- Voila! A secure back waistband pocket!

Thanks for stopping by!
~ Lindsay